Finally getting around to posting this.
As I talked about on my channel introduction video / workbench tour I wanted a decent place to work on electronics projects and DIY stuff.
The basis of my workspace (the 3 MDF boards I used as a background) was already in place for about 6 months before I actually started work on the bench/workspace itself.
In August of 2016 I finally started working on getting everything finished so I would have my workspace but also have my garage organized better. Two things I wanted was the ability to fold the workbench down should I ever need the space and I also wanted the mounts for the cabinets modular so I could easily rearrange it later.
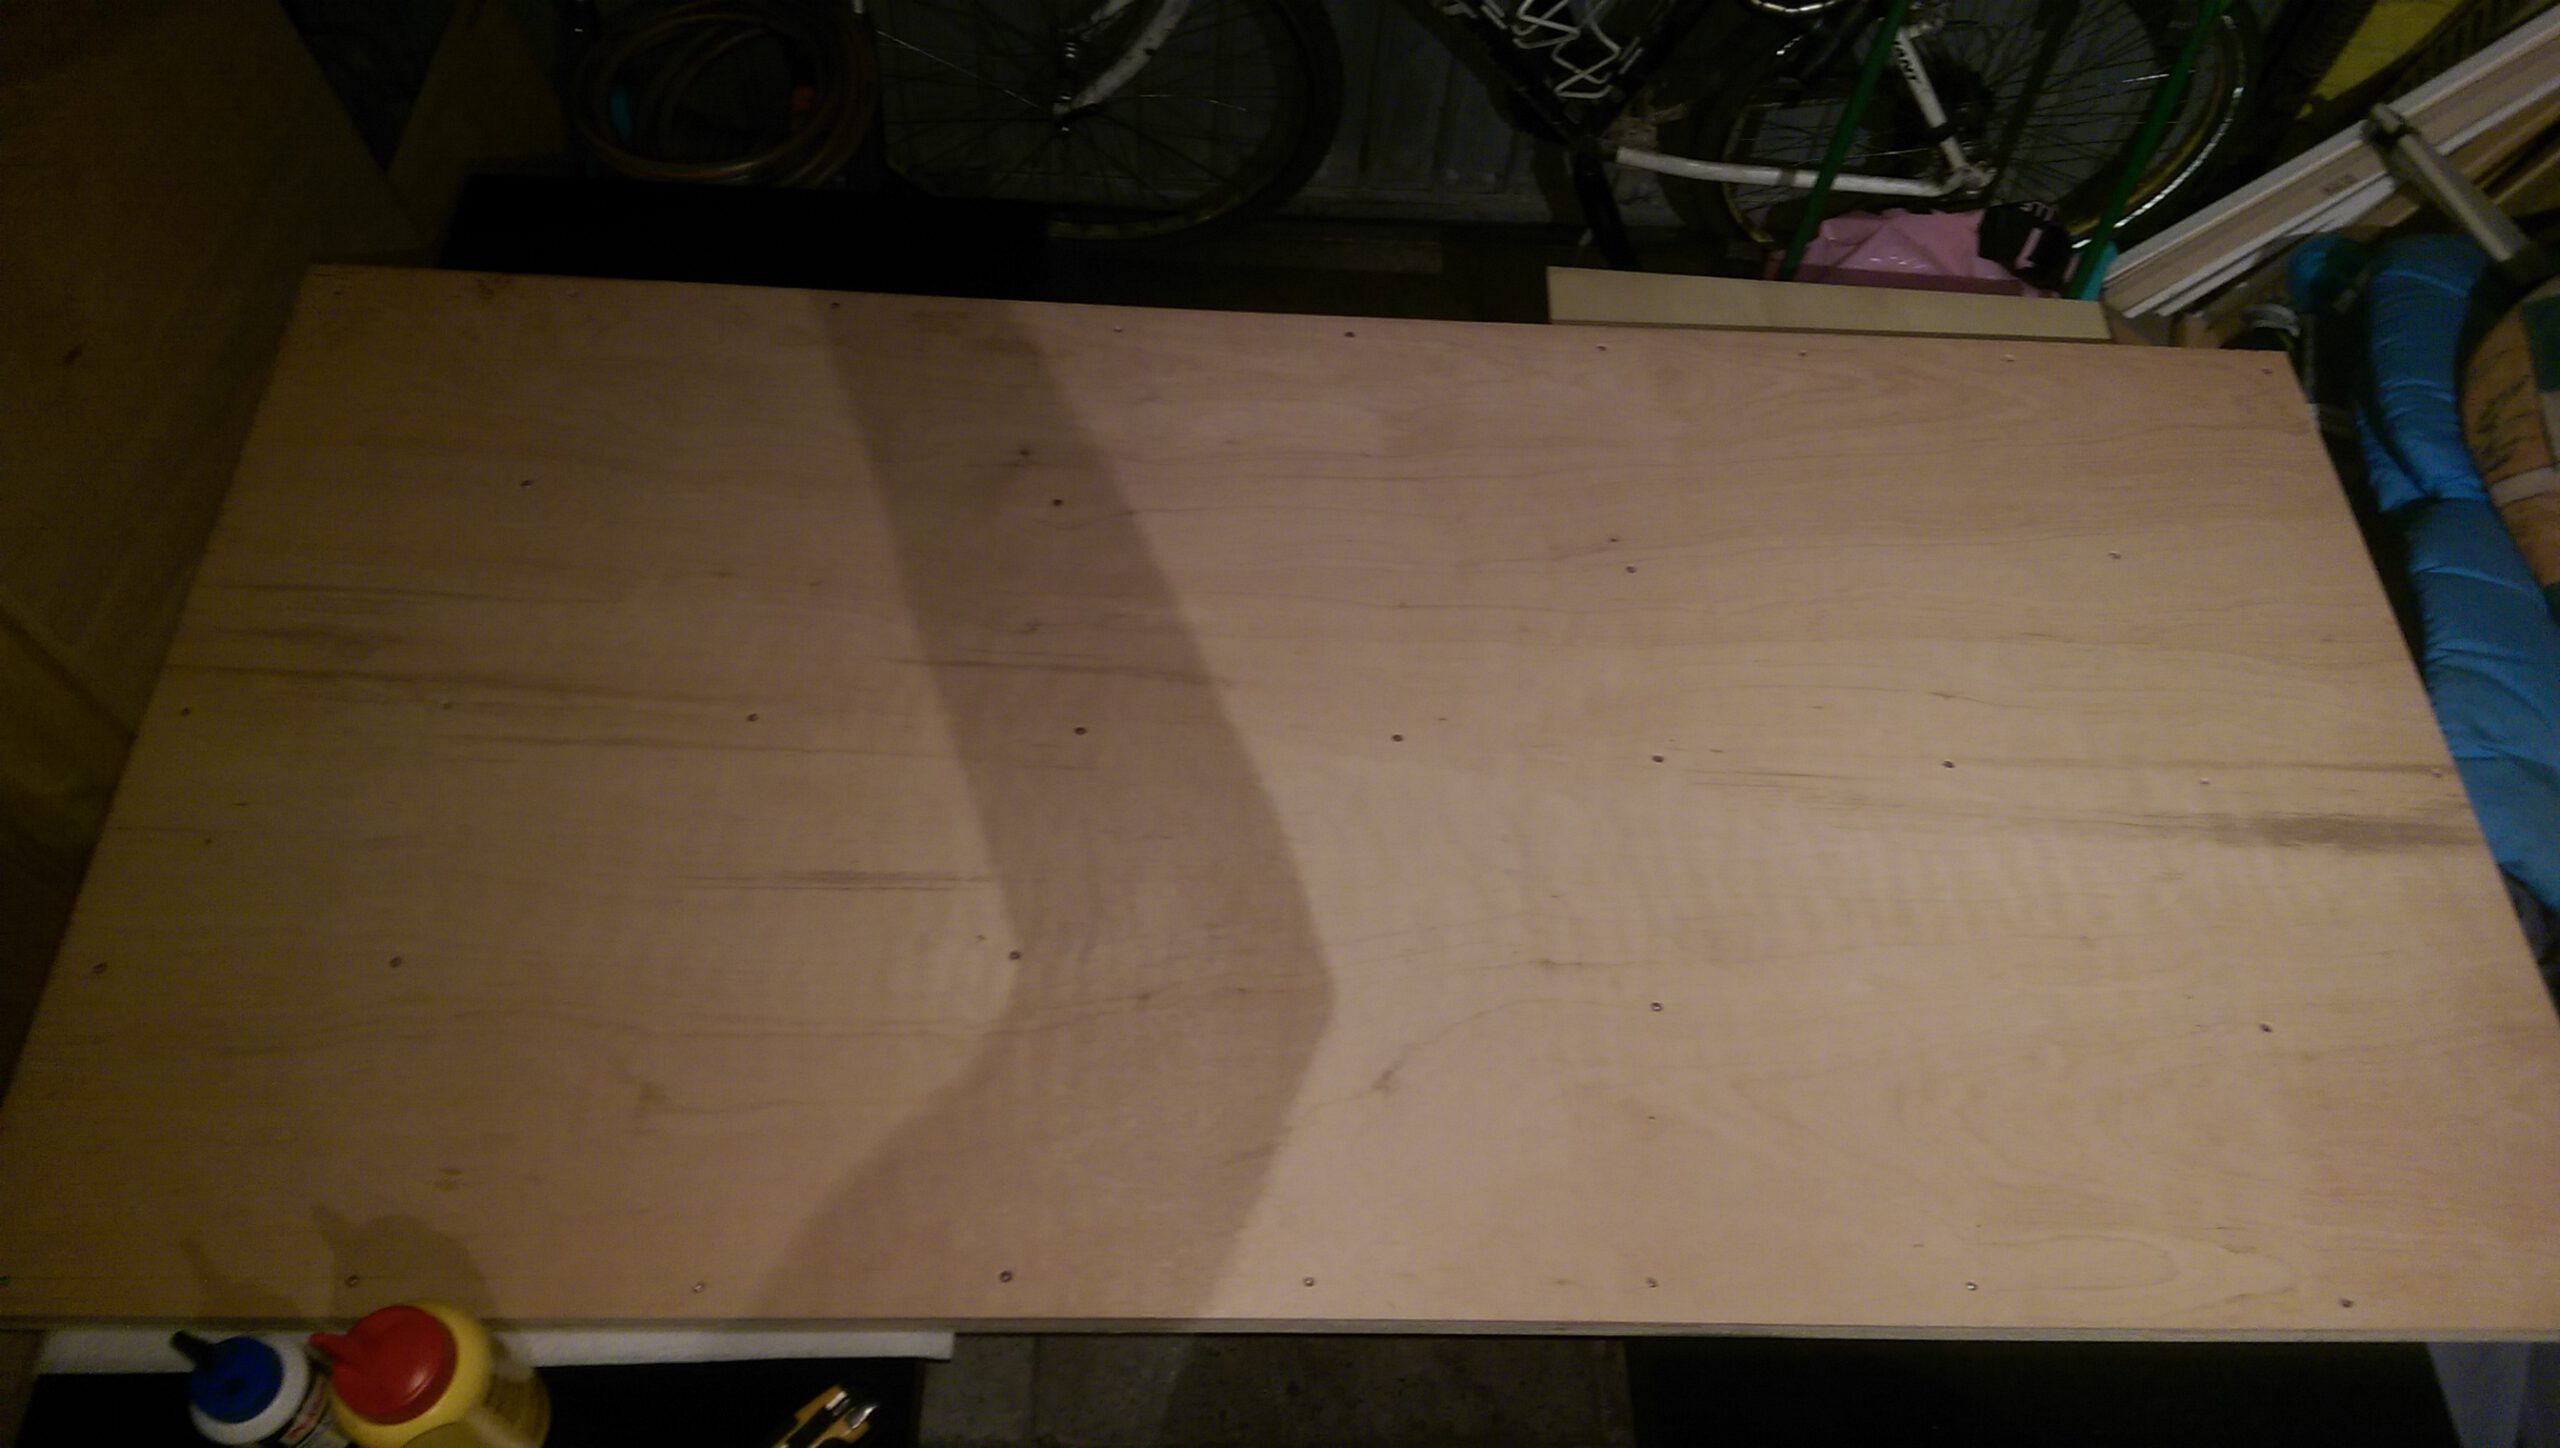
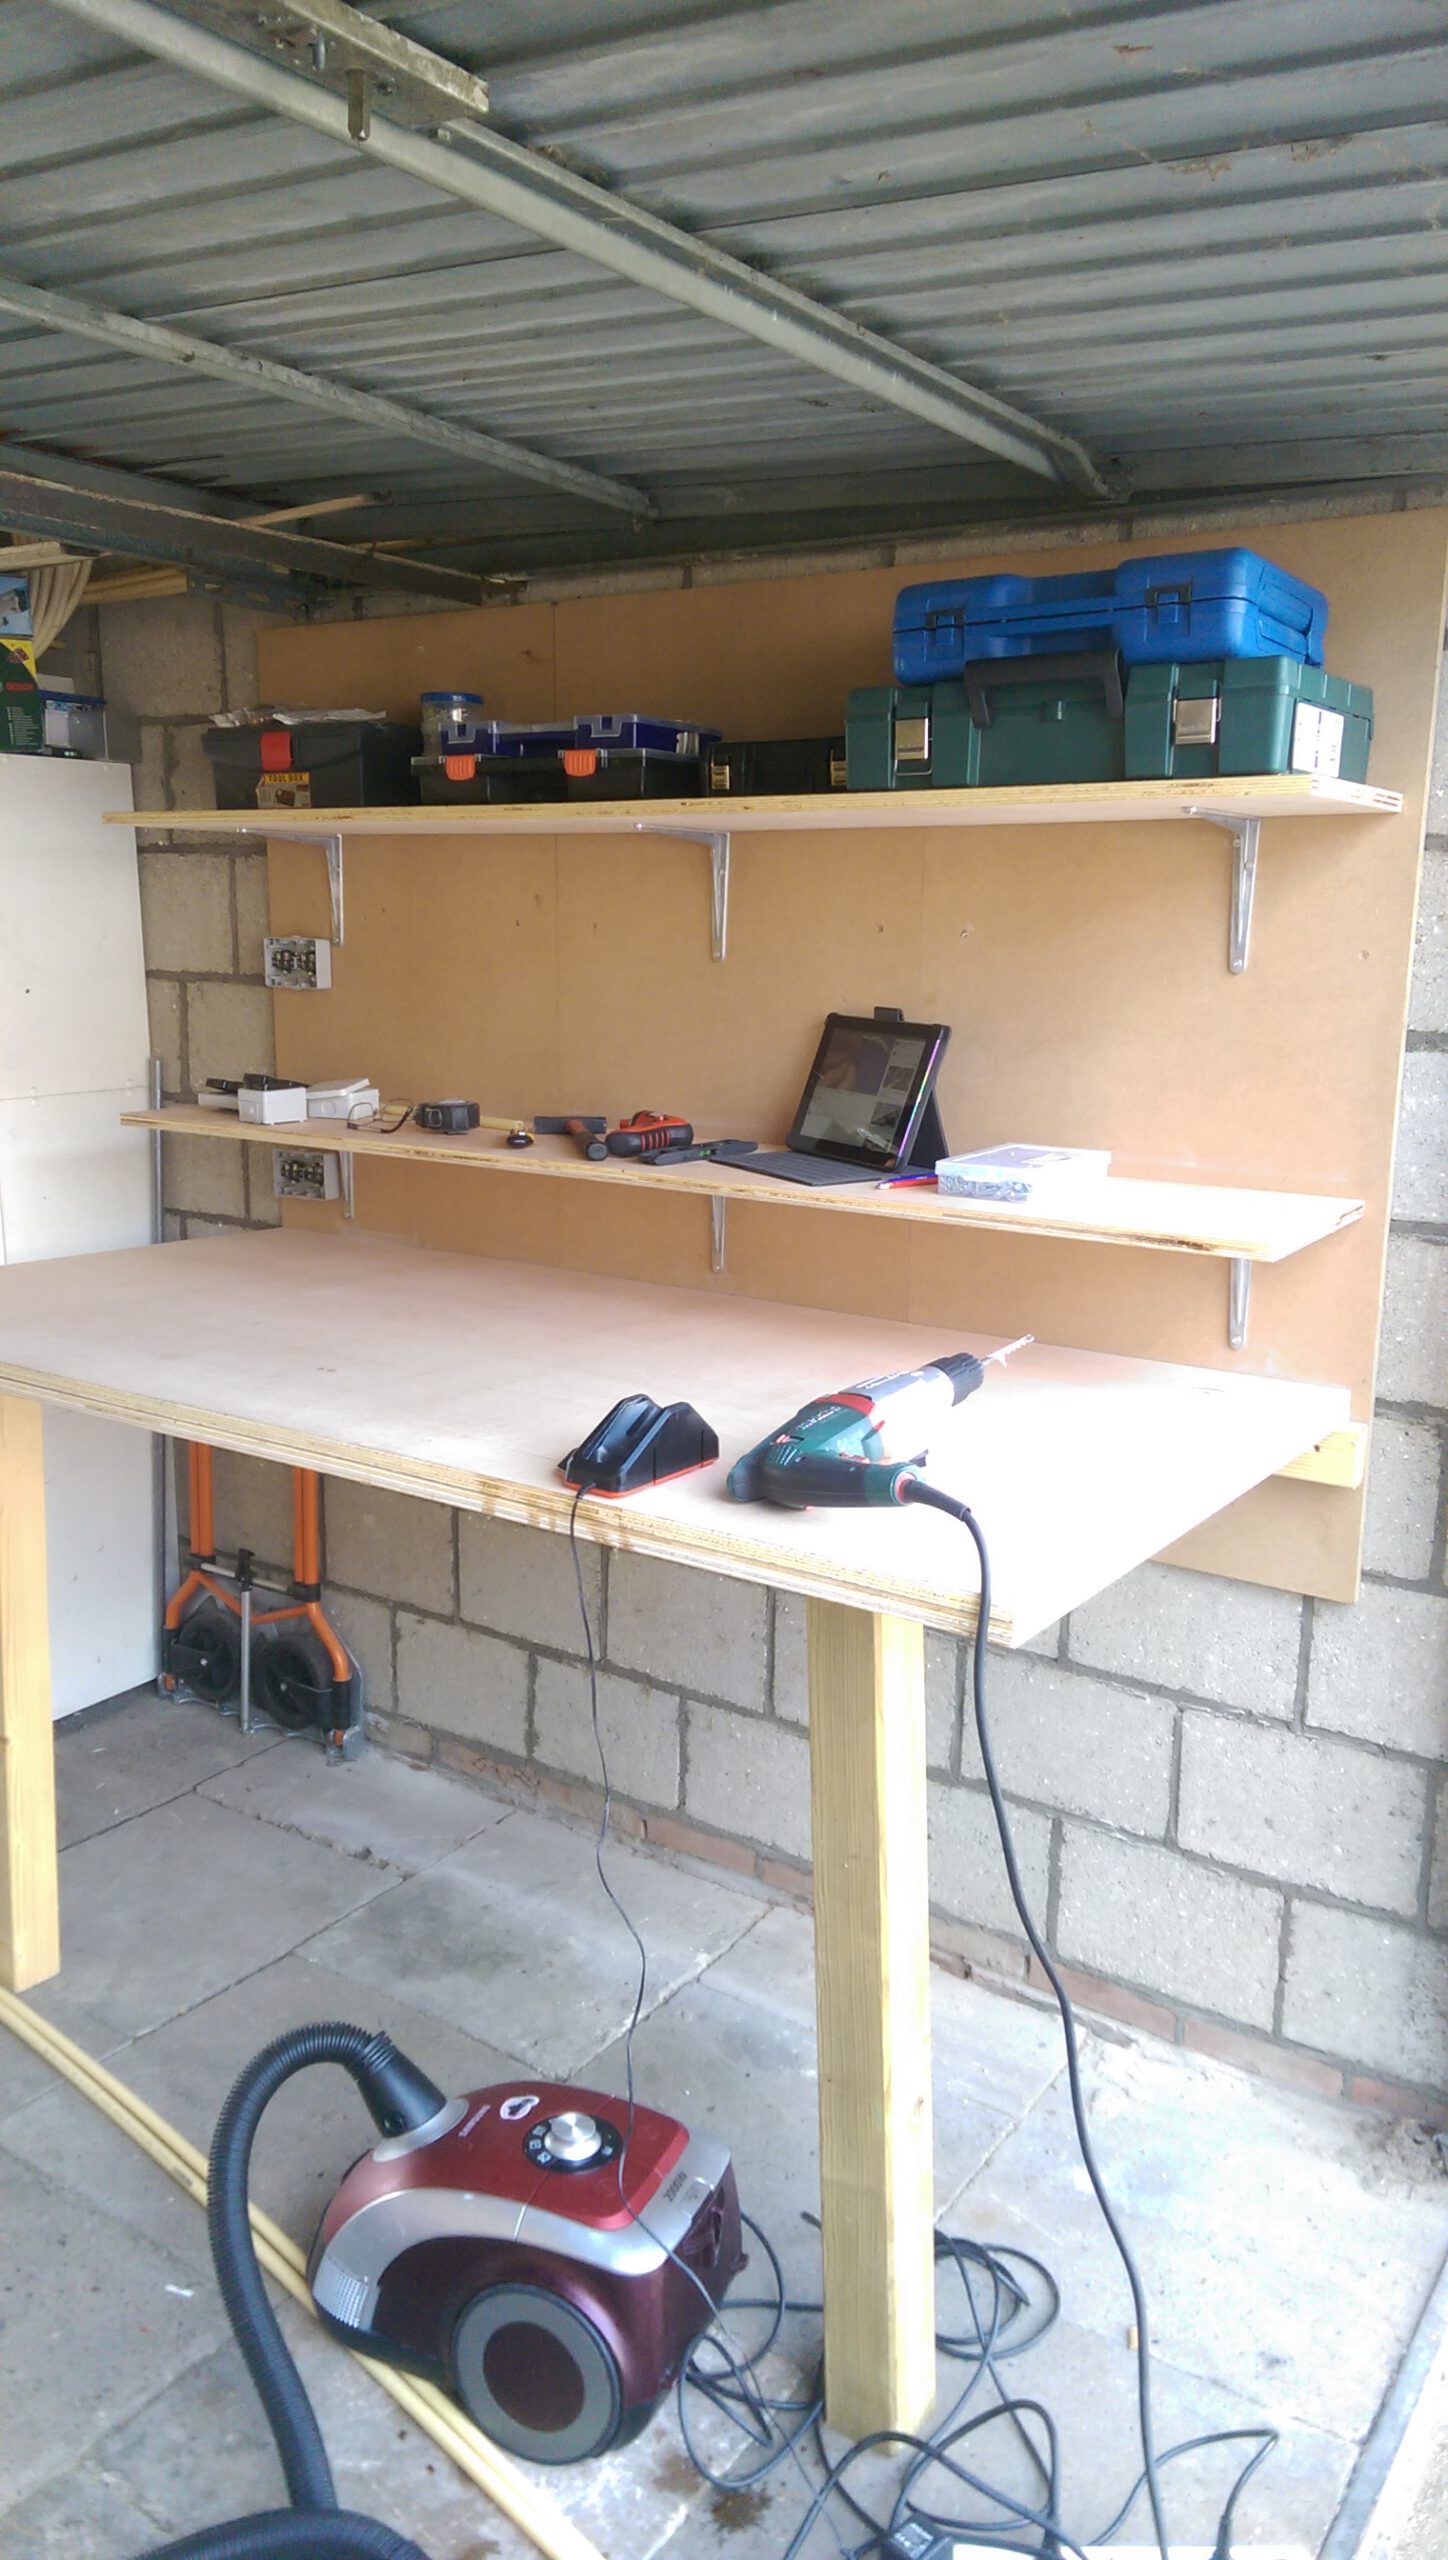
First of was making the actual work area out of two 18mm thick, 244×122 cm hardwood multiplex boards. The hardware store cut them into boards of 180×90 cm.
I glued and screwed those together to get a nice and thick surface that would support wait and handle a beating here and there. Maybe a bit overkill but I wanted something really sturdy 😉
Did go a bit overboard with almost 50 screws…
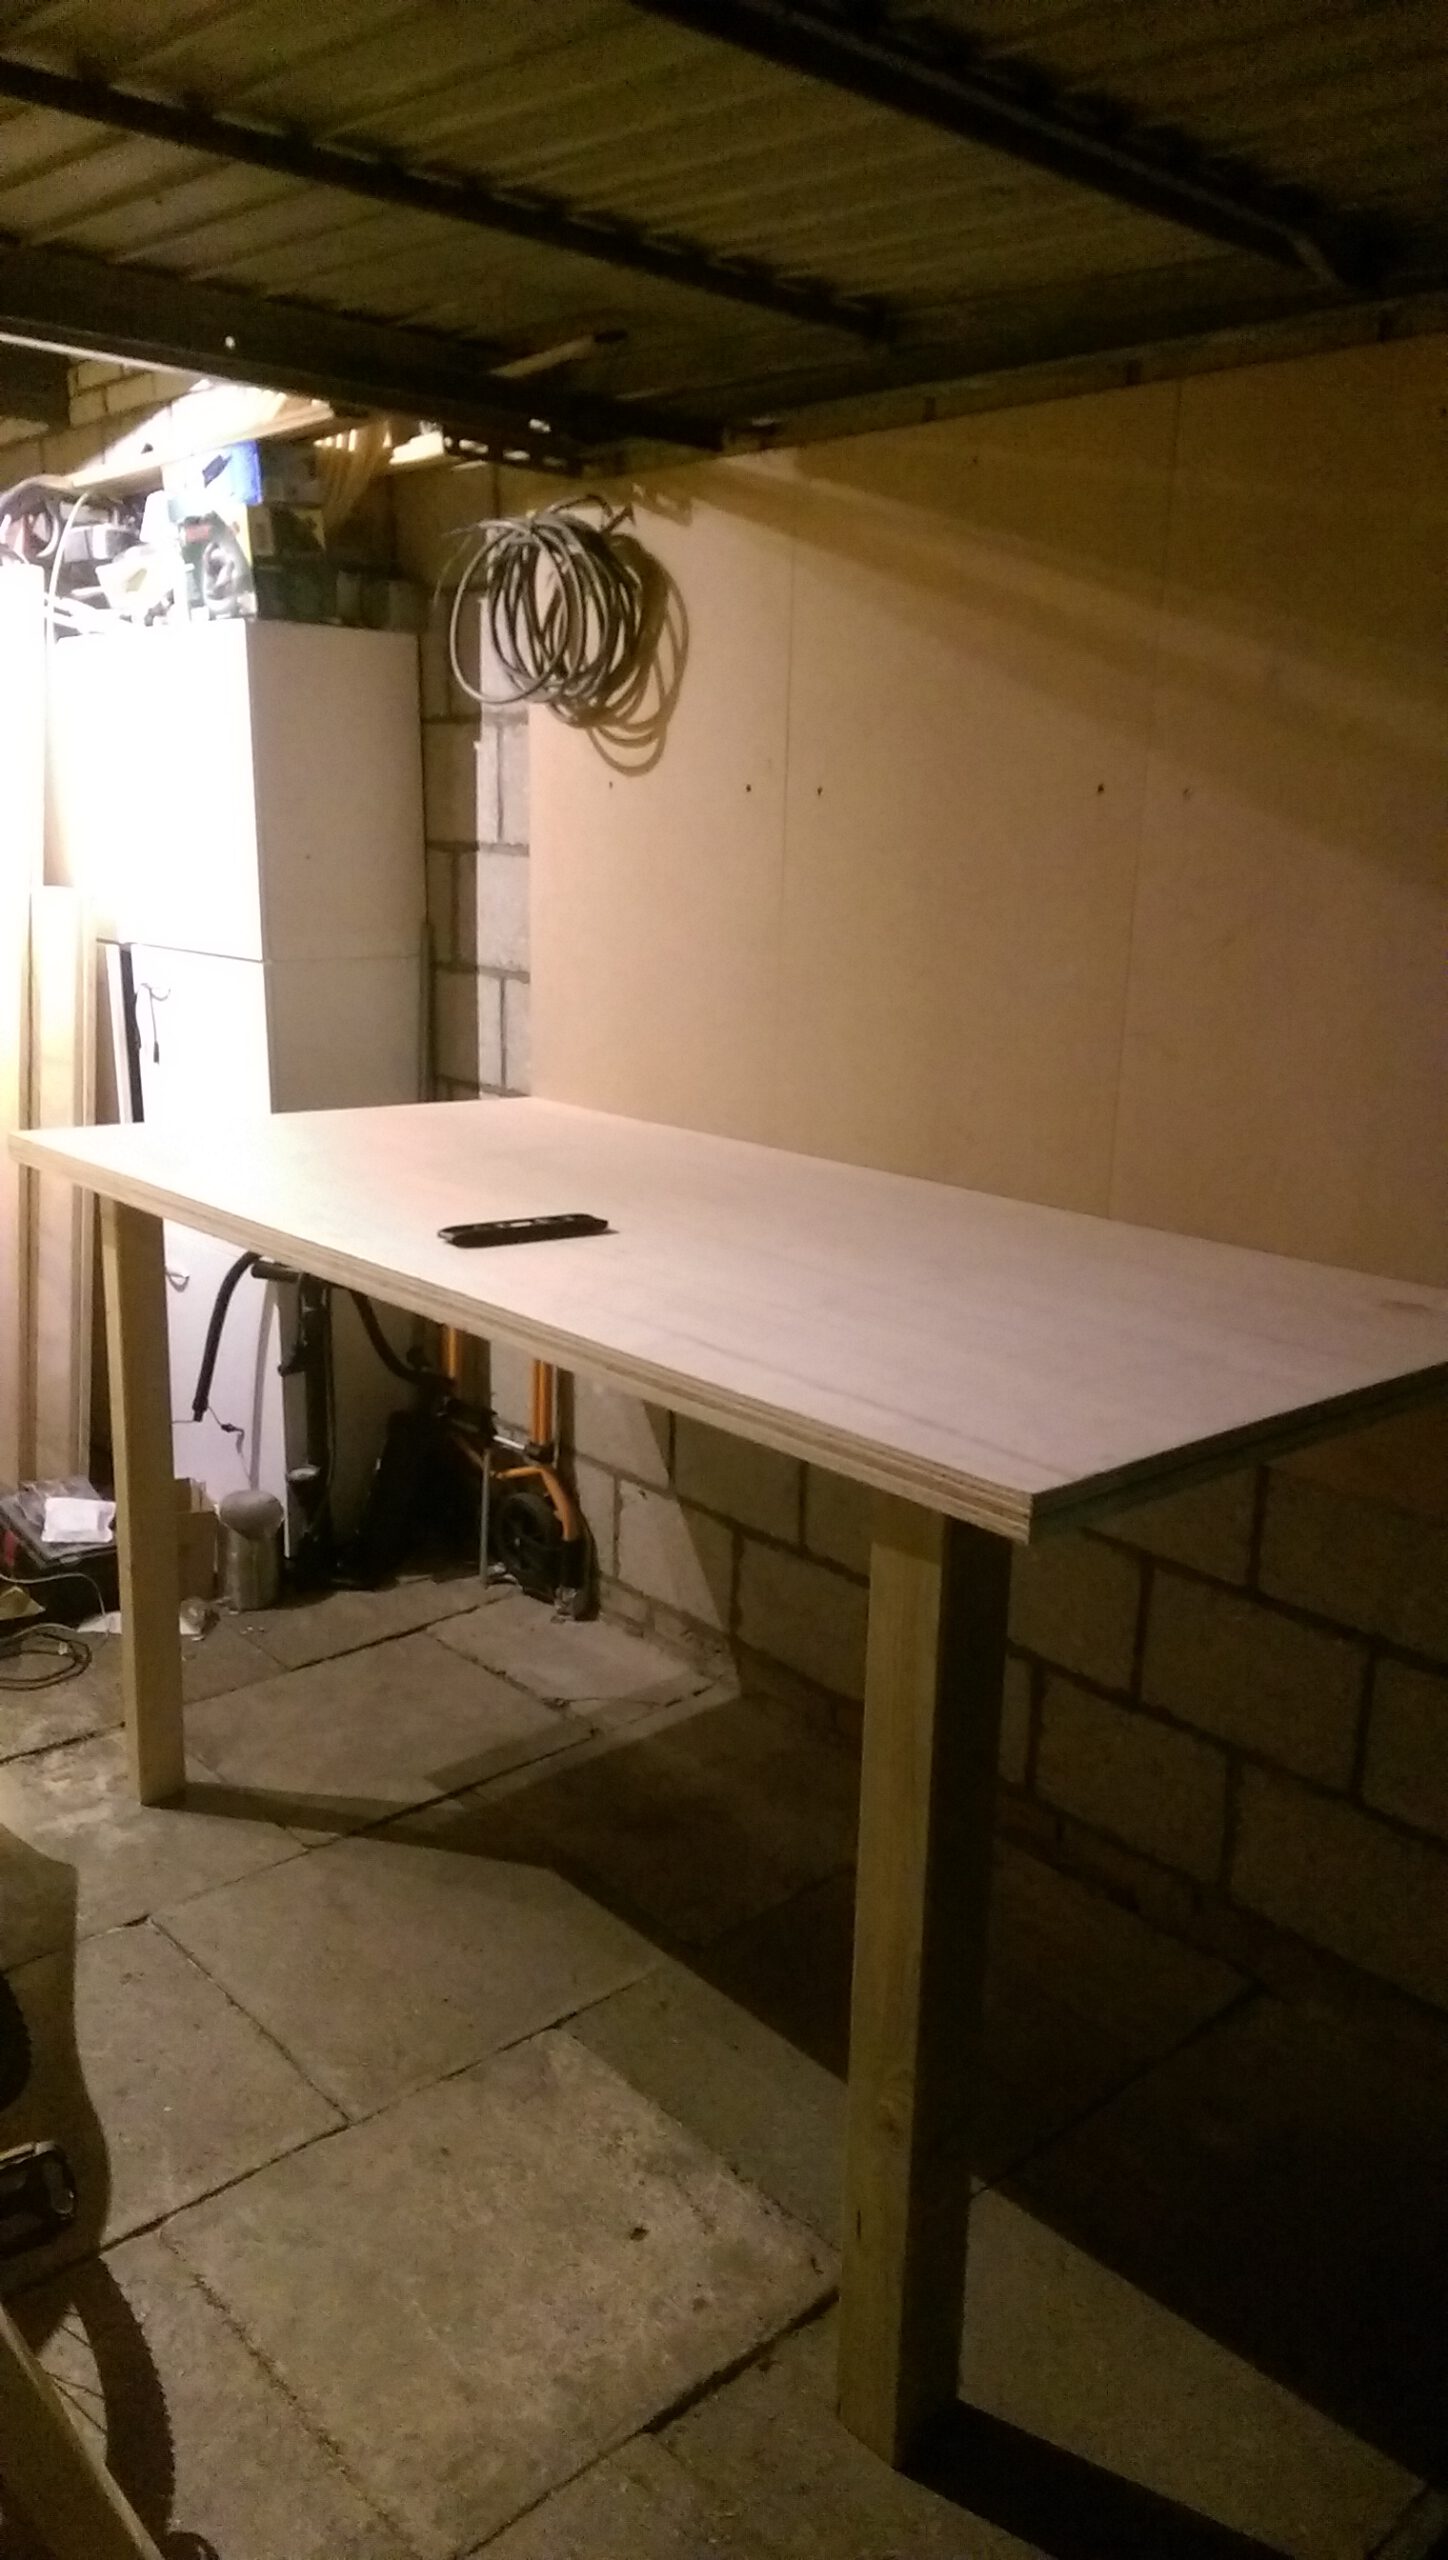
The whole thing I mounted with 3 big AXA hinges to a beam on the wall which also supports it when in use.
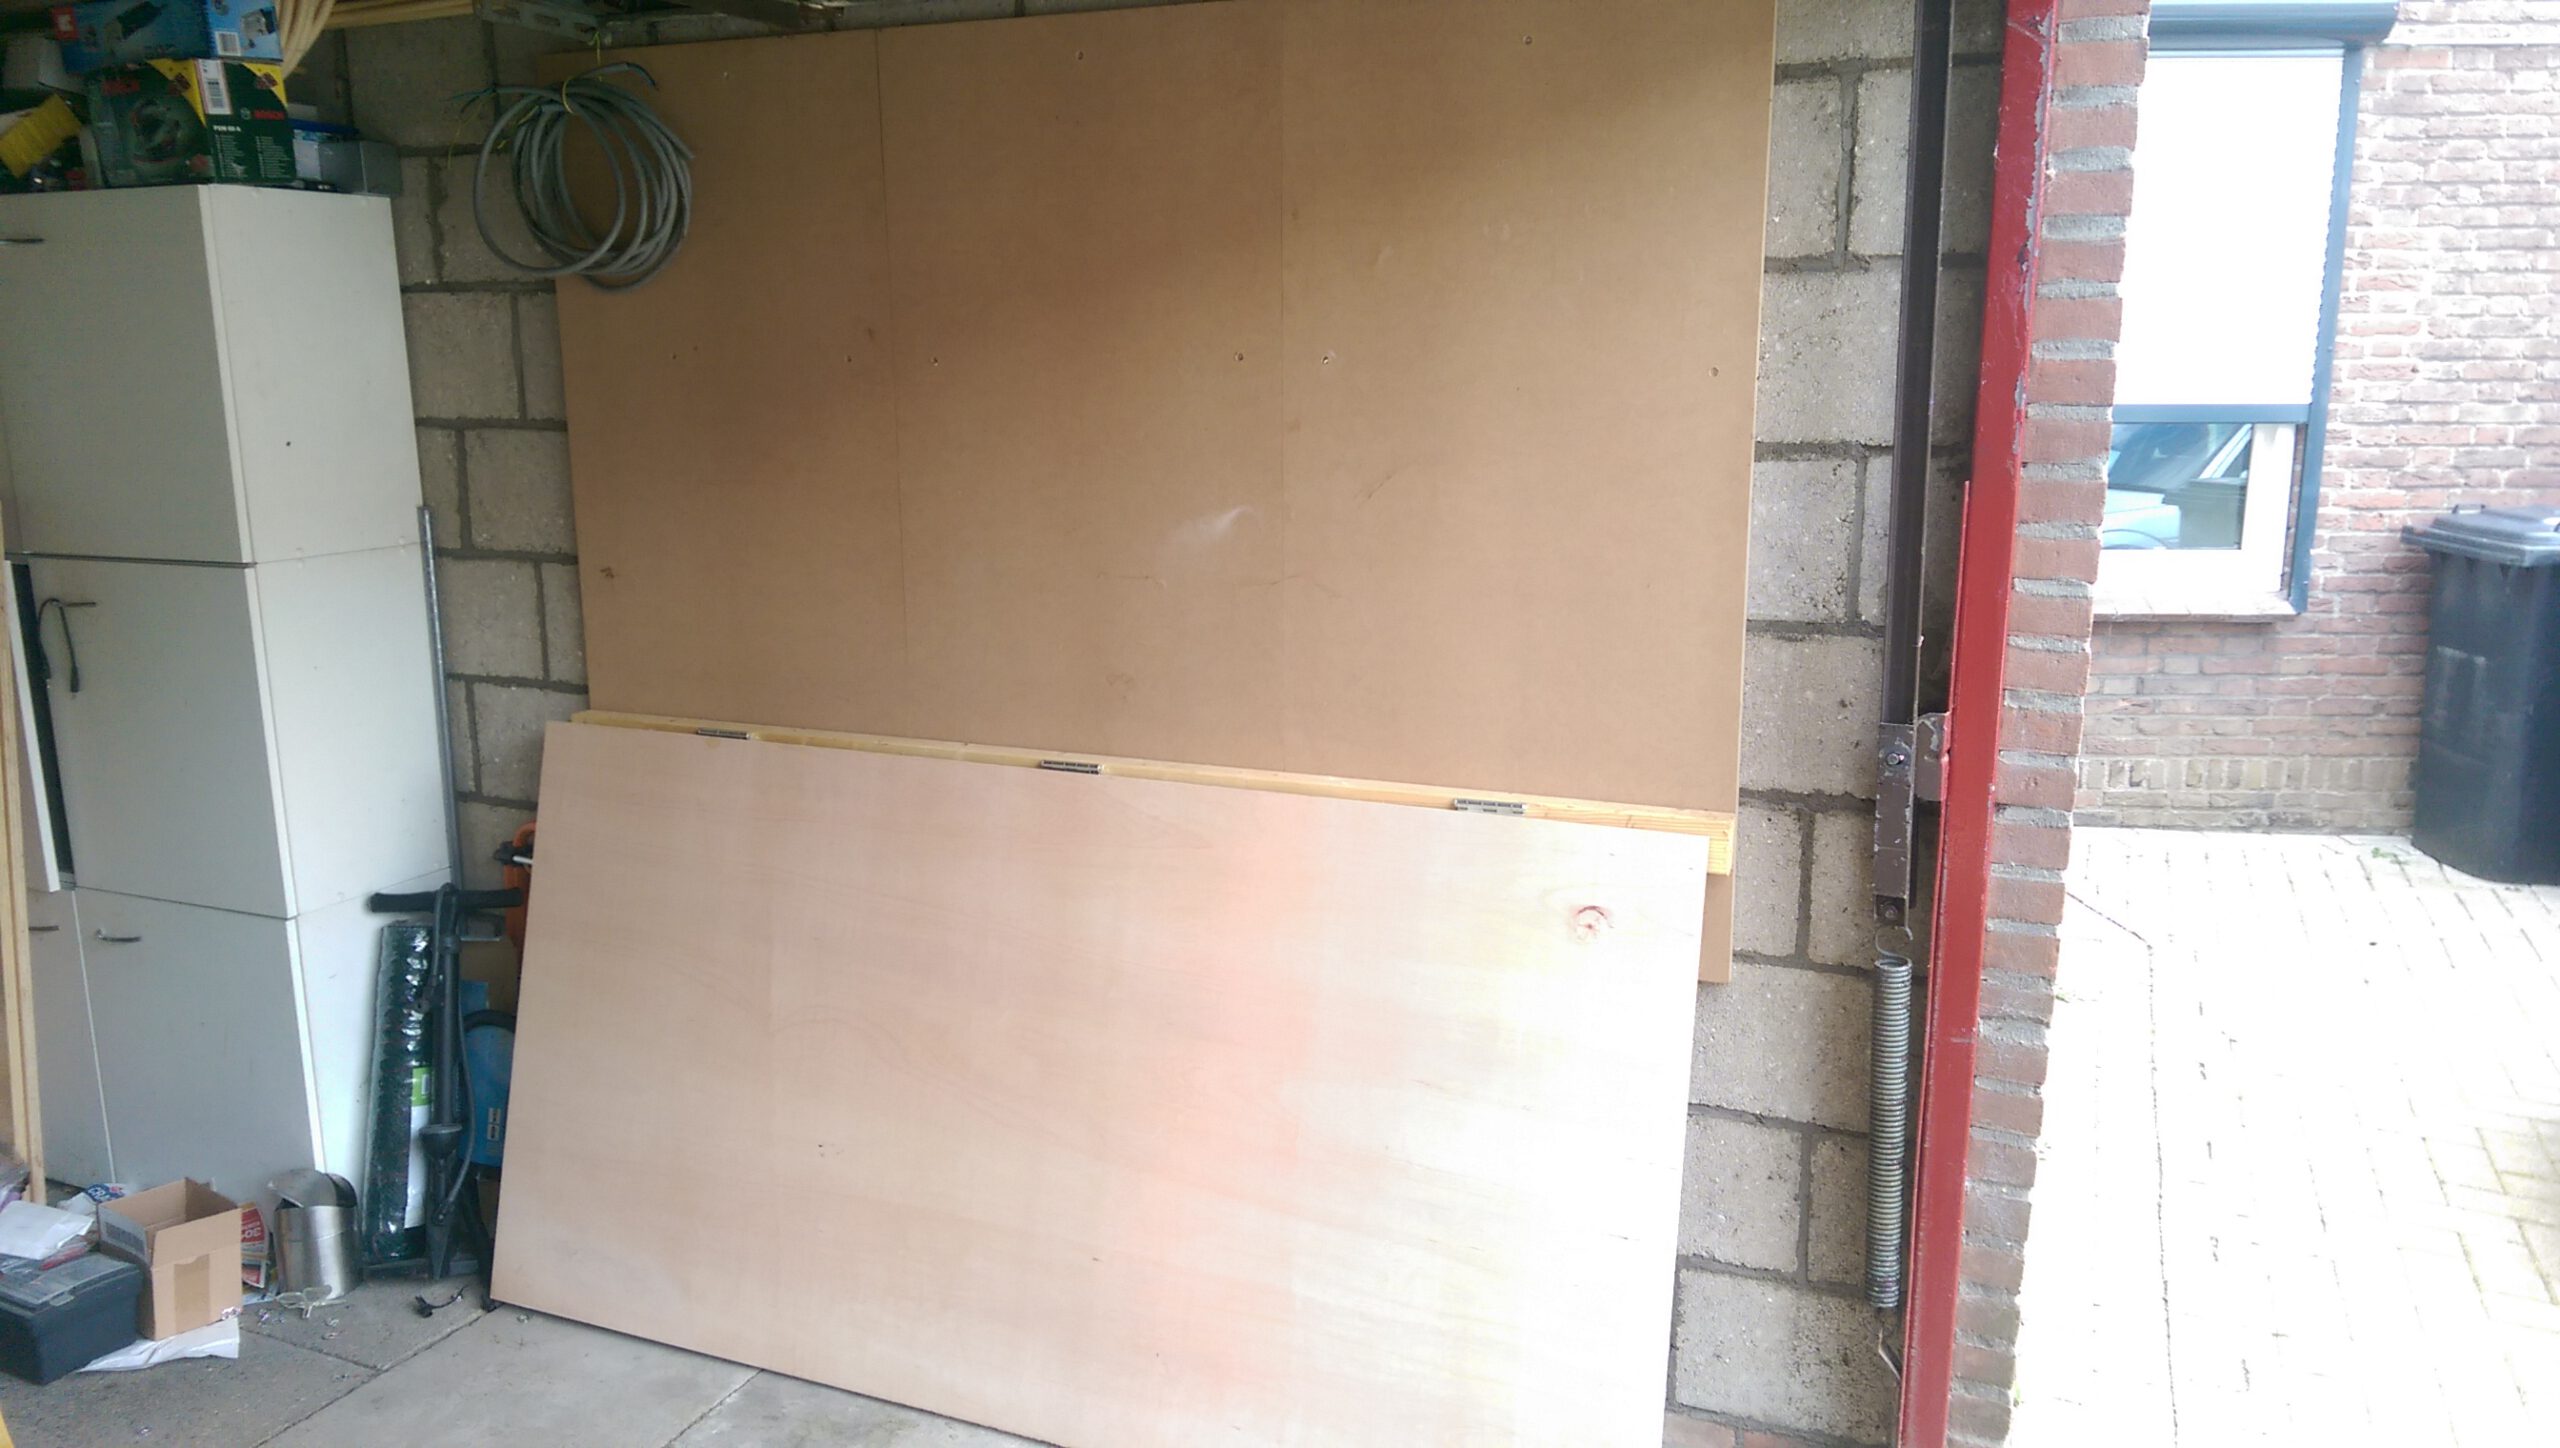
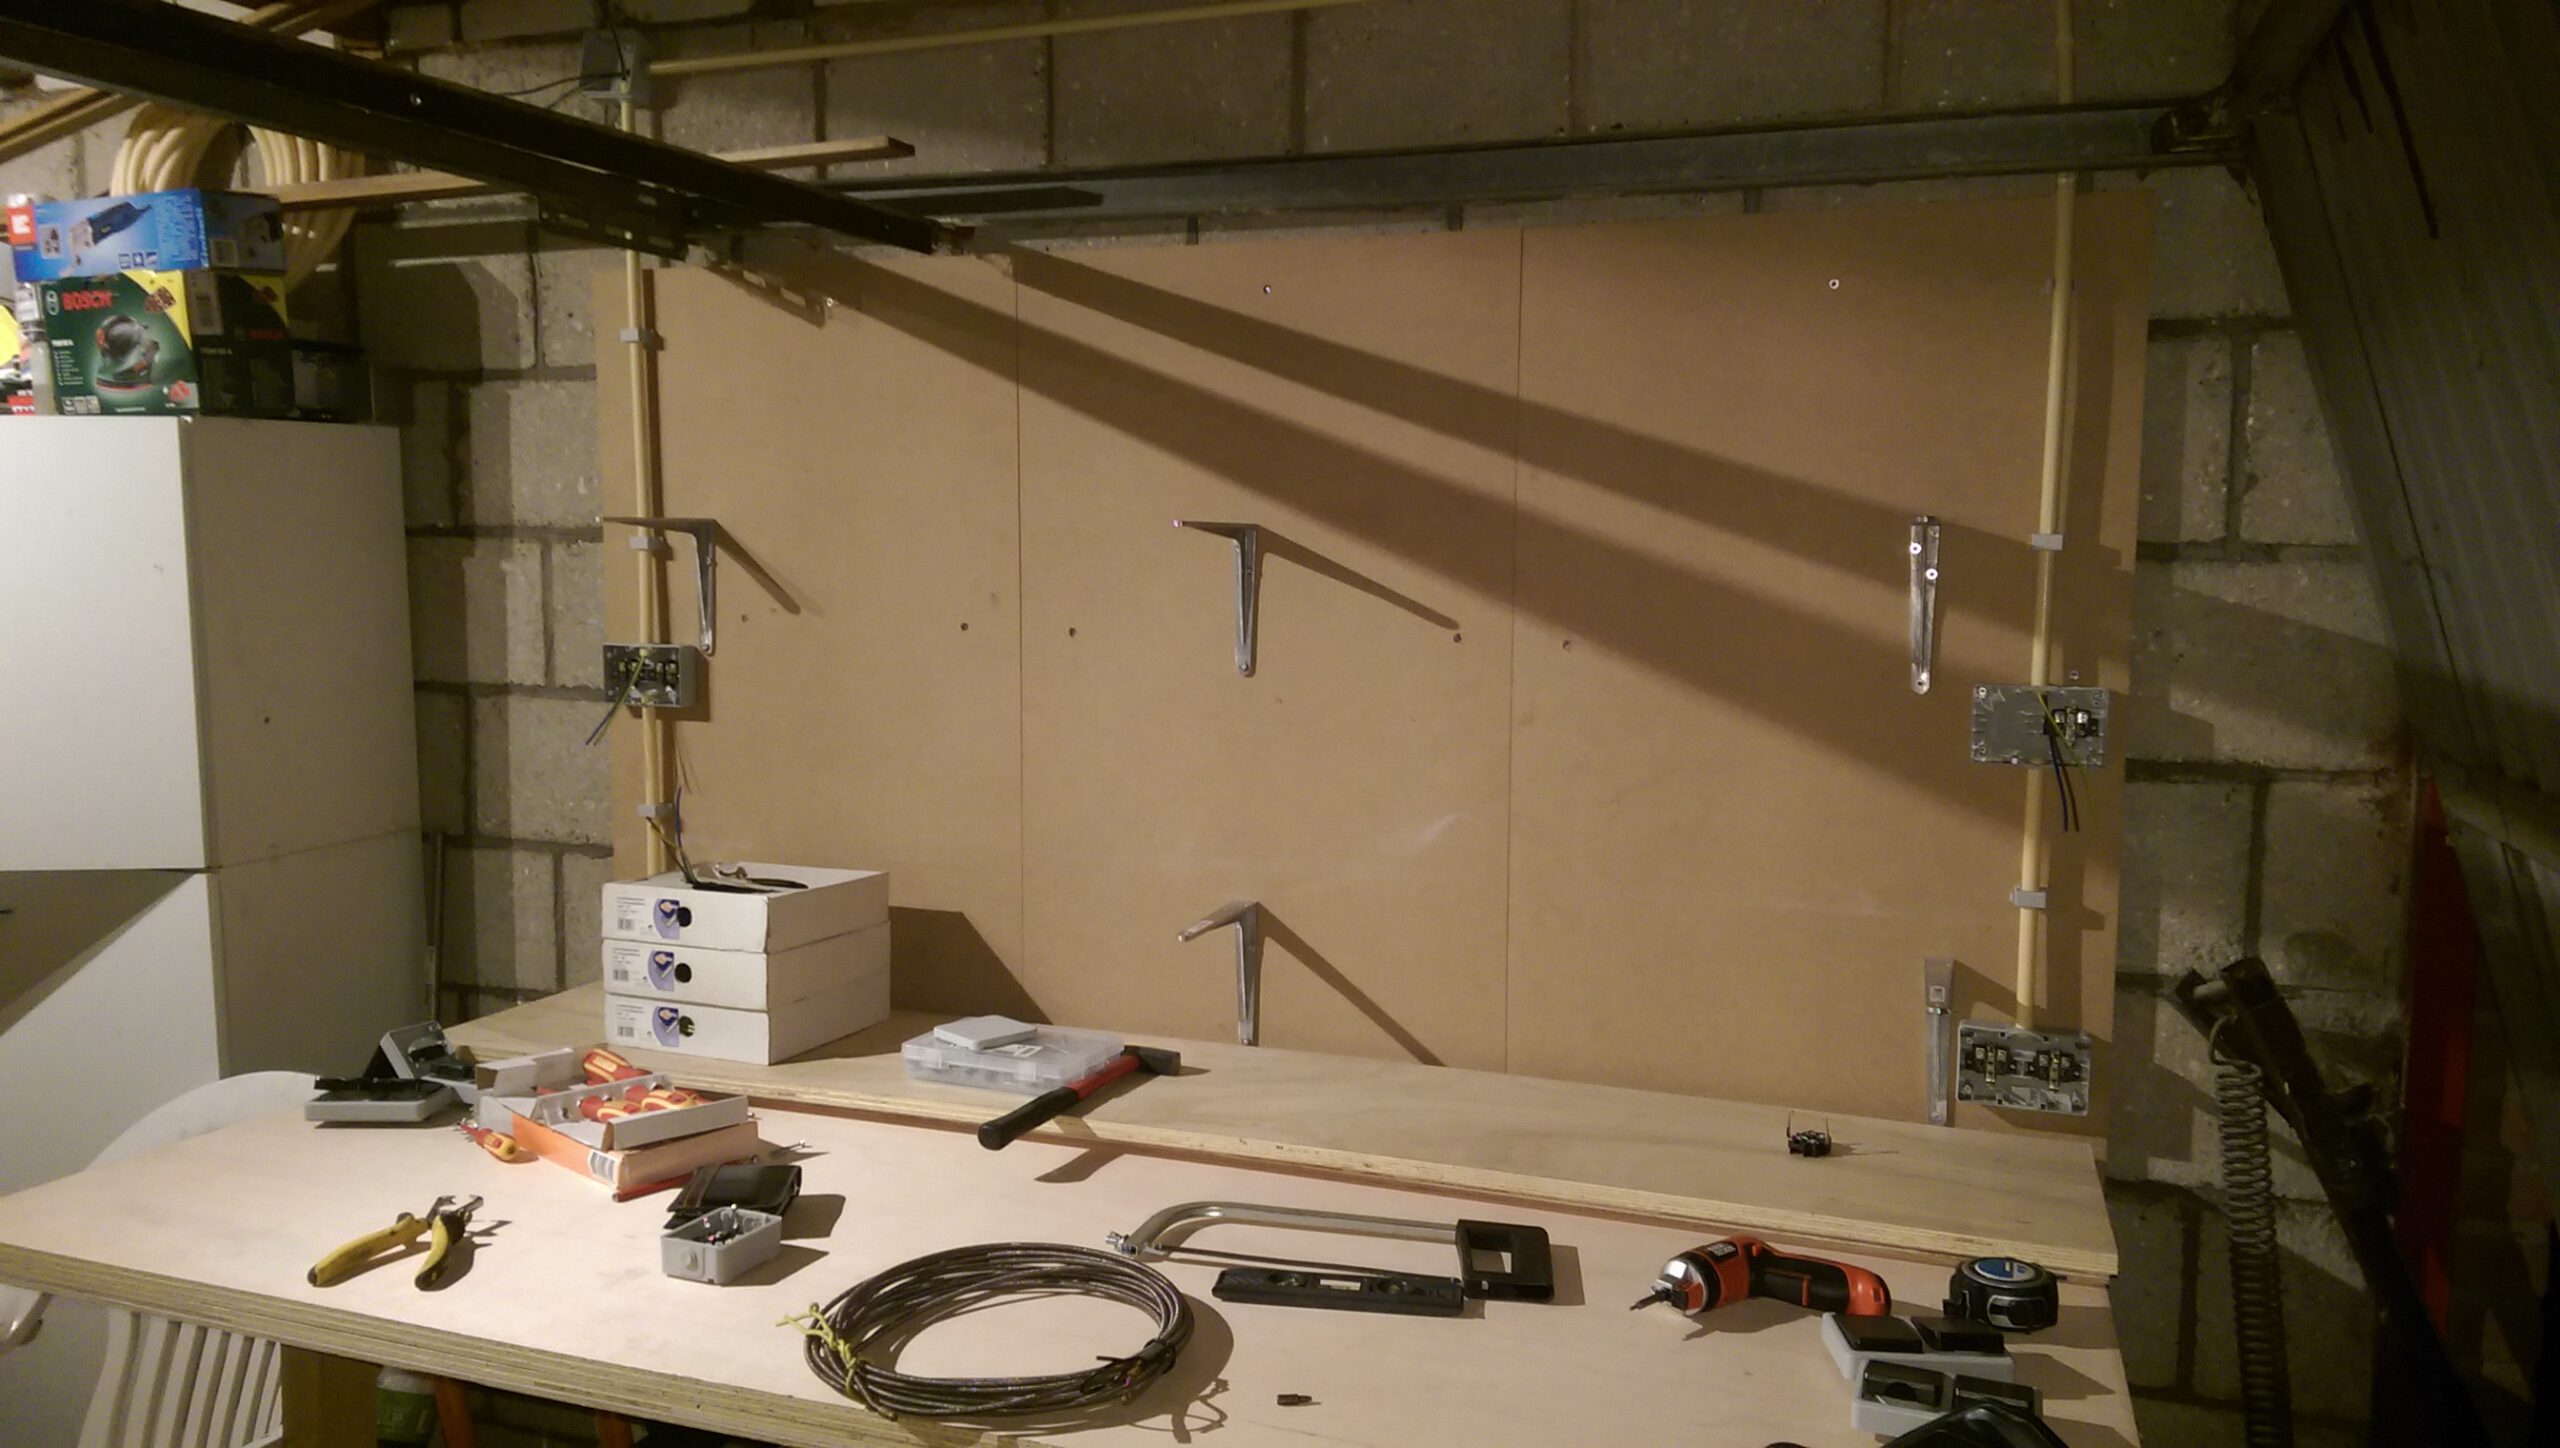
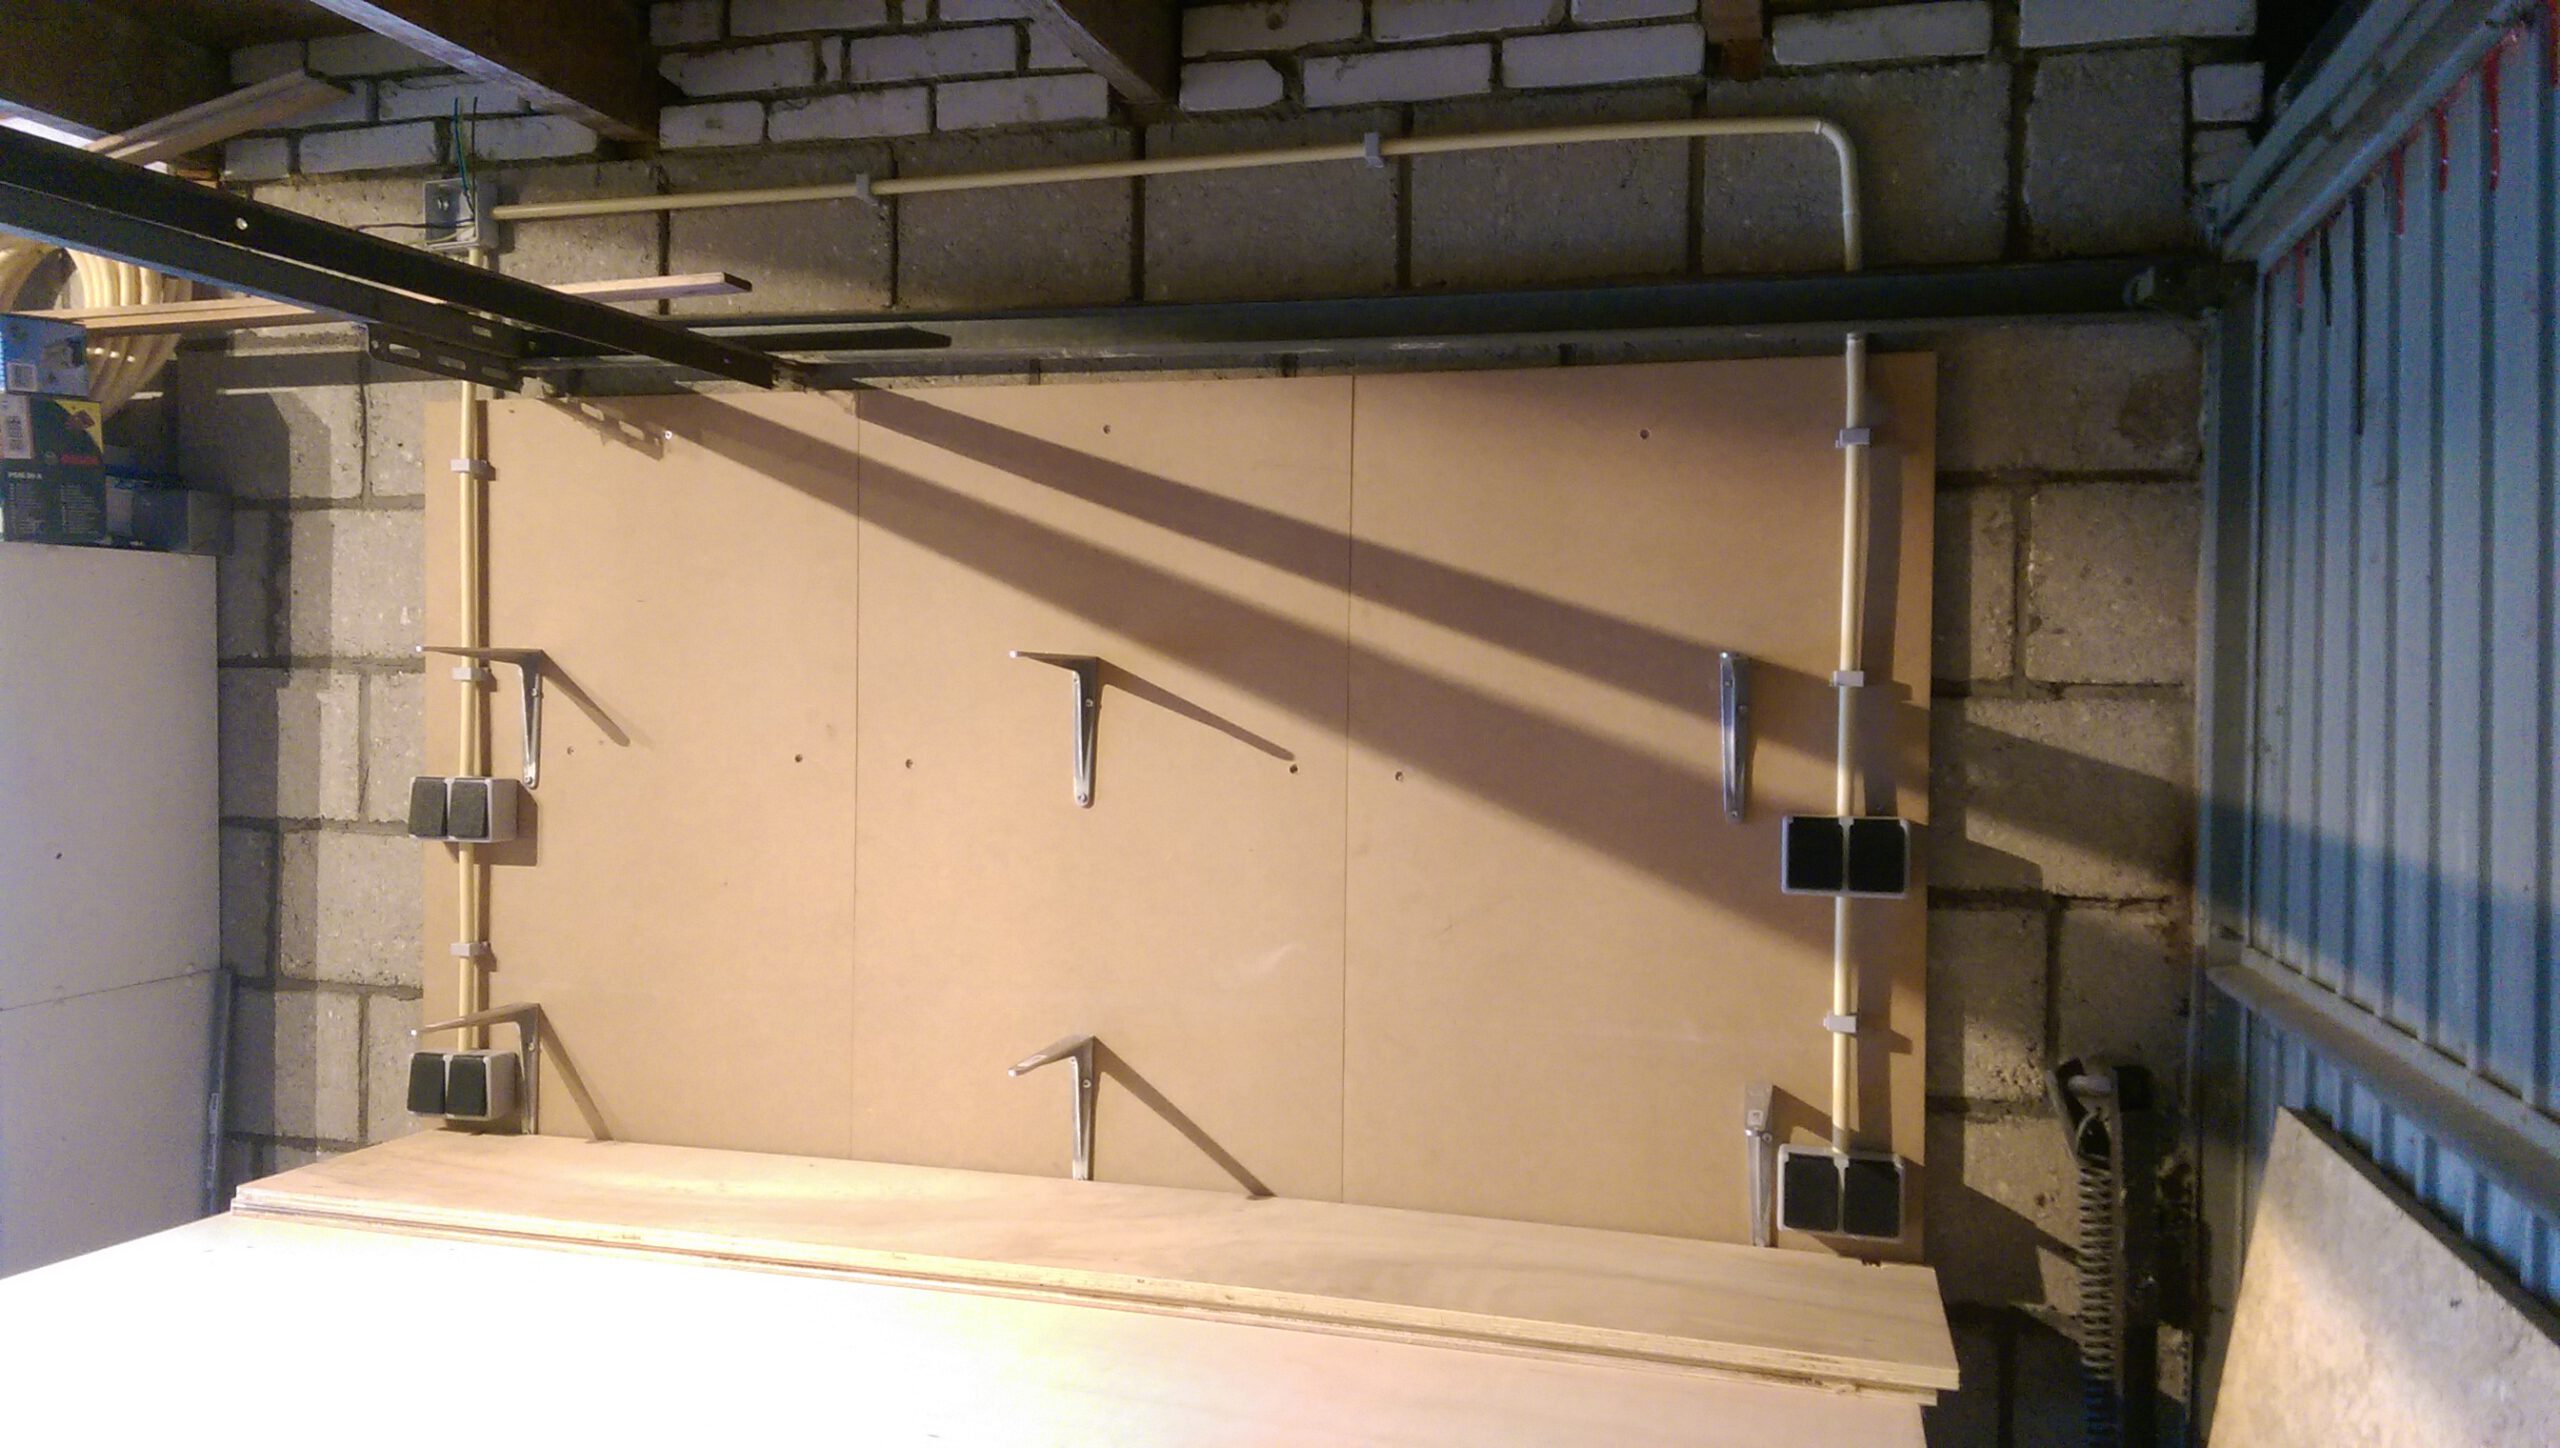
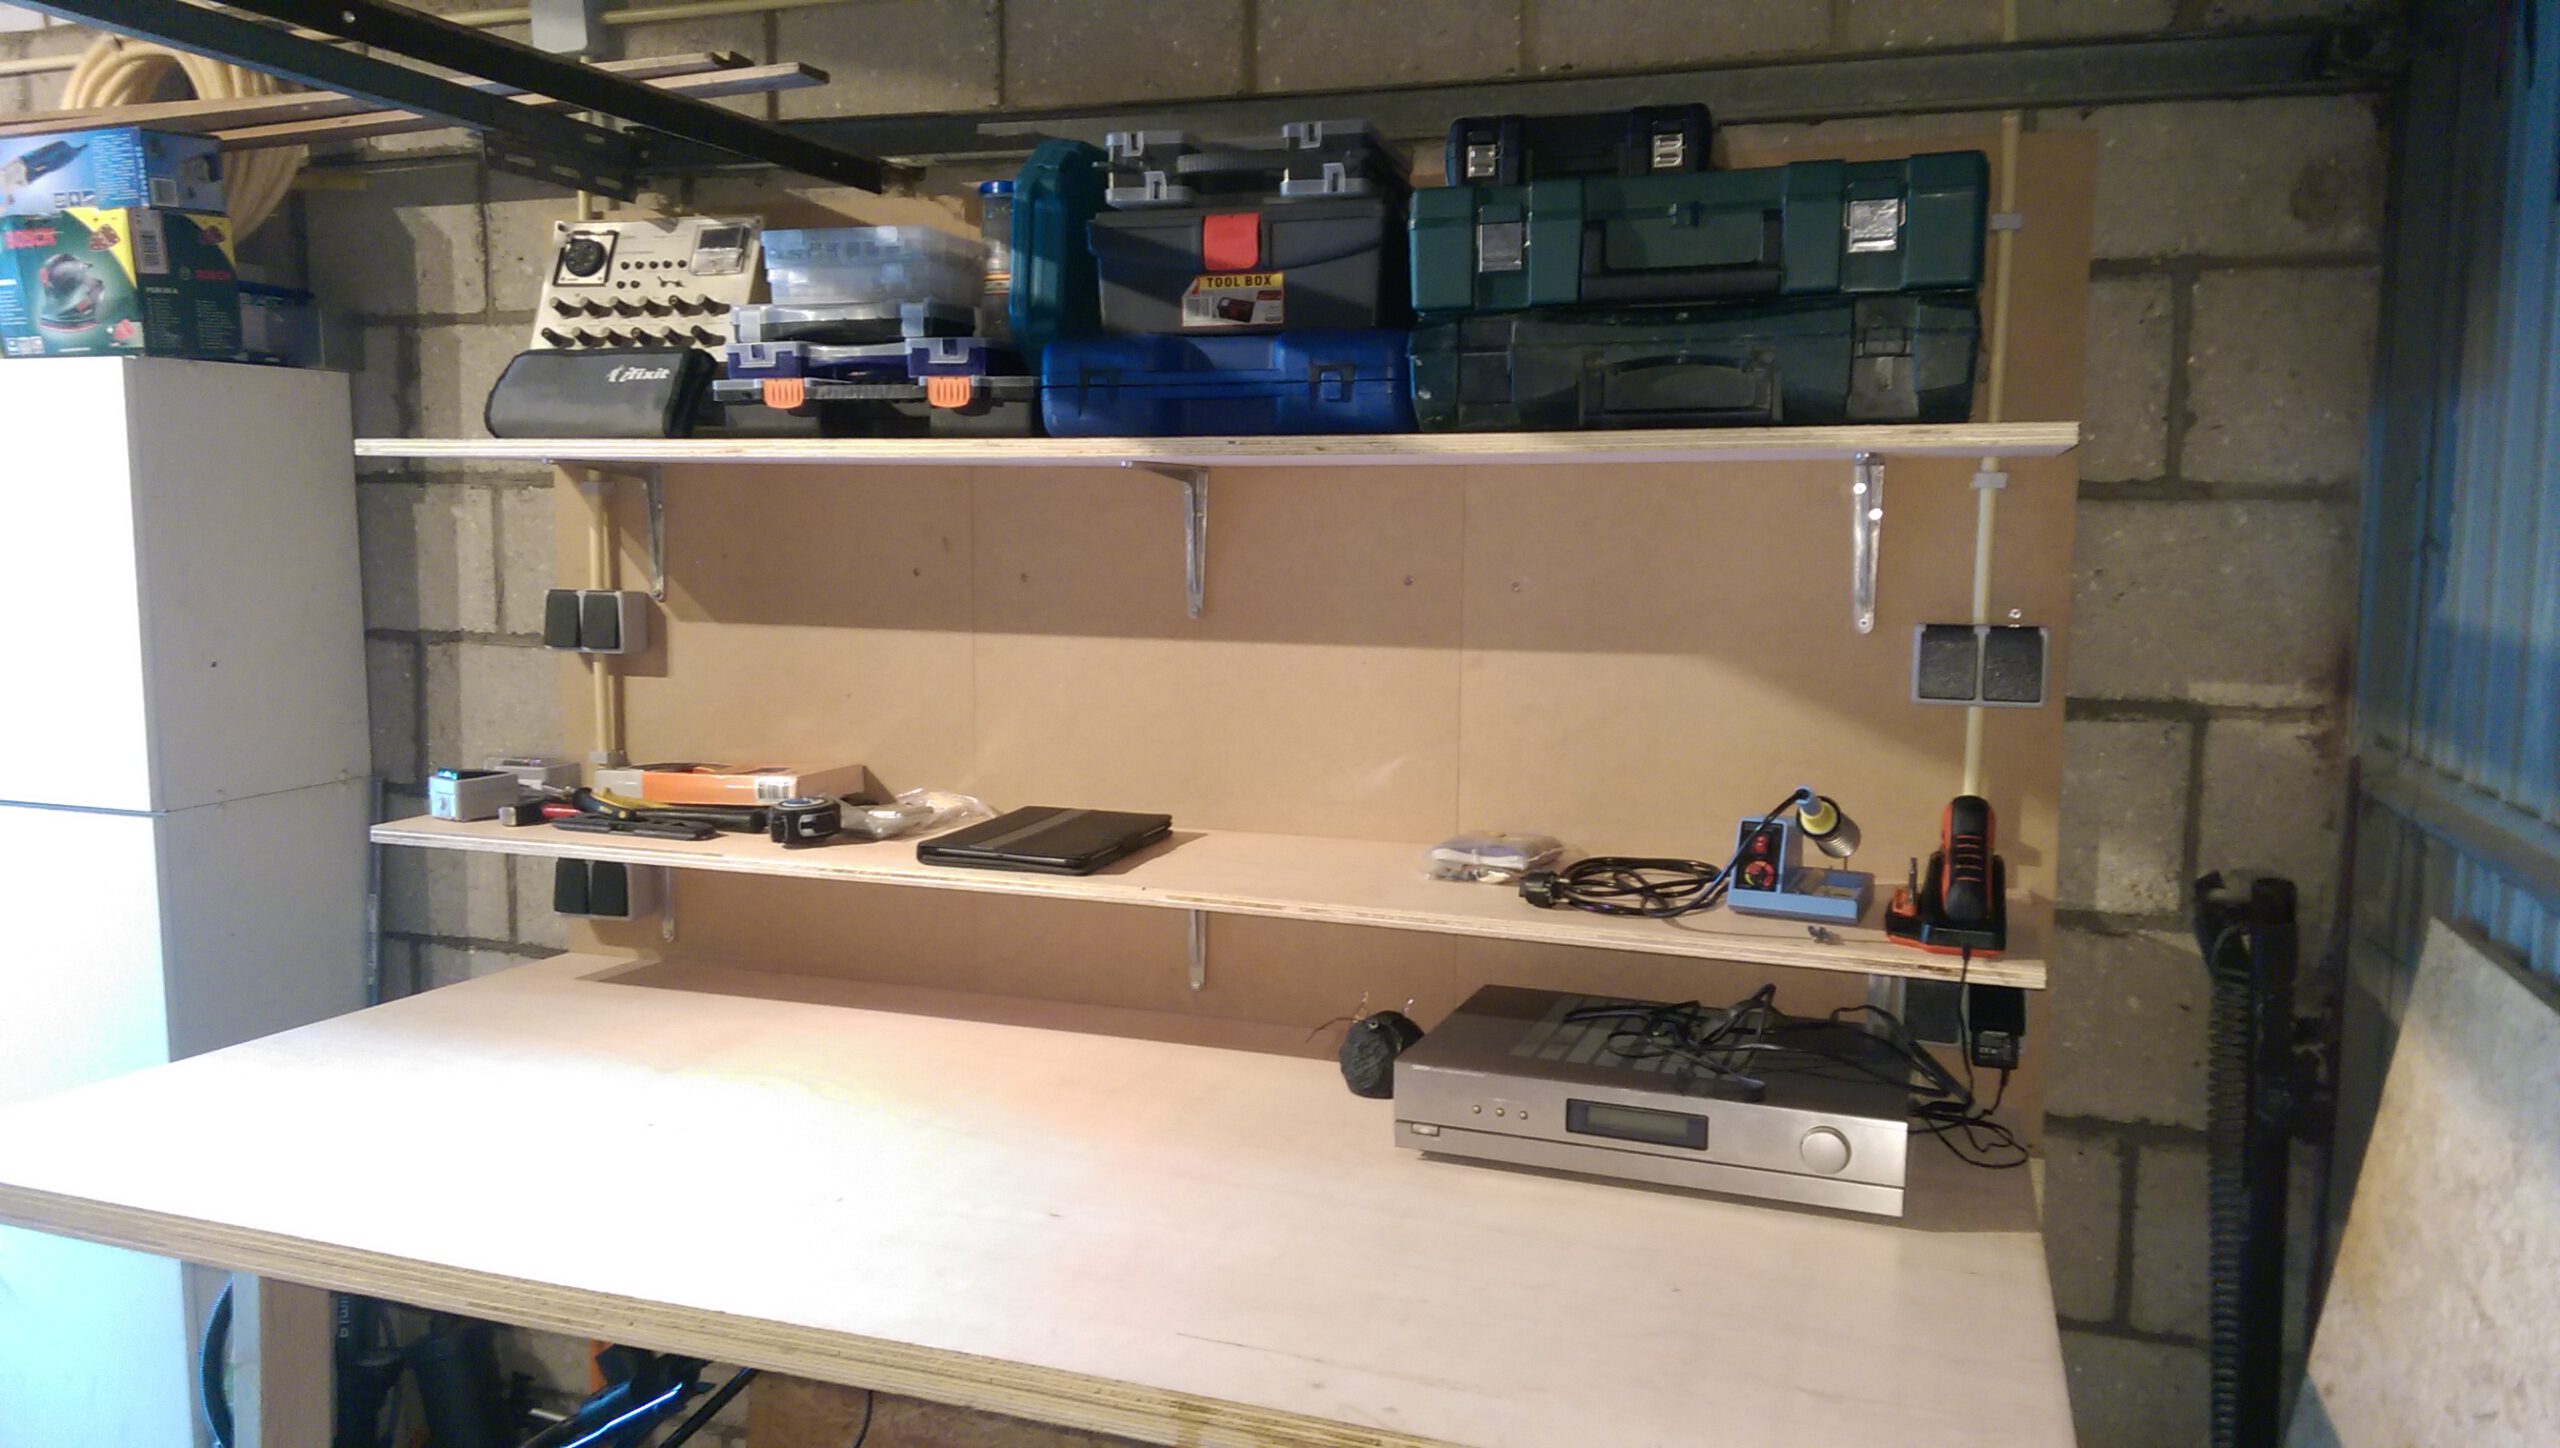
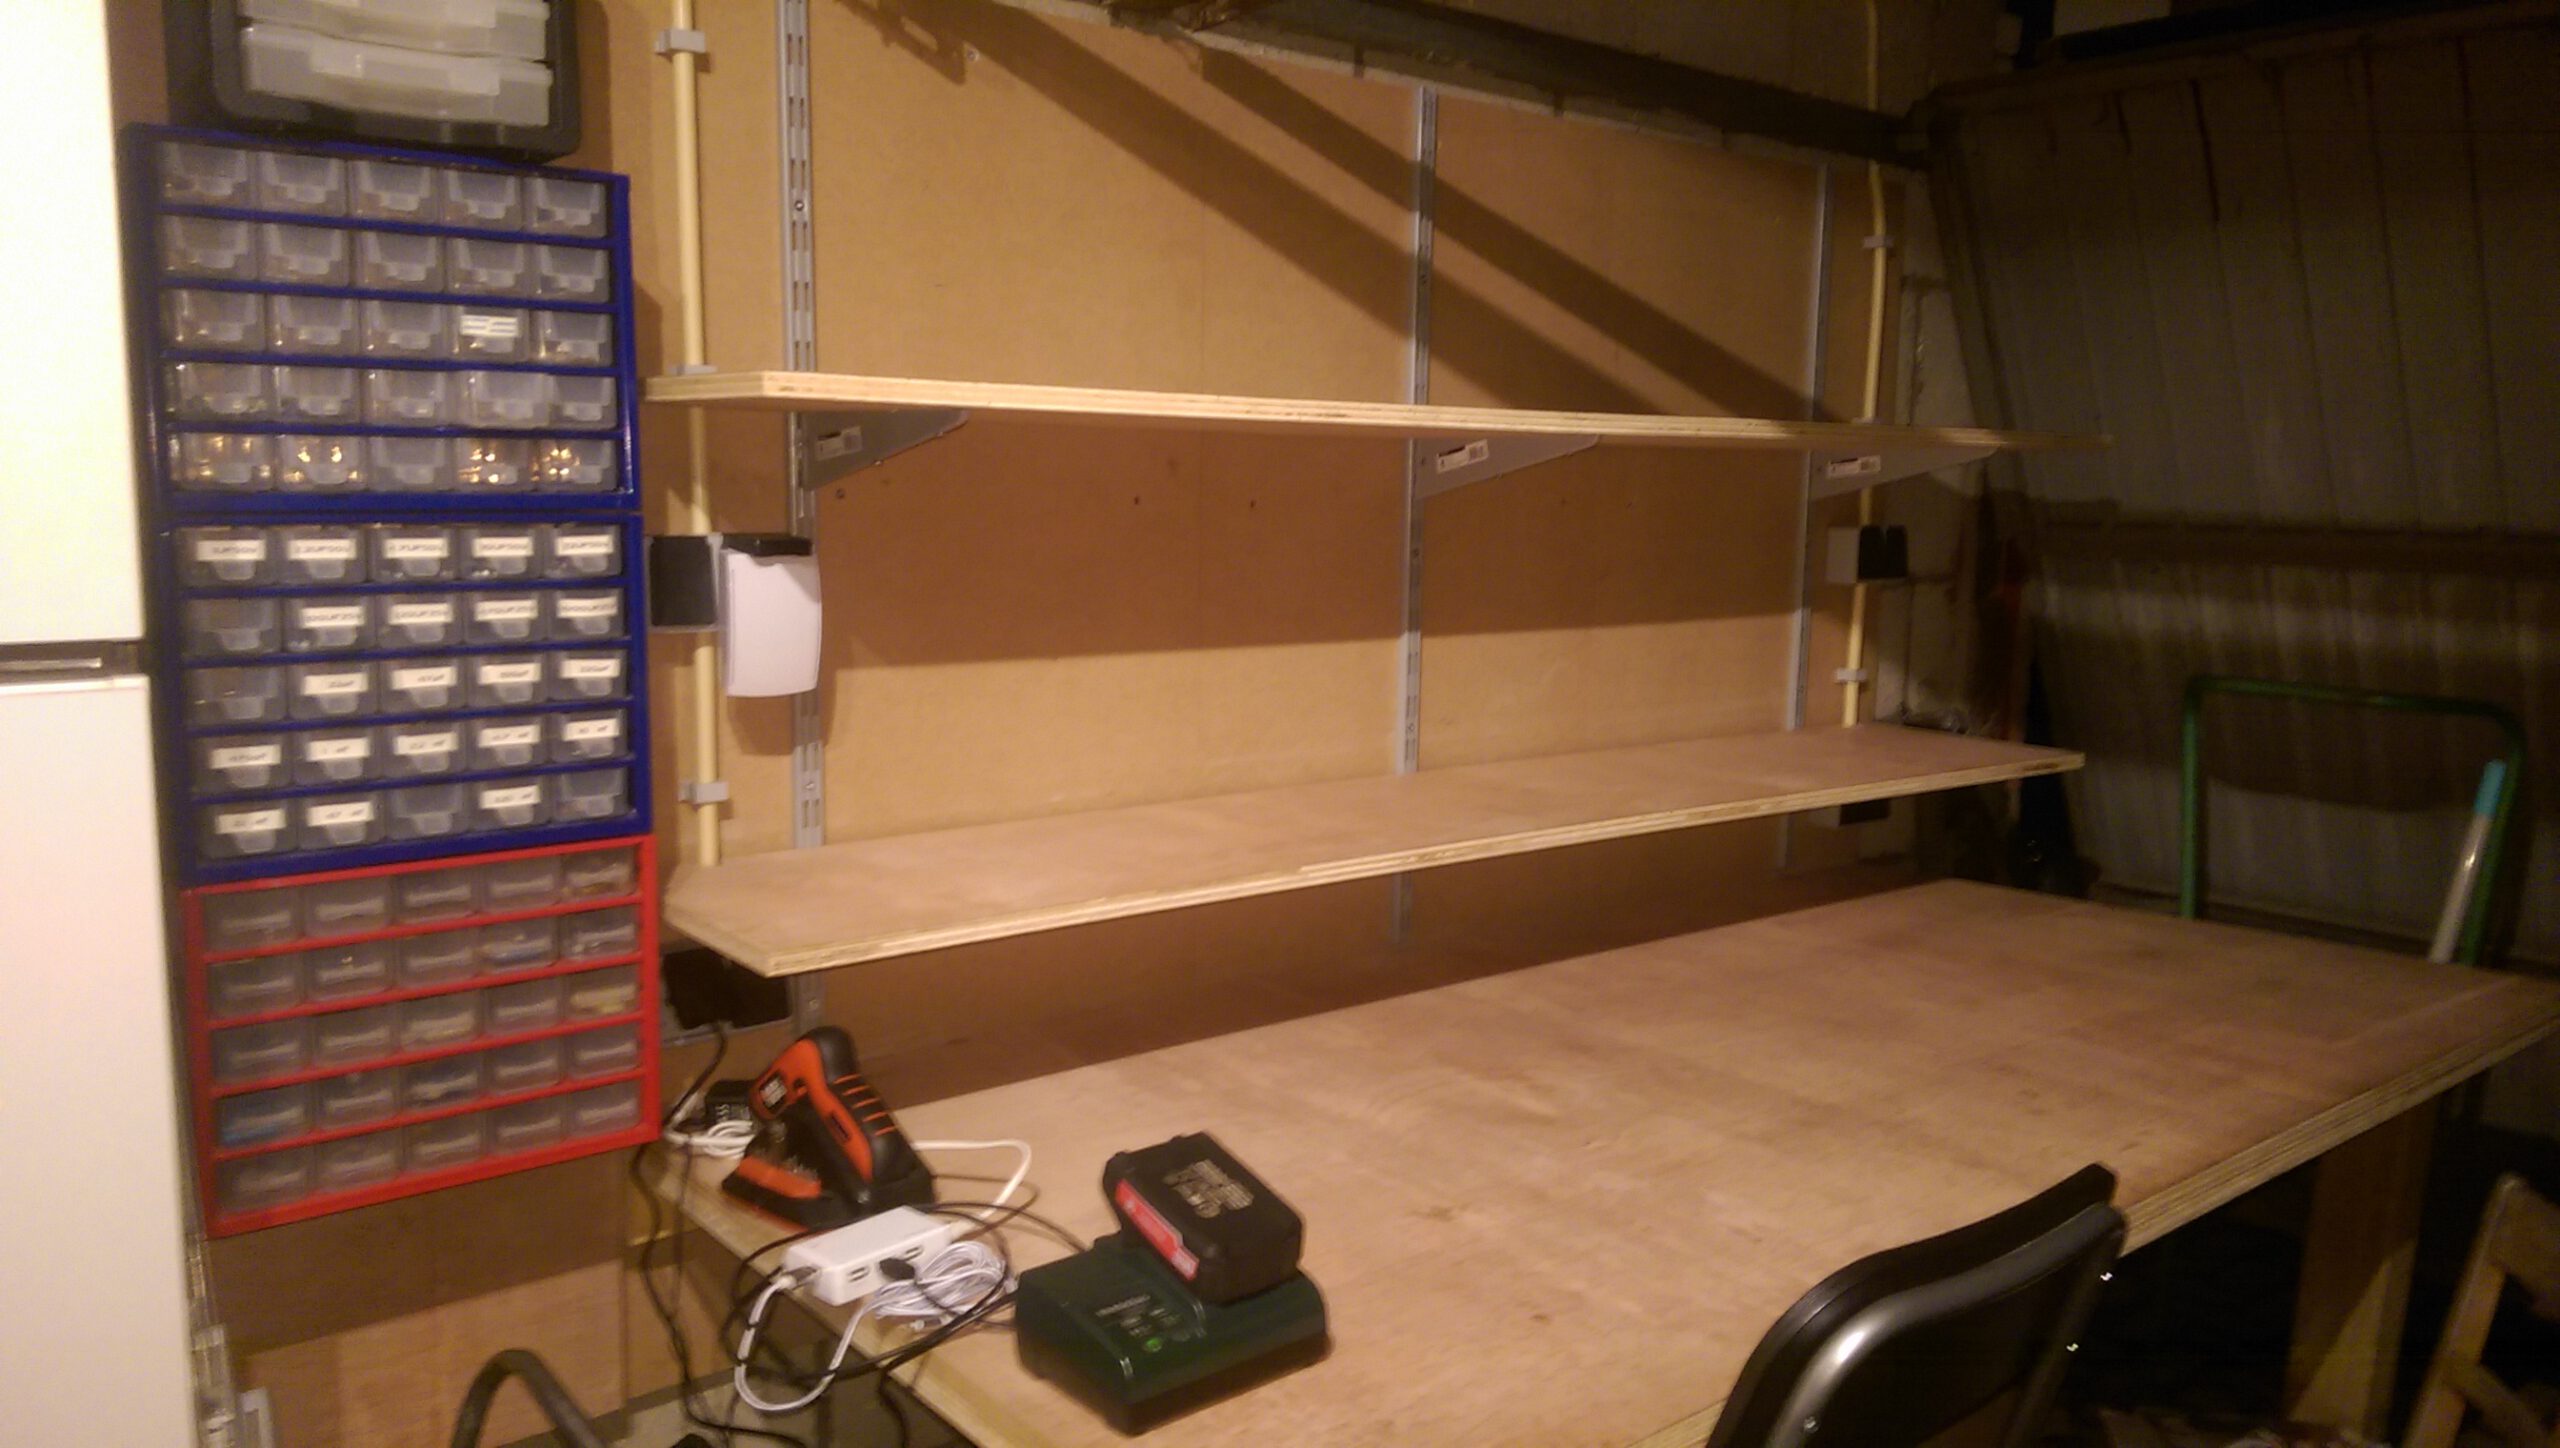
Next up was shelving, I decided against using French cleats as I felt it wouldn’t give me the look I wanted this area to have so I used fixed mounts. I was glad the guy at the hardware store cut the sides first because this gave me two boards the same width as the bench and at a very nice depth. This just worked out perfectly 🙂

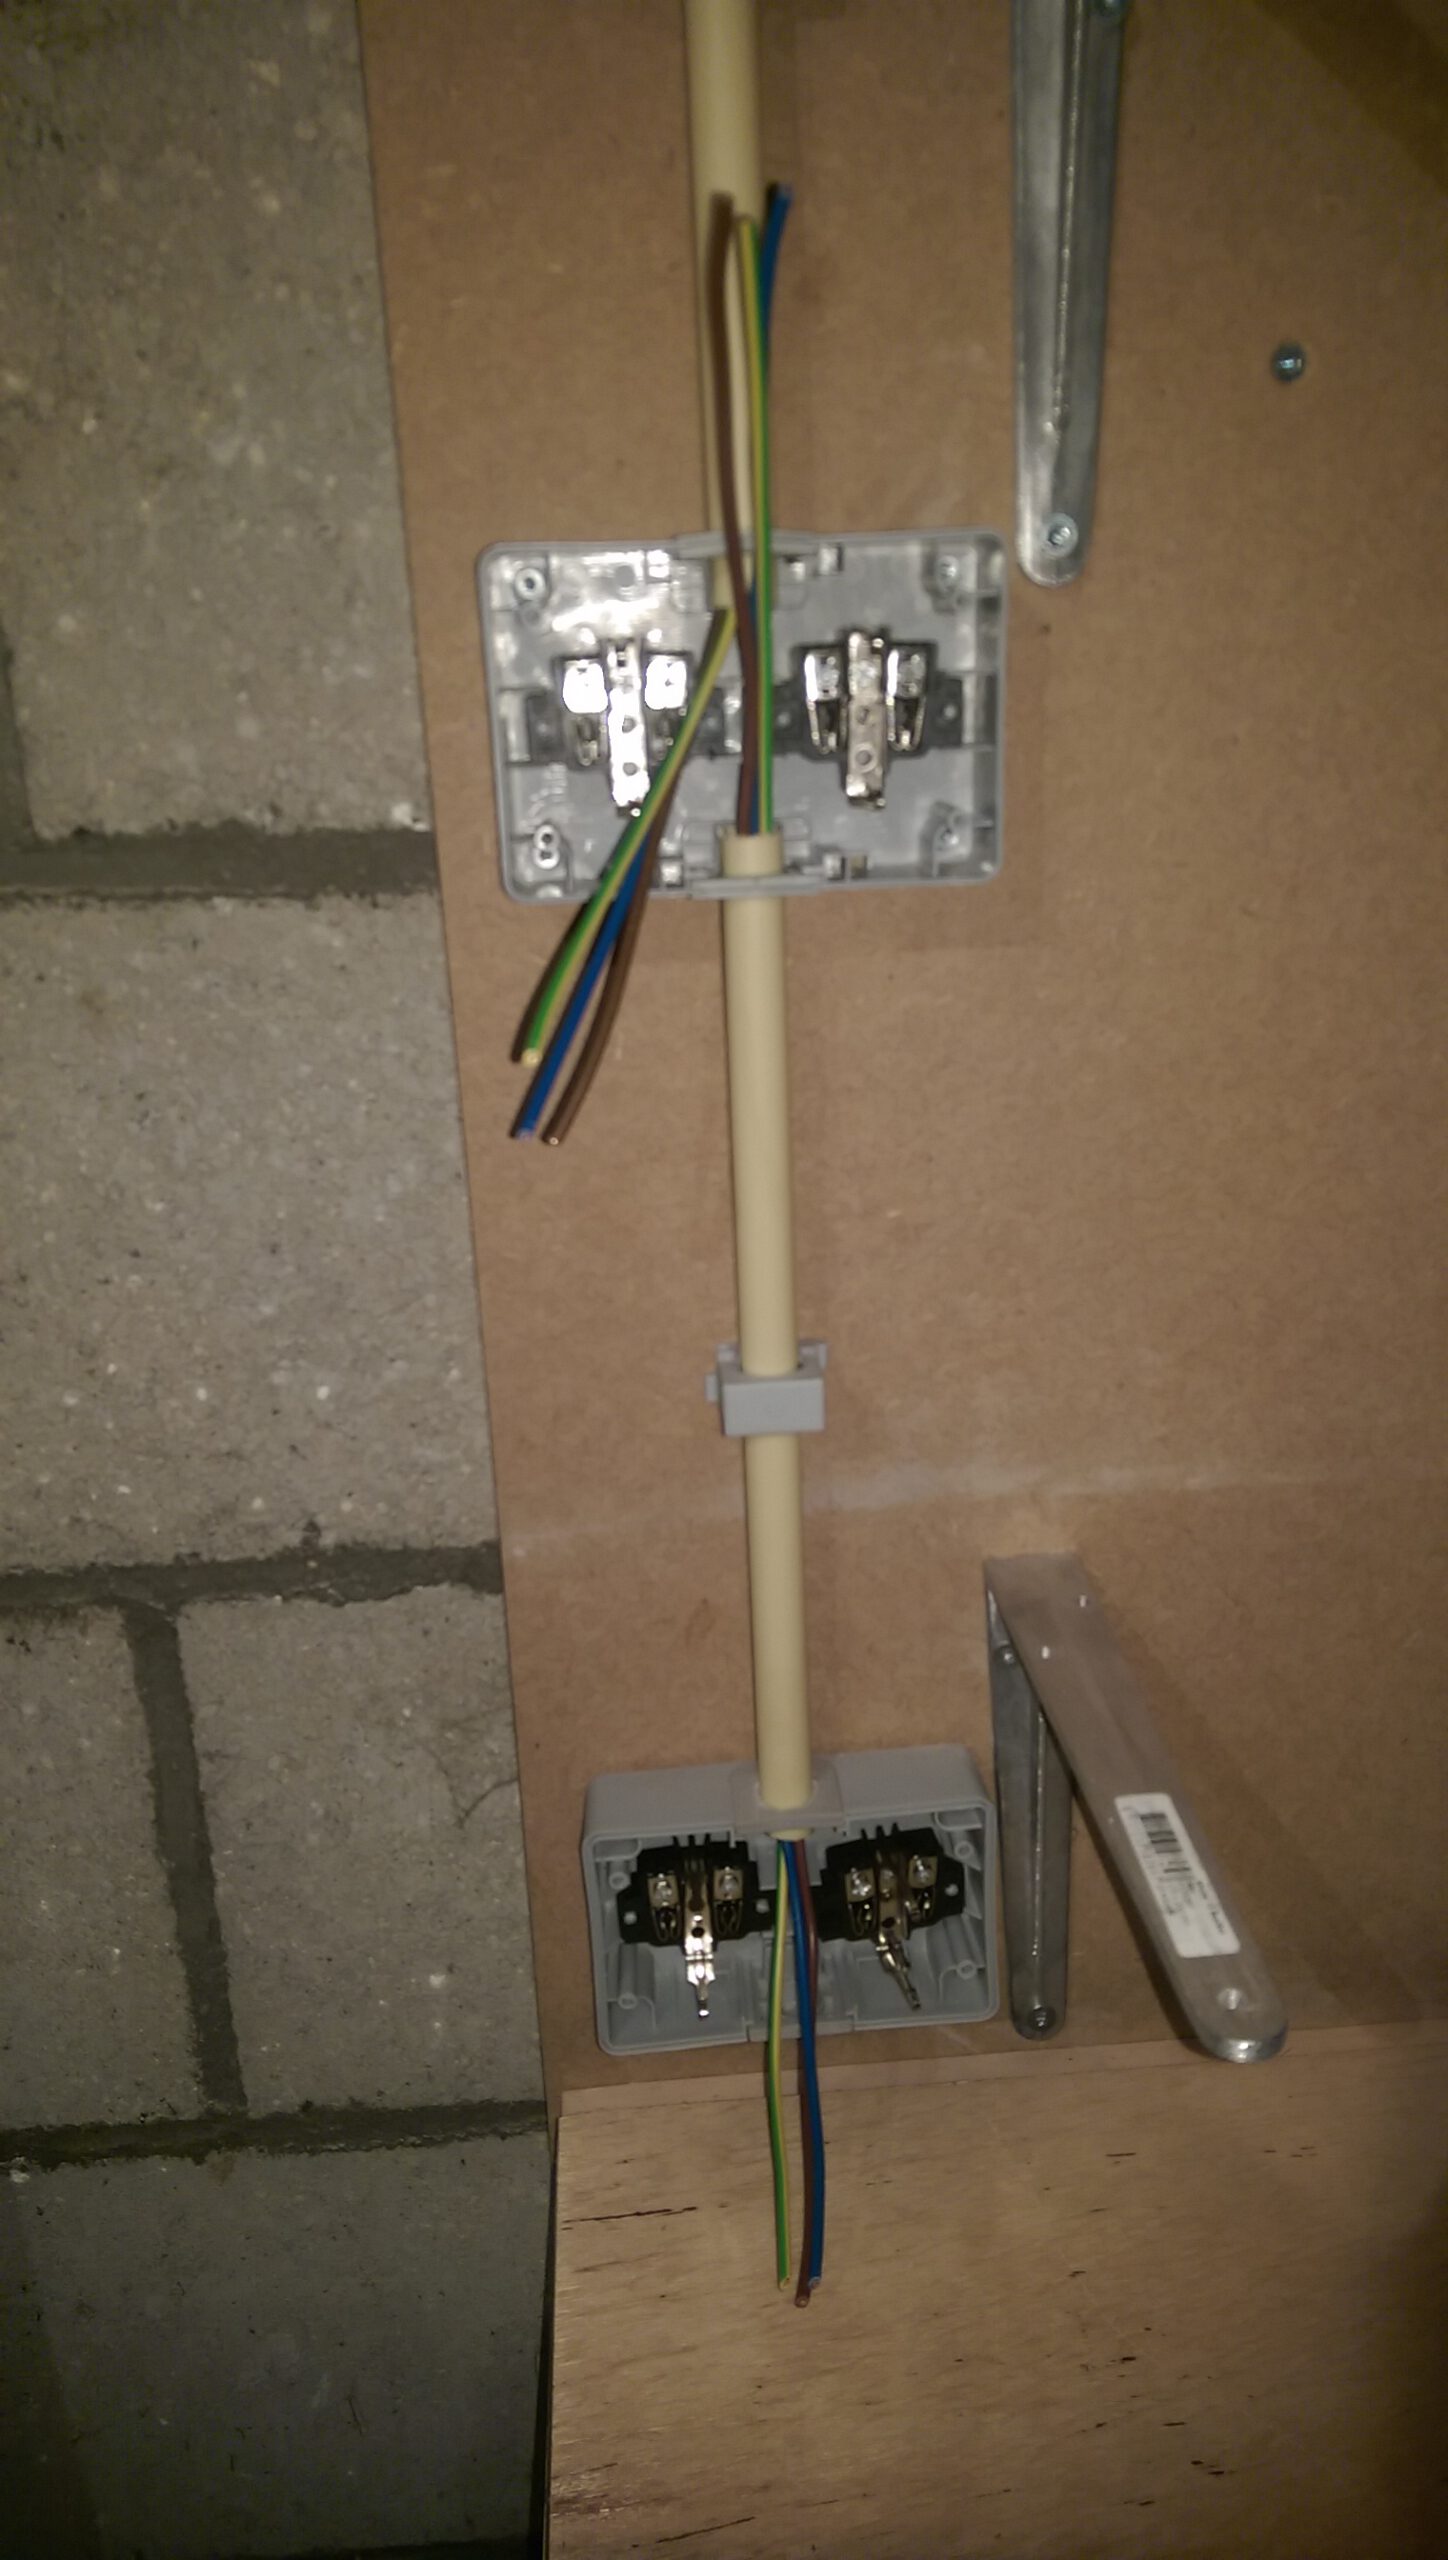
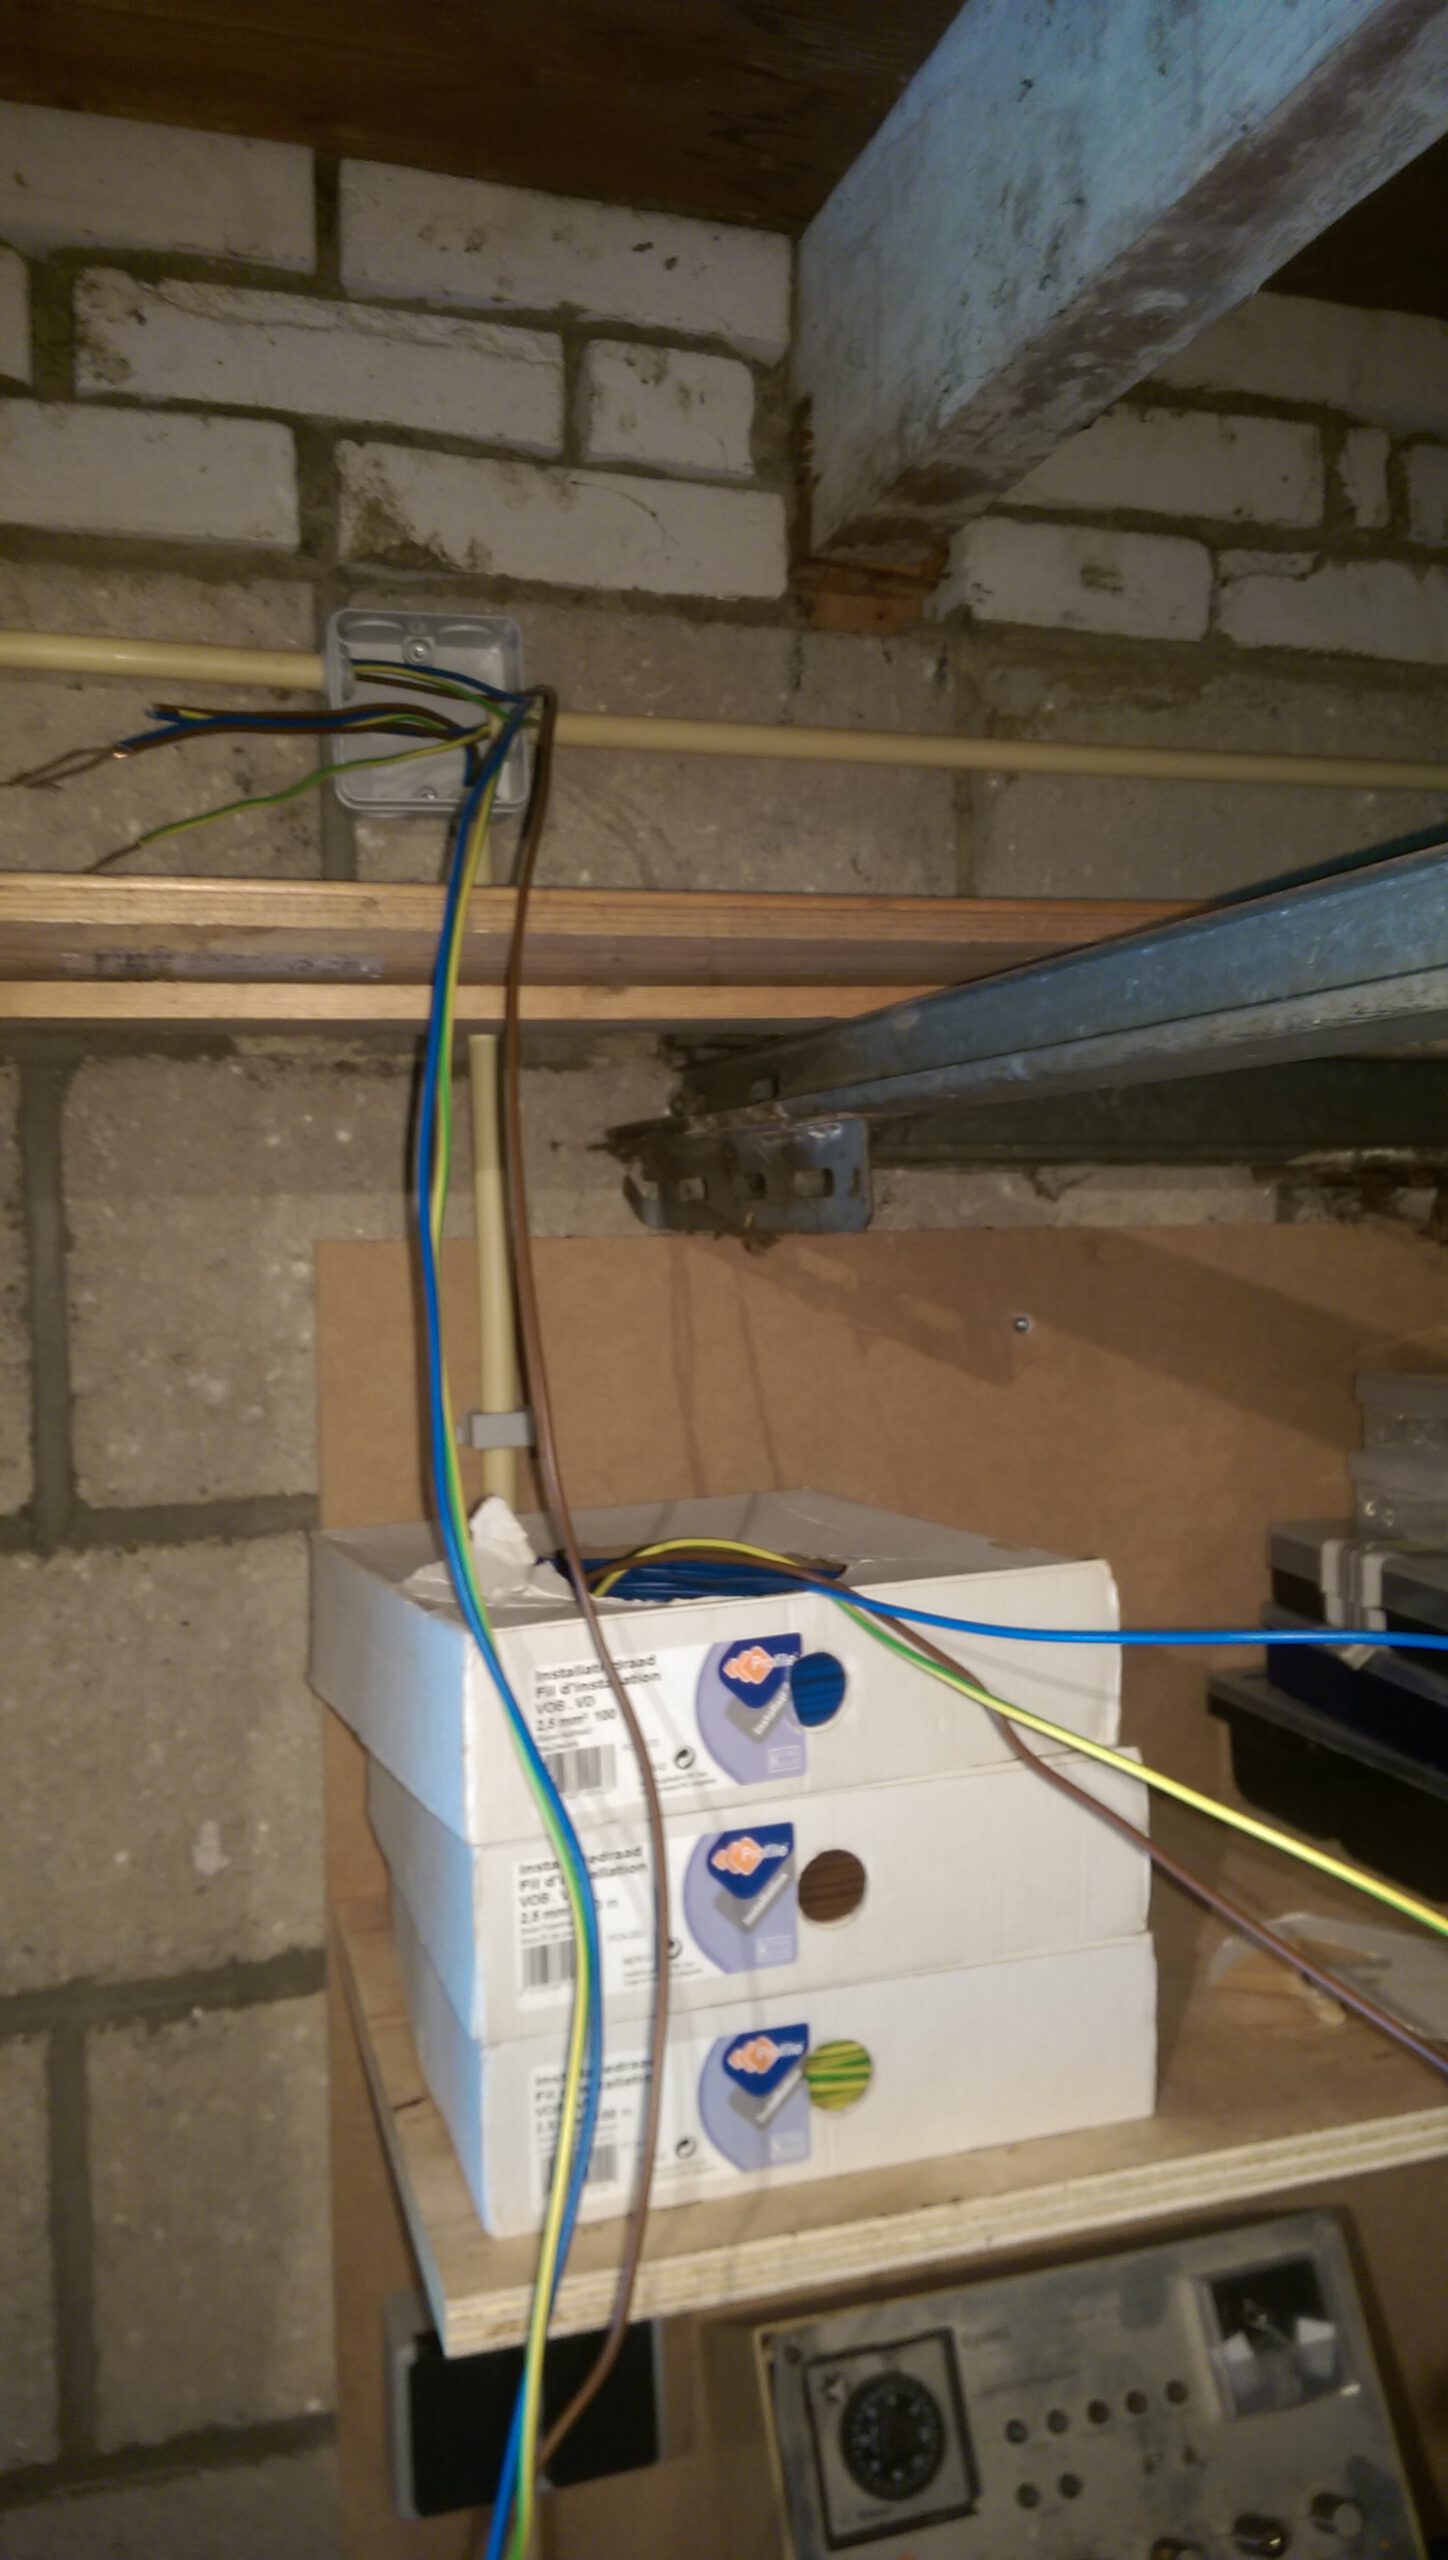
Next up was getting power hooked up, this side of the garage didn’t have power yet so I proceeded with installing the PVC tubing for that, mounting the sockets and hooking everything up.
Make sure to turn the power of to the area you’re working on and hang a note on the fuse so someone else doesn’t turn it back on while you’re working on it 😉
Also I like to make sure I have enough length of wire in the junction boxes to make it easy to work on now but also in the future, messing around with short wiring sucks and makes it all very fiddly to work on!


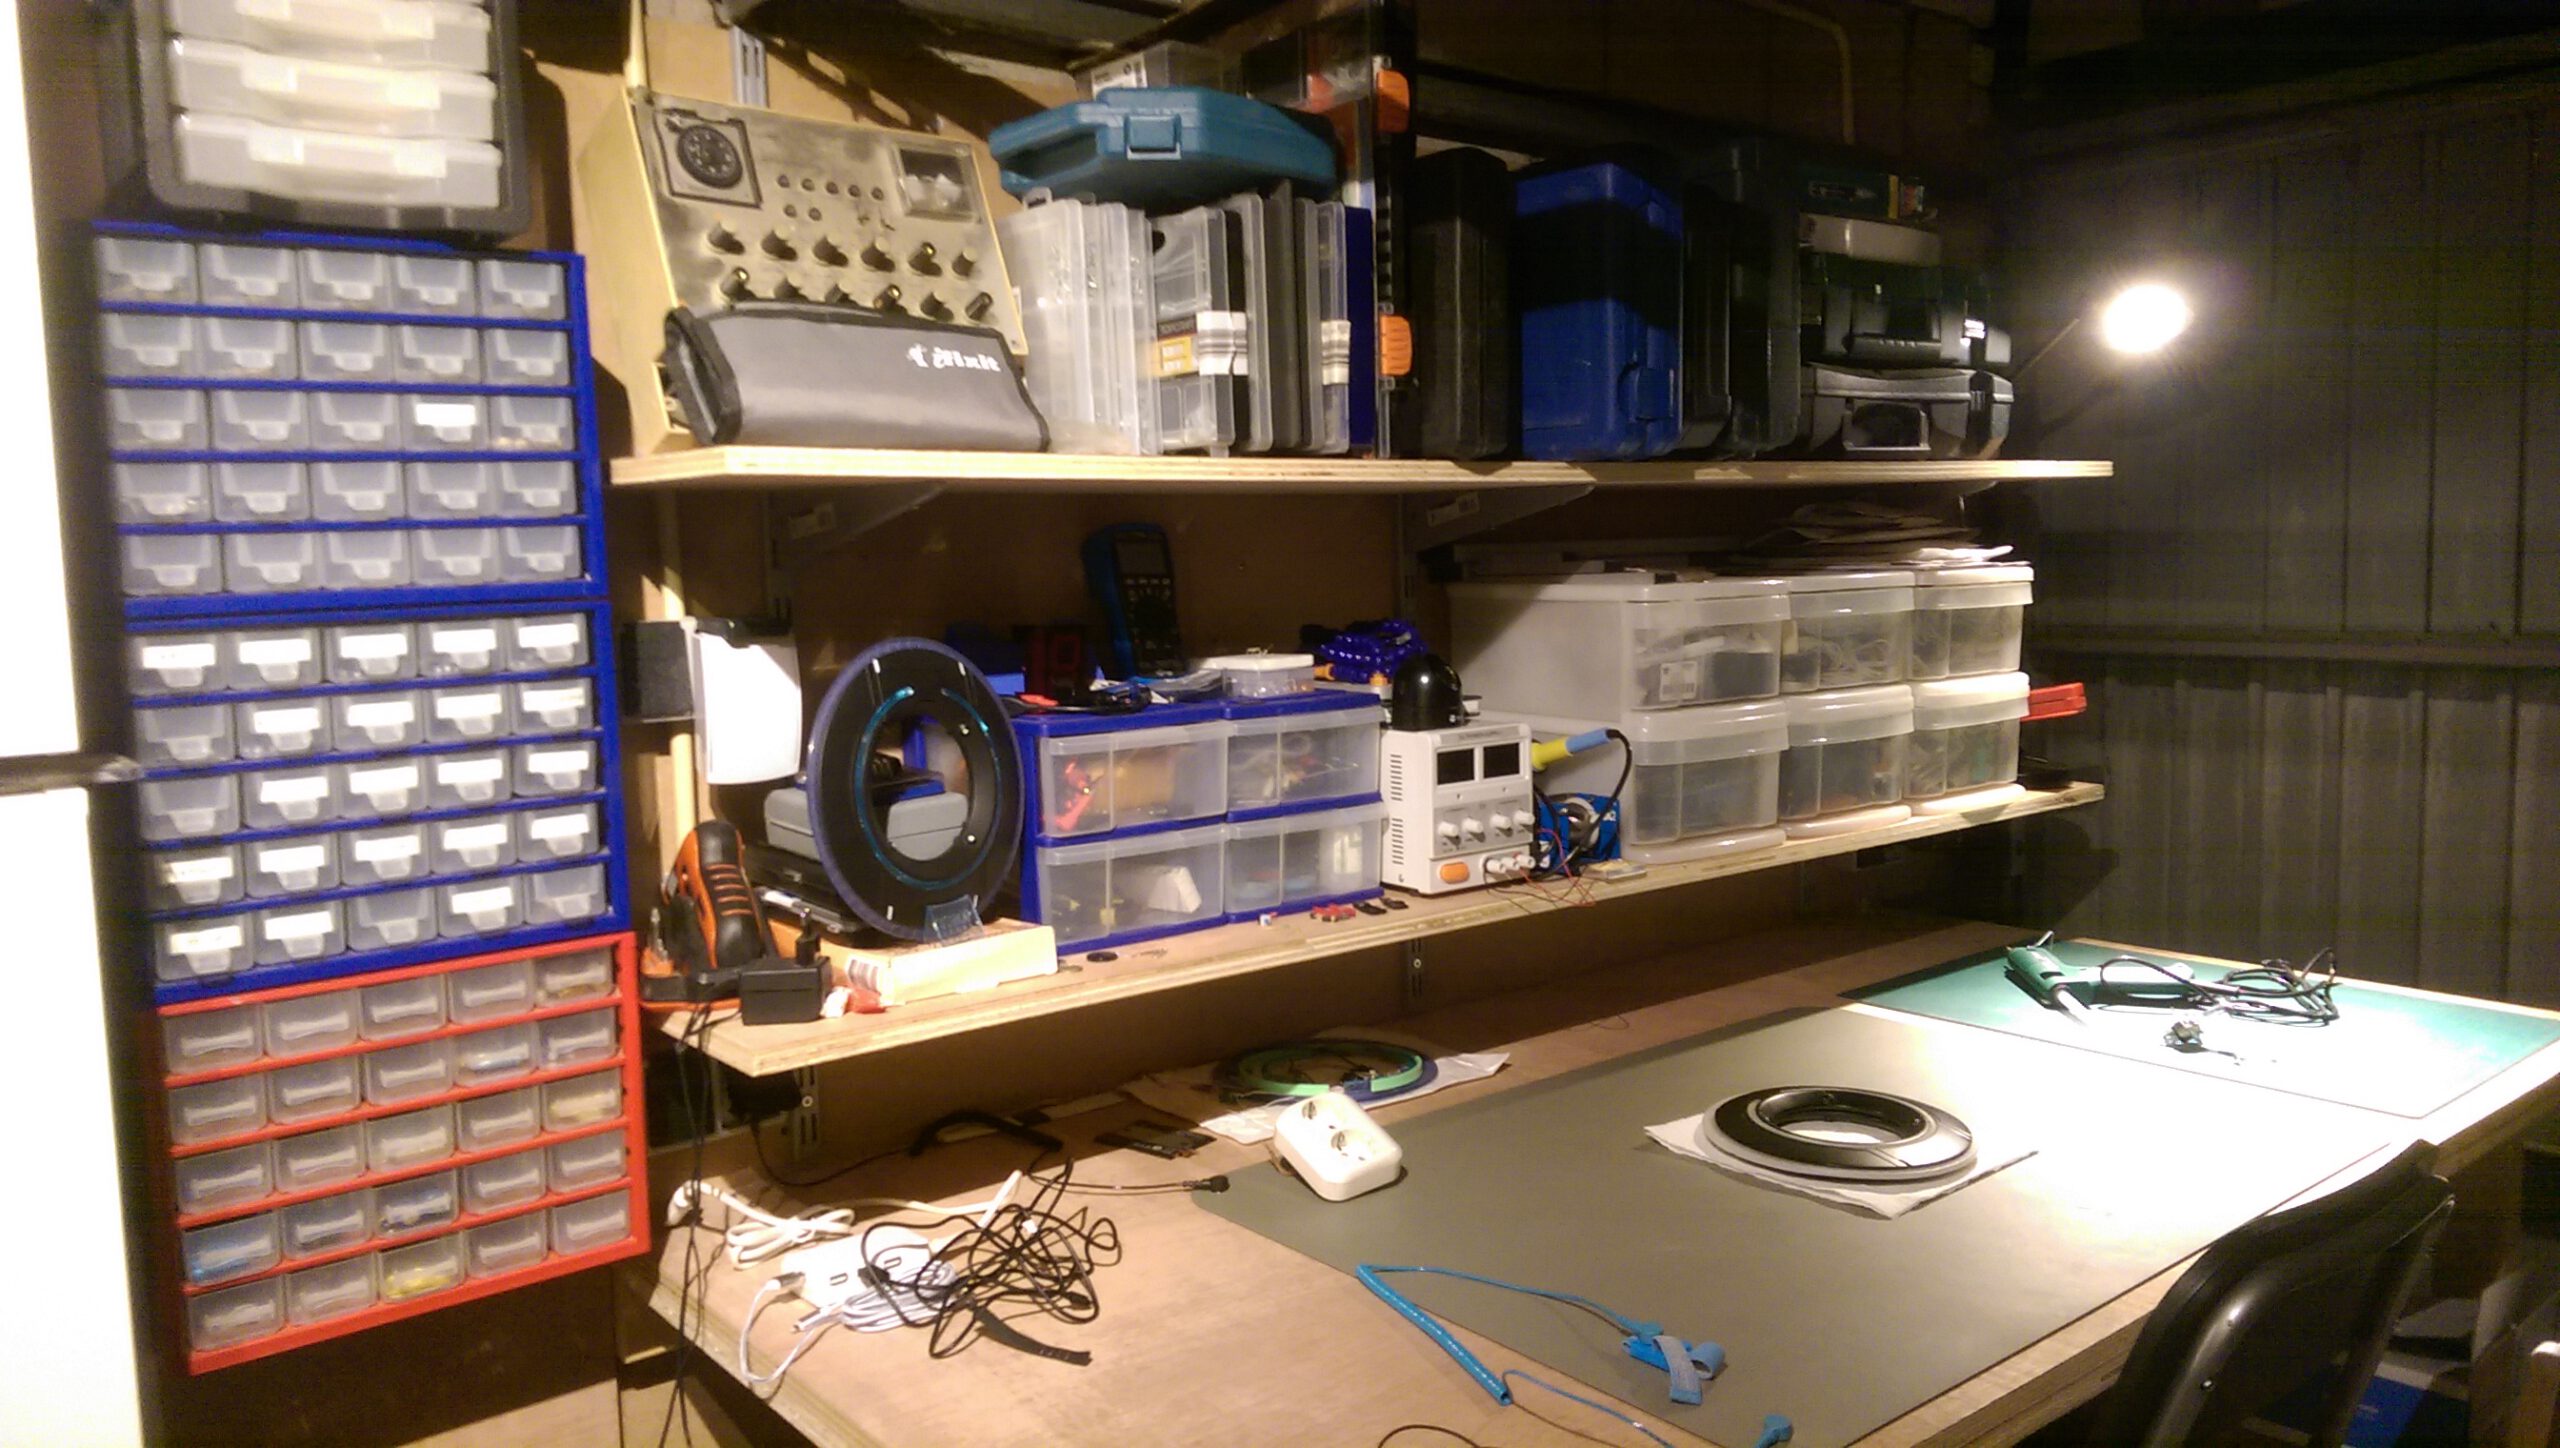
At this point the bench area was completed and ready to use. Already had my first project to work on in the form of a Denon amplifier from my parents’ house that had an issue with on of the zone selection switches. They didn’t need the ability to switch the affected zone off so I ended up bridging the switch on permanently.
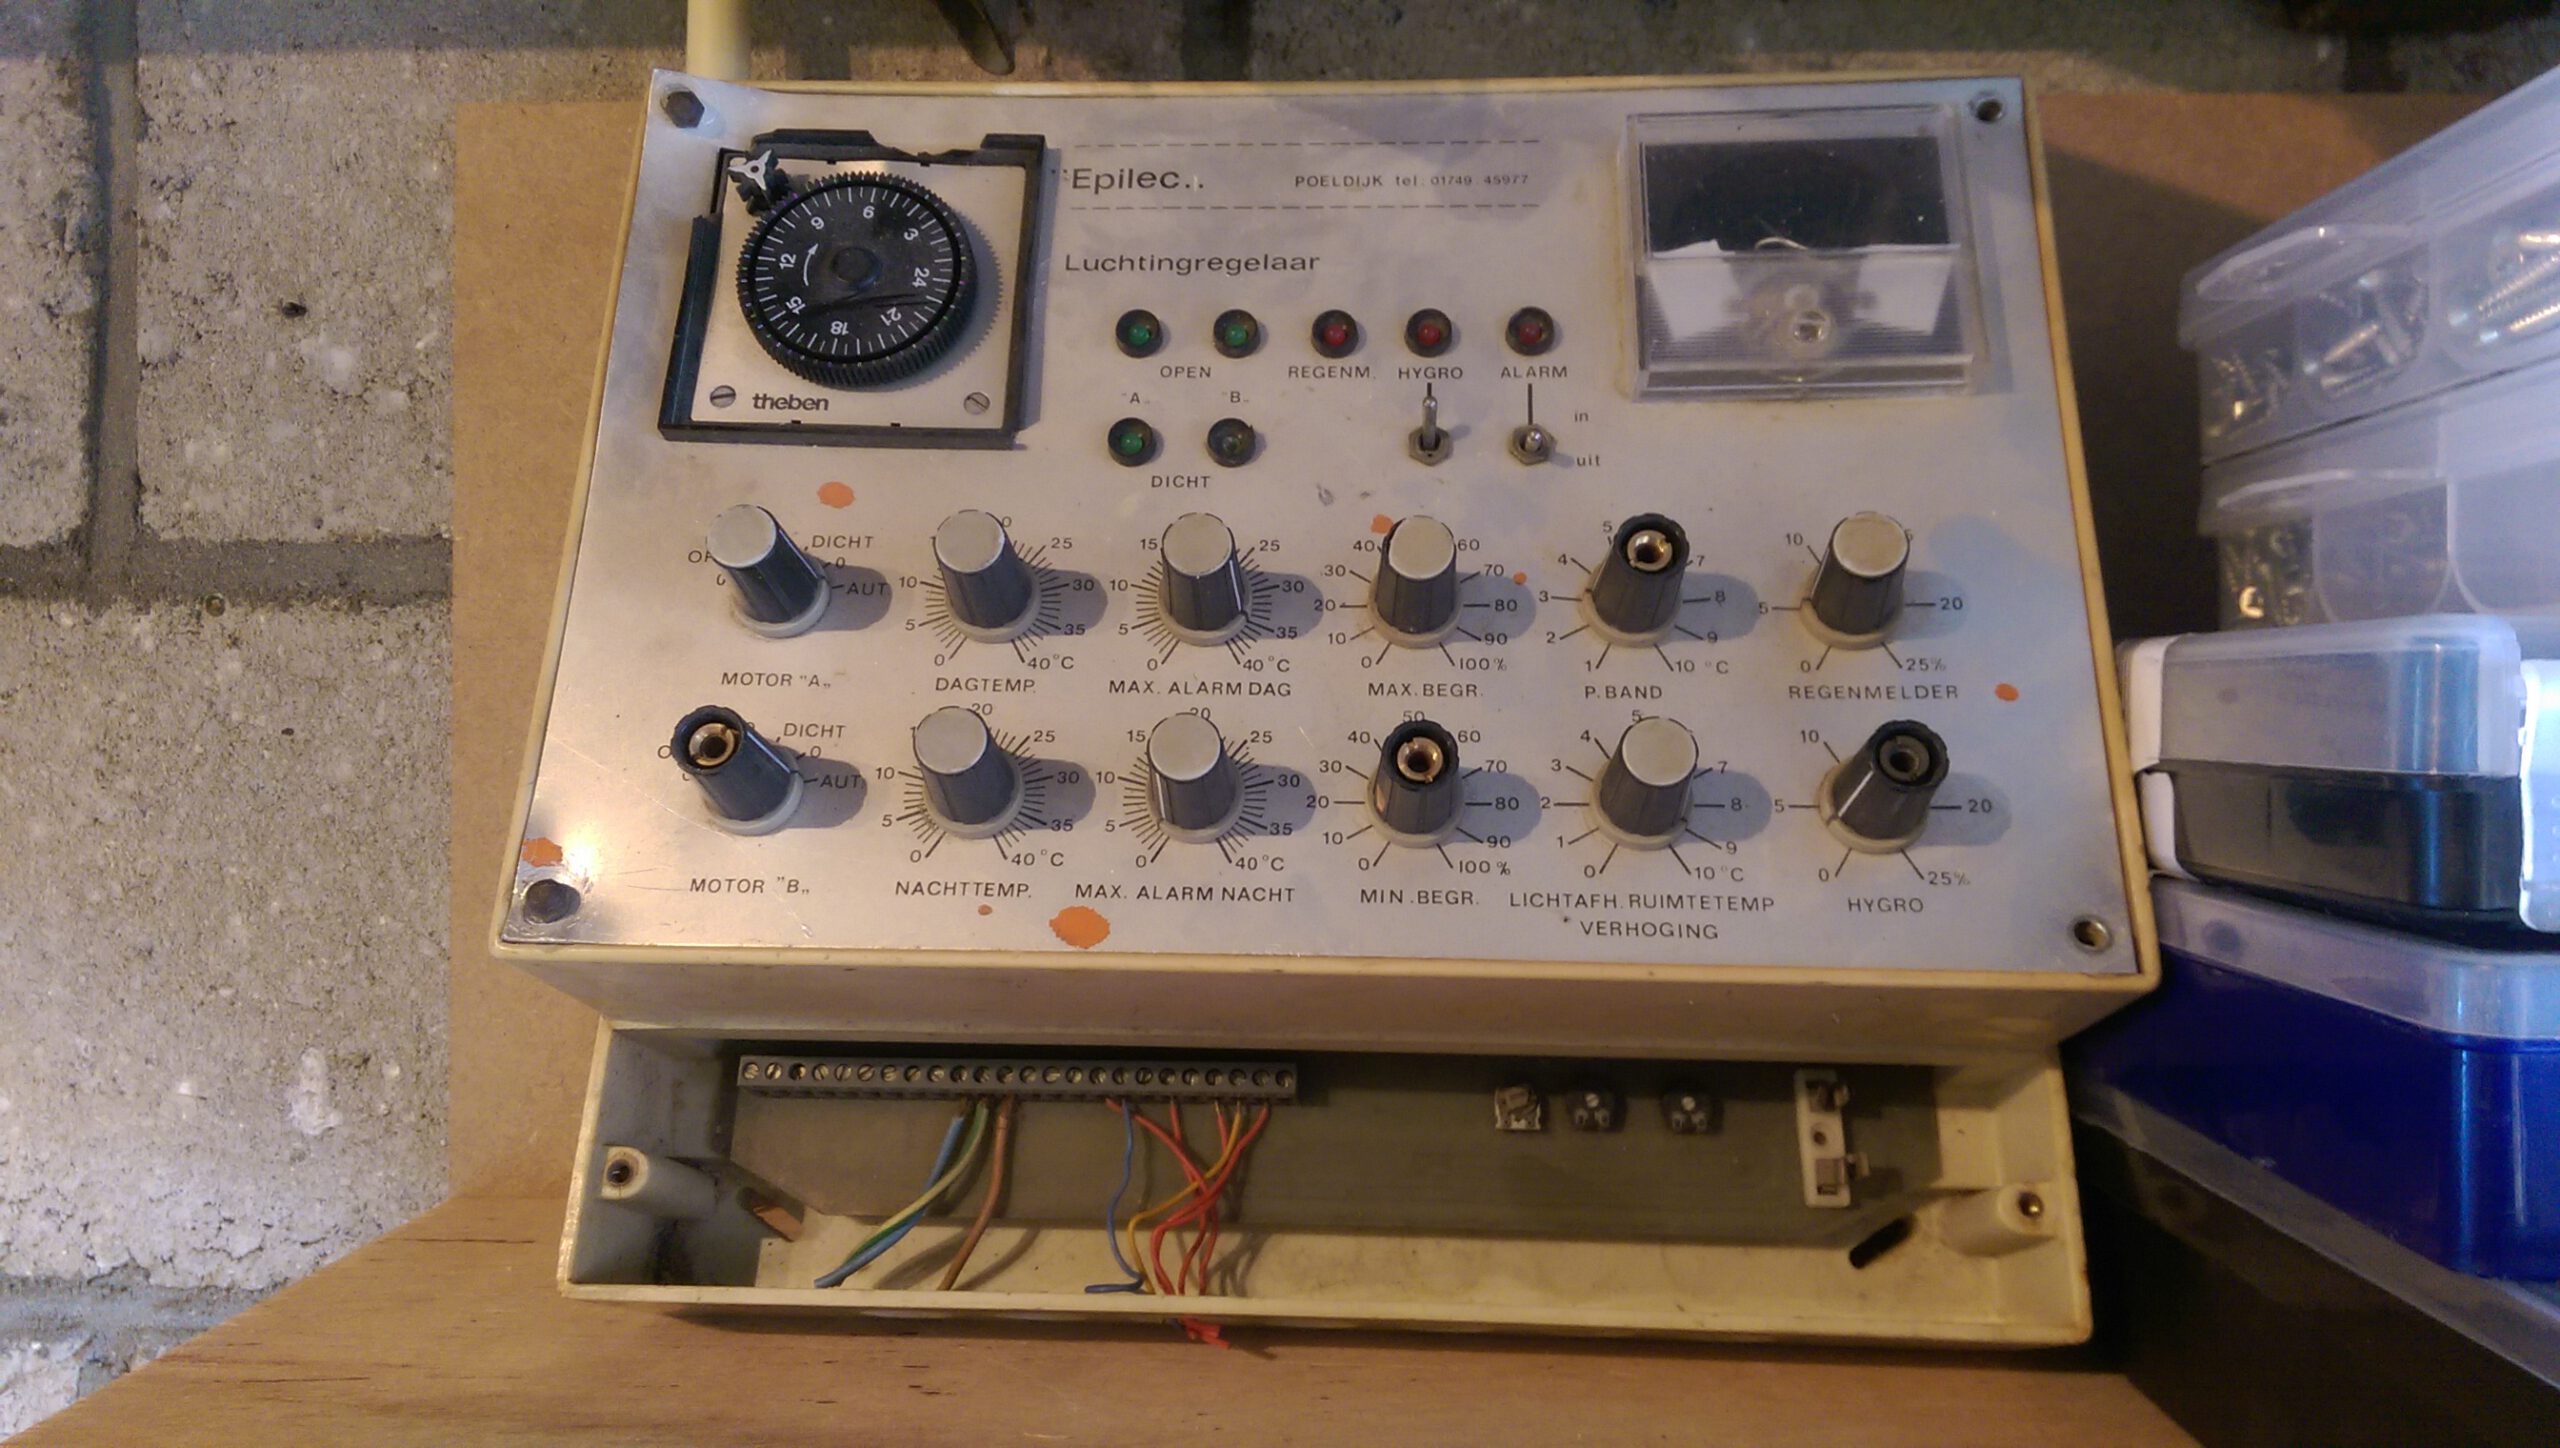
I also gave an on air regulator (marked “luchtinregelaar”) from my father’s old garden center a special spot. Childhood thing 😉
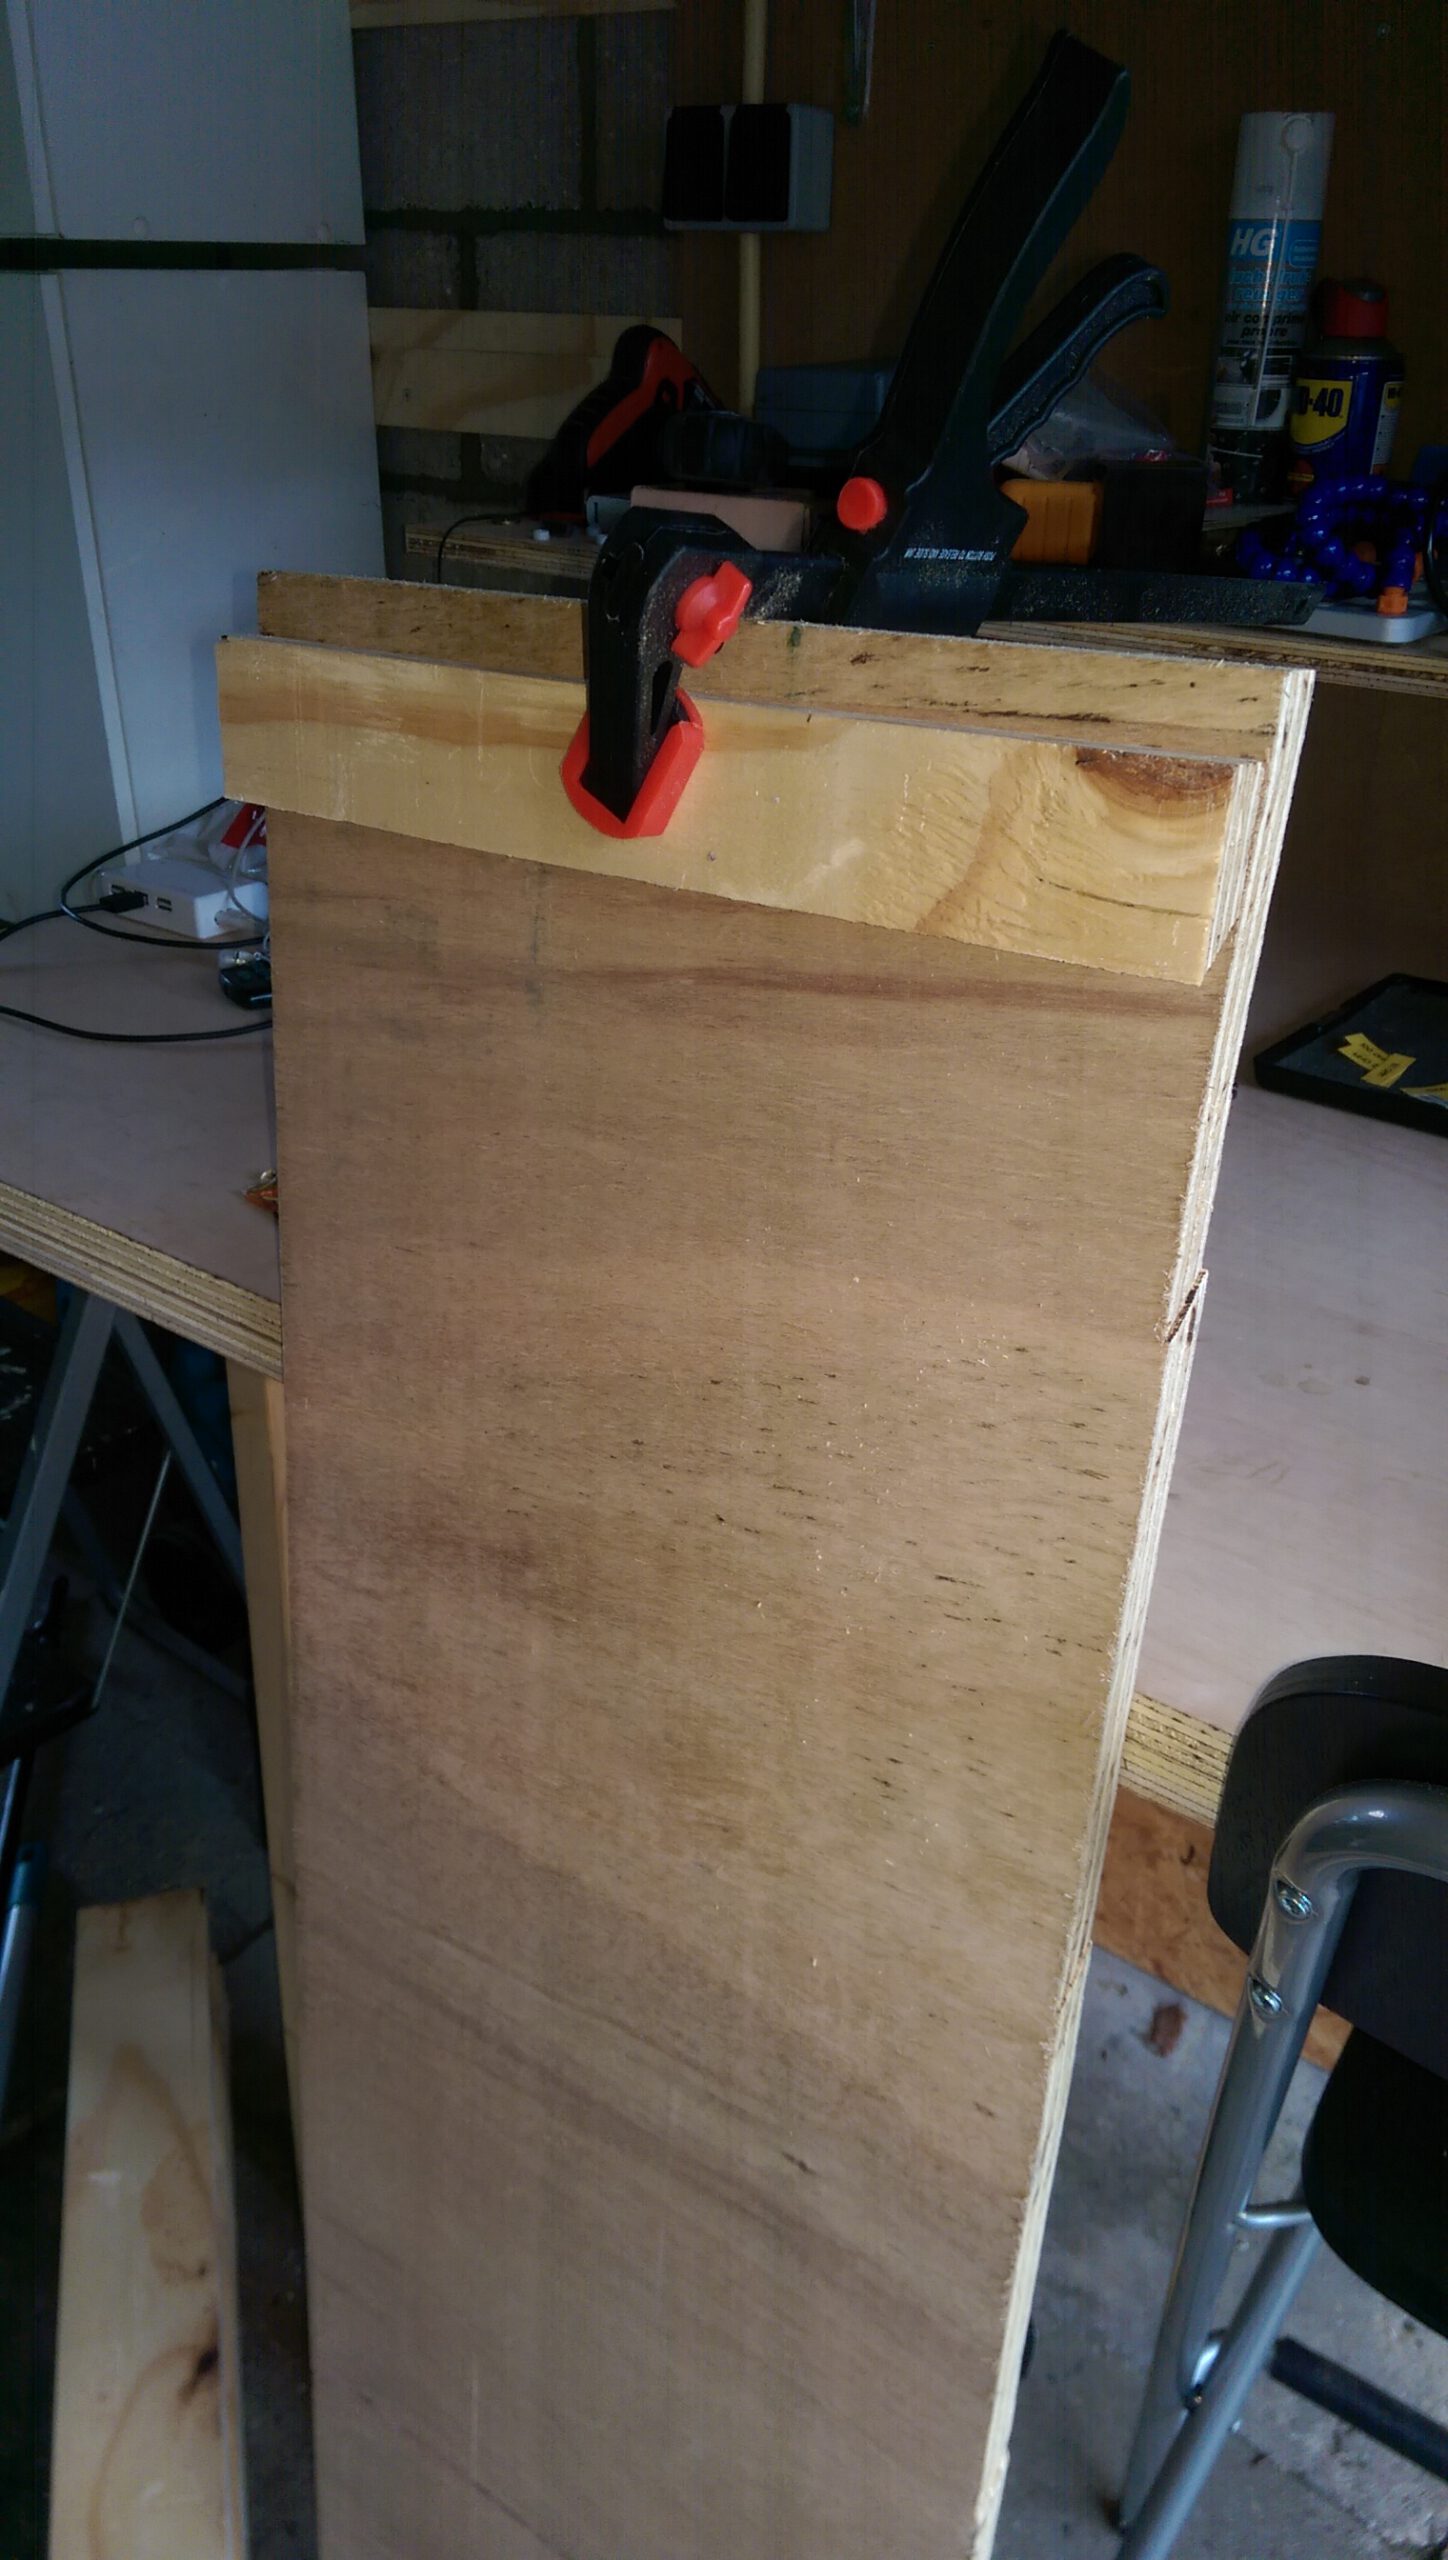
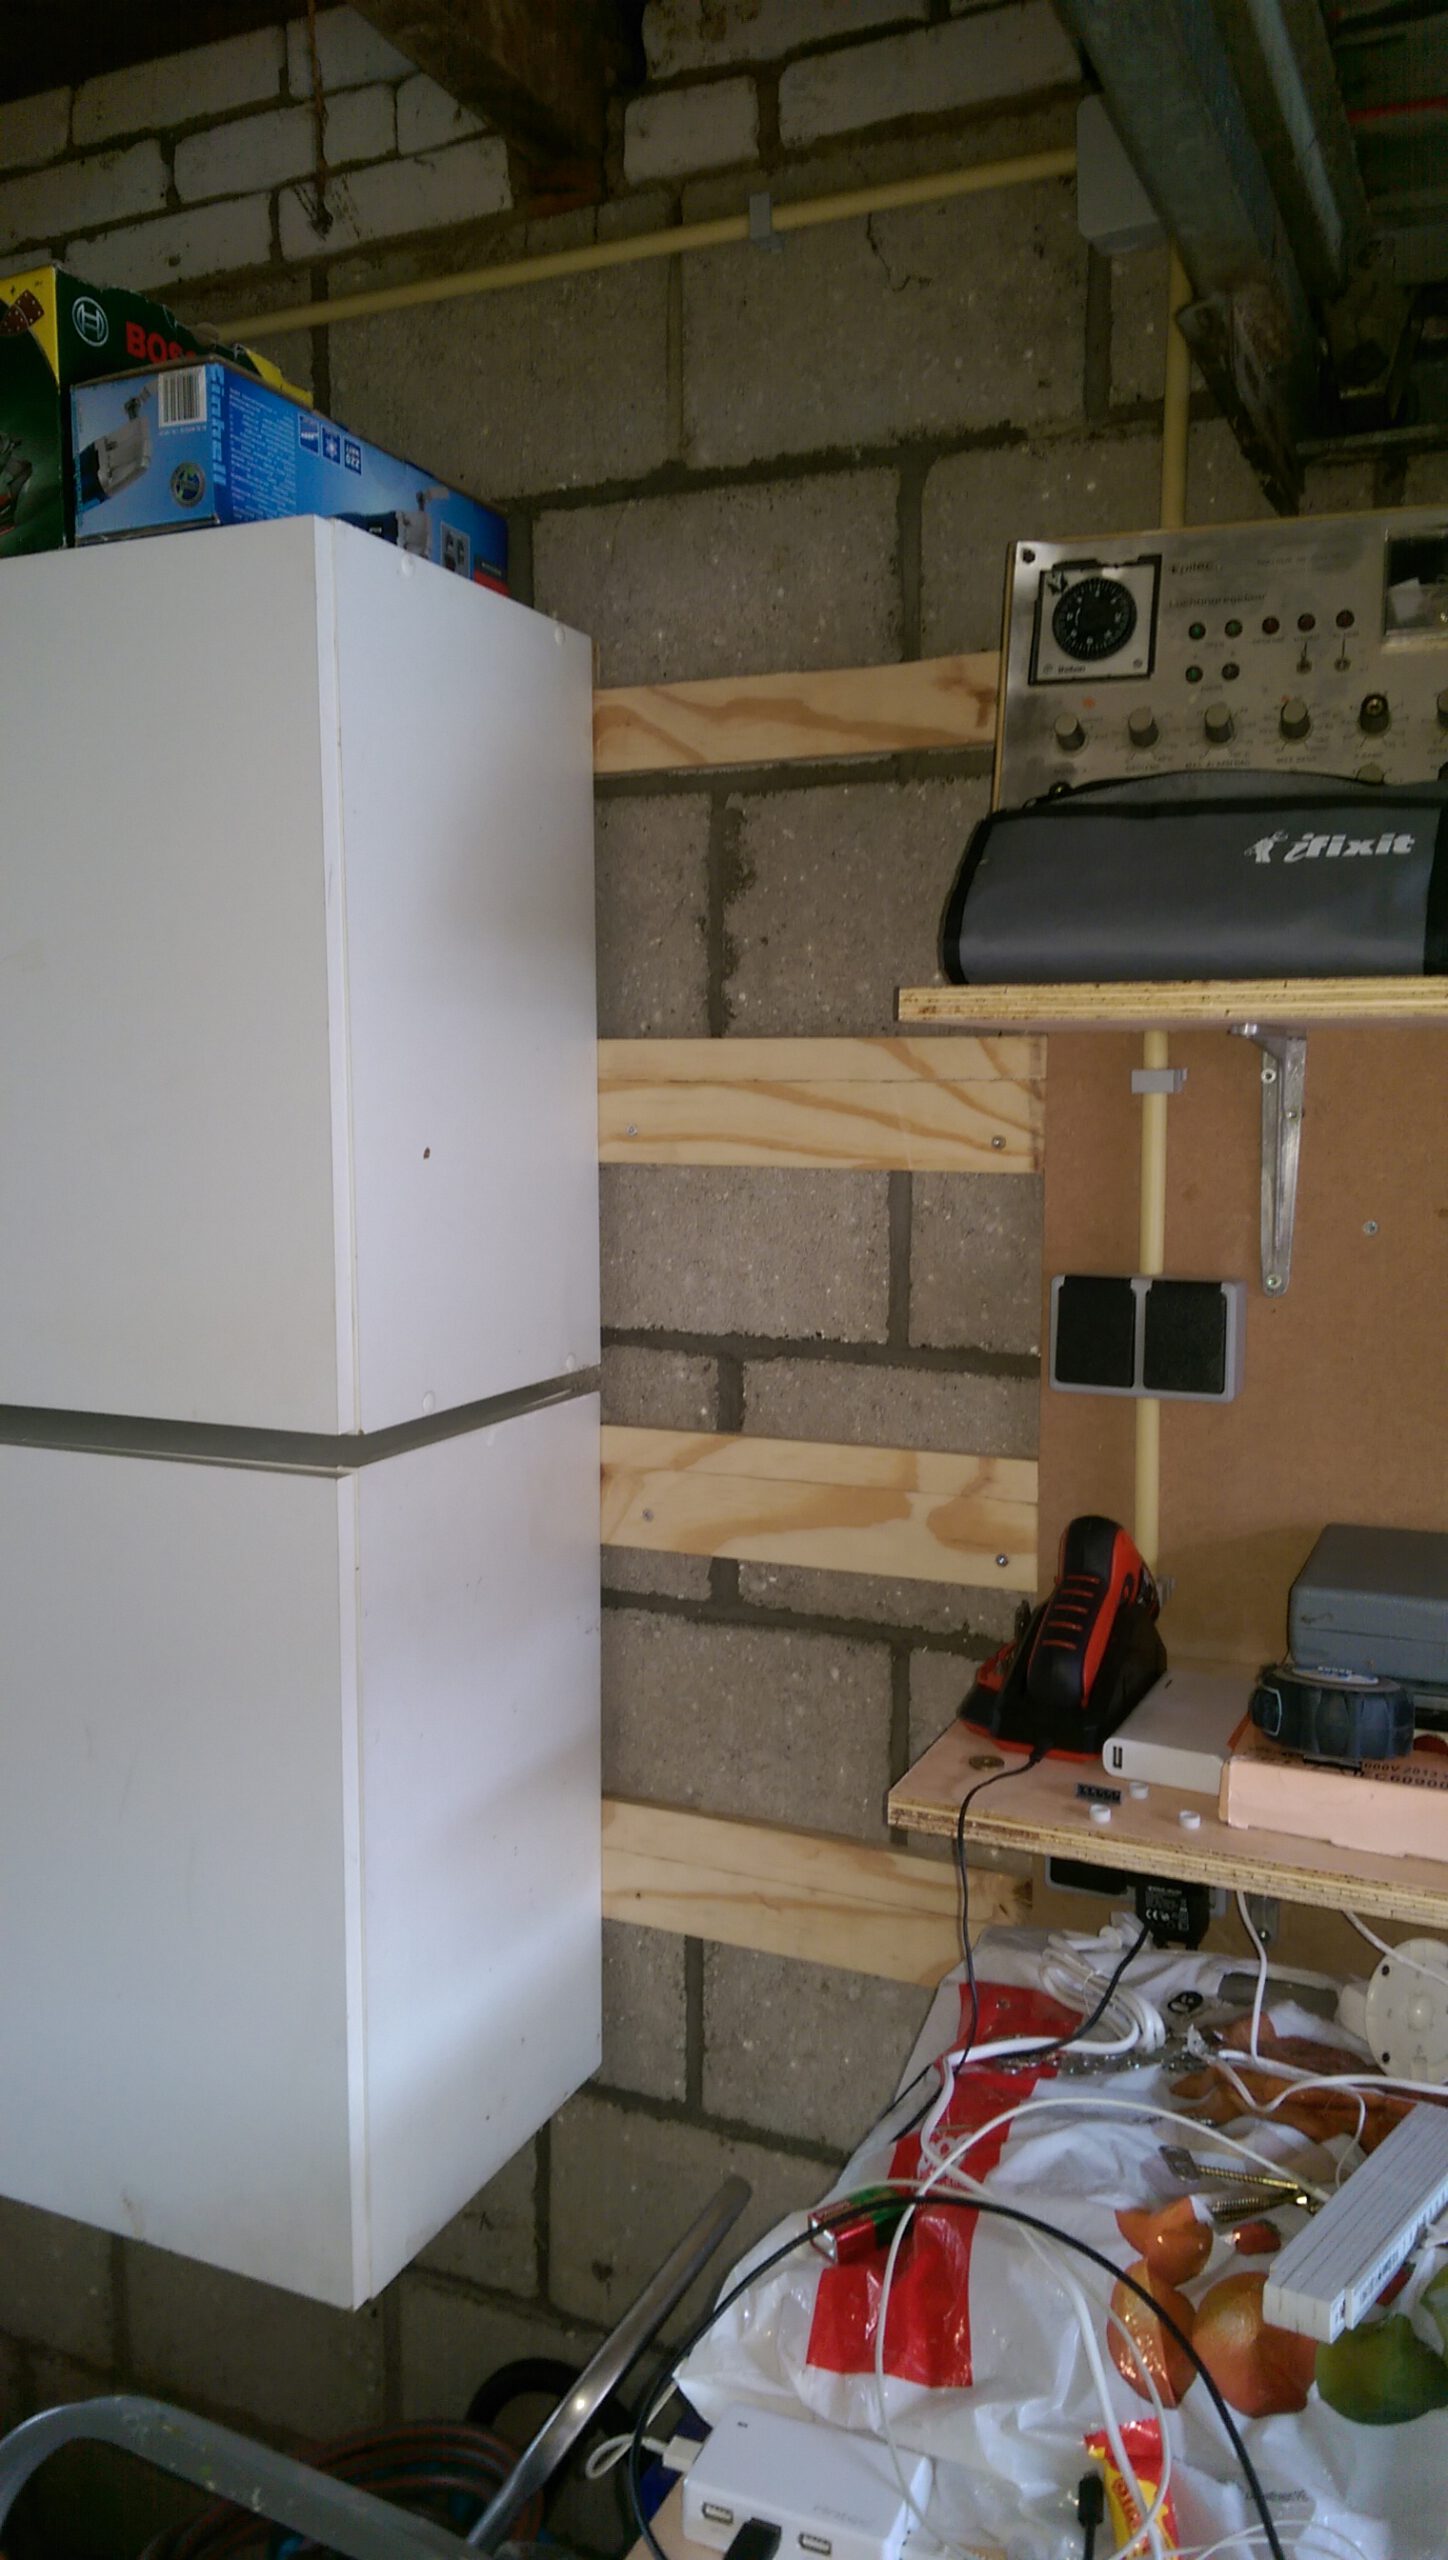
Next up was getting the French Cleats installed. Since I can have wood cut up for free at the hardware store I frequent I bought a cheap underlayment board and had that cut up into boards of ~15cm. Then I used a table saw to cut them In half again at a 45degree angle. I kept more width on the section that would mount to the wall to give that strength. Say 2/3 is the wall section and 1/3 of the board is the section used to hang something on the wall.
I went a little nuts on the cabinets after a earlier iteration with 1 horizontal board and a not so sturdy middle mount failed which led to one of the cabinets getting caught up with gravity… Live and learn I guess. So the next time I went a little nuts on it. Almost a year later and it’s still fine though 🙂

Getting somewhere 🙂
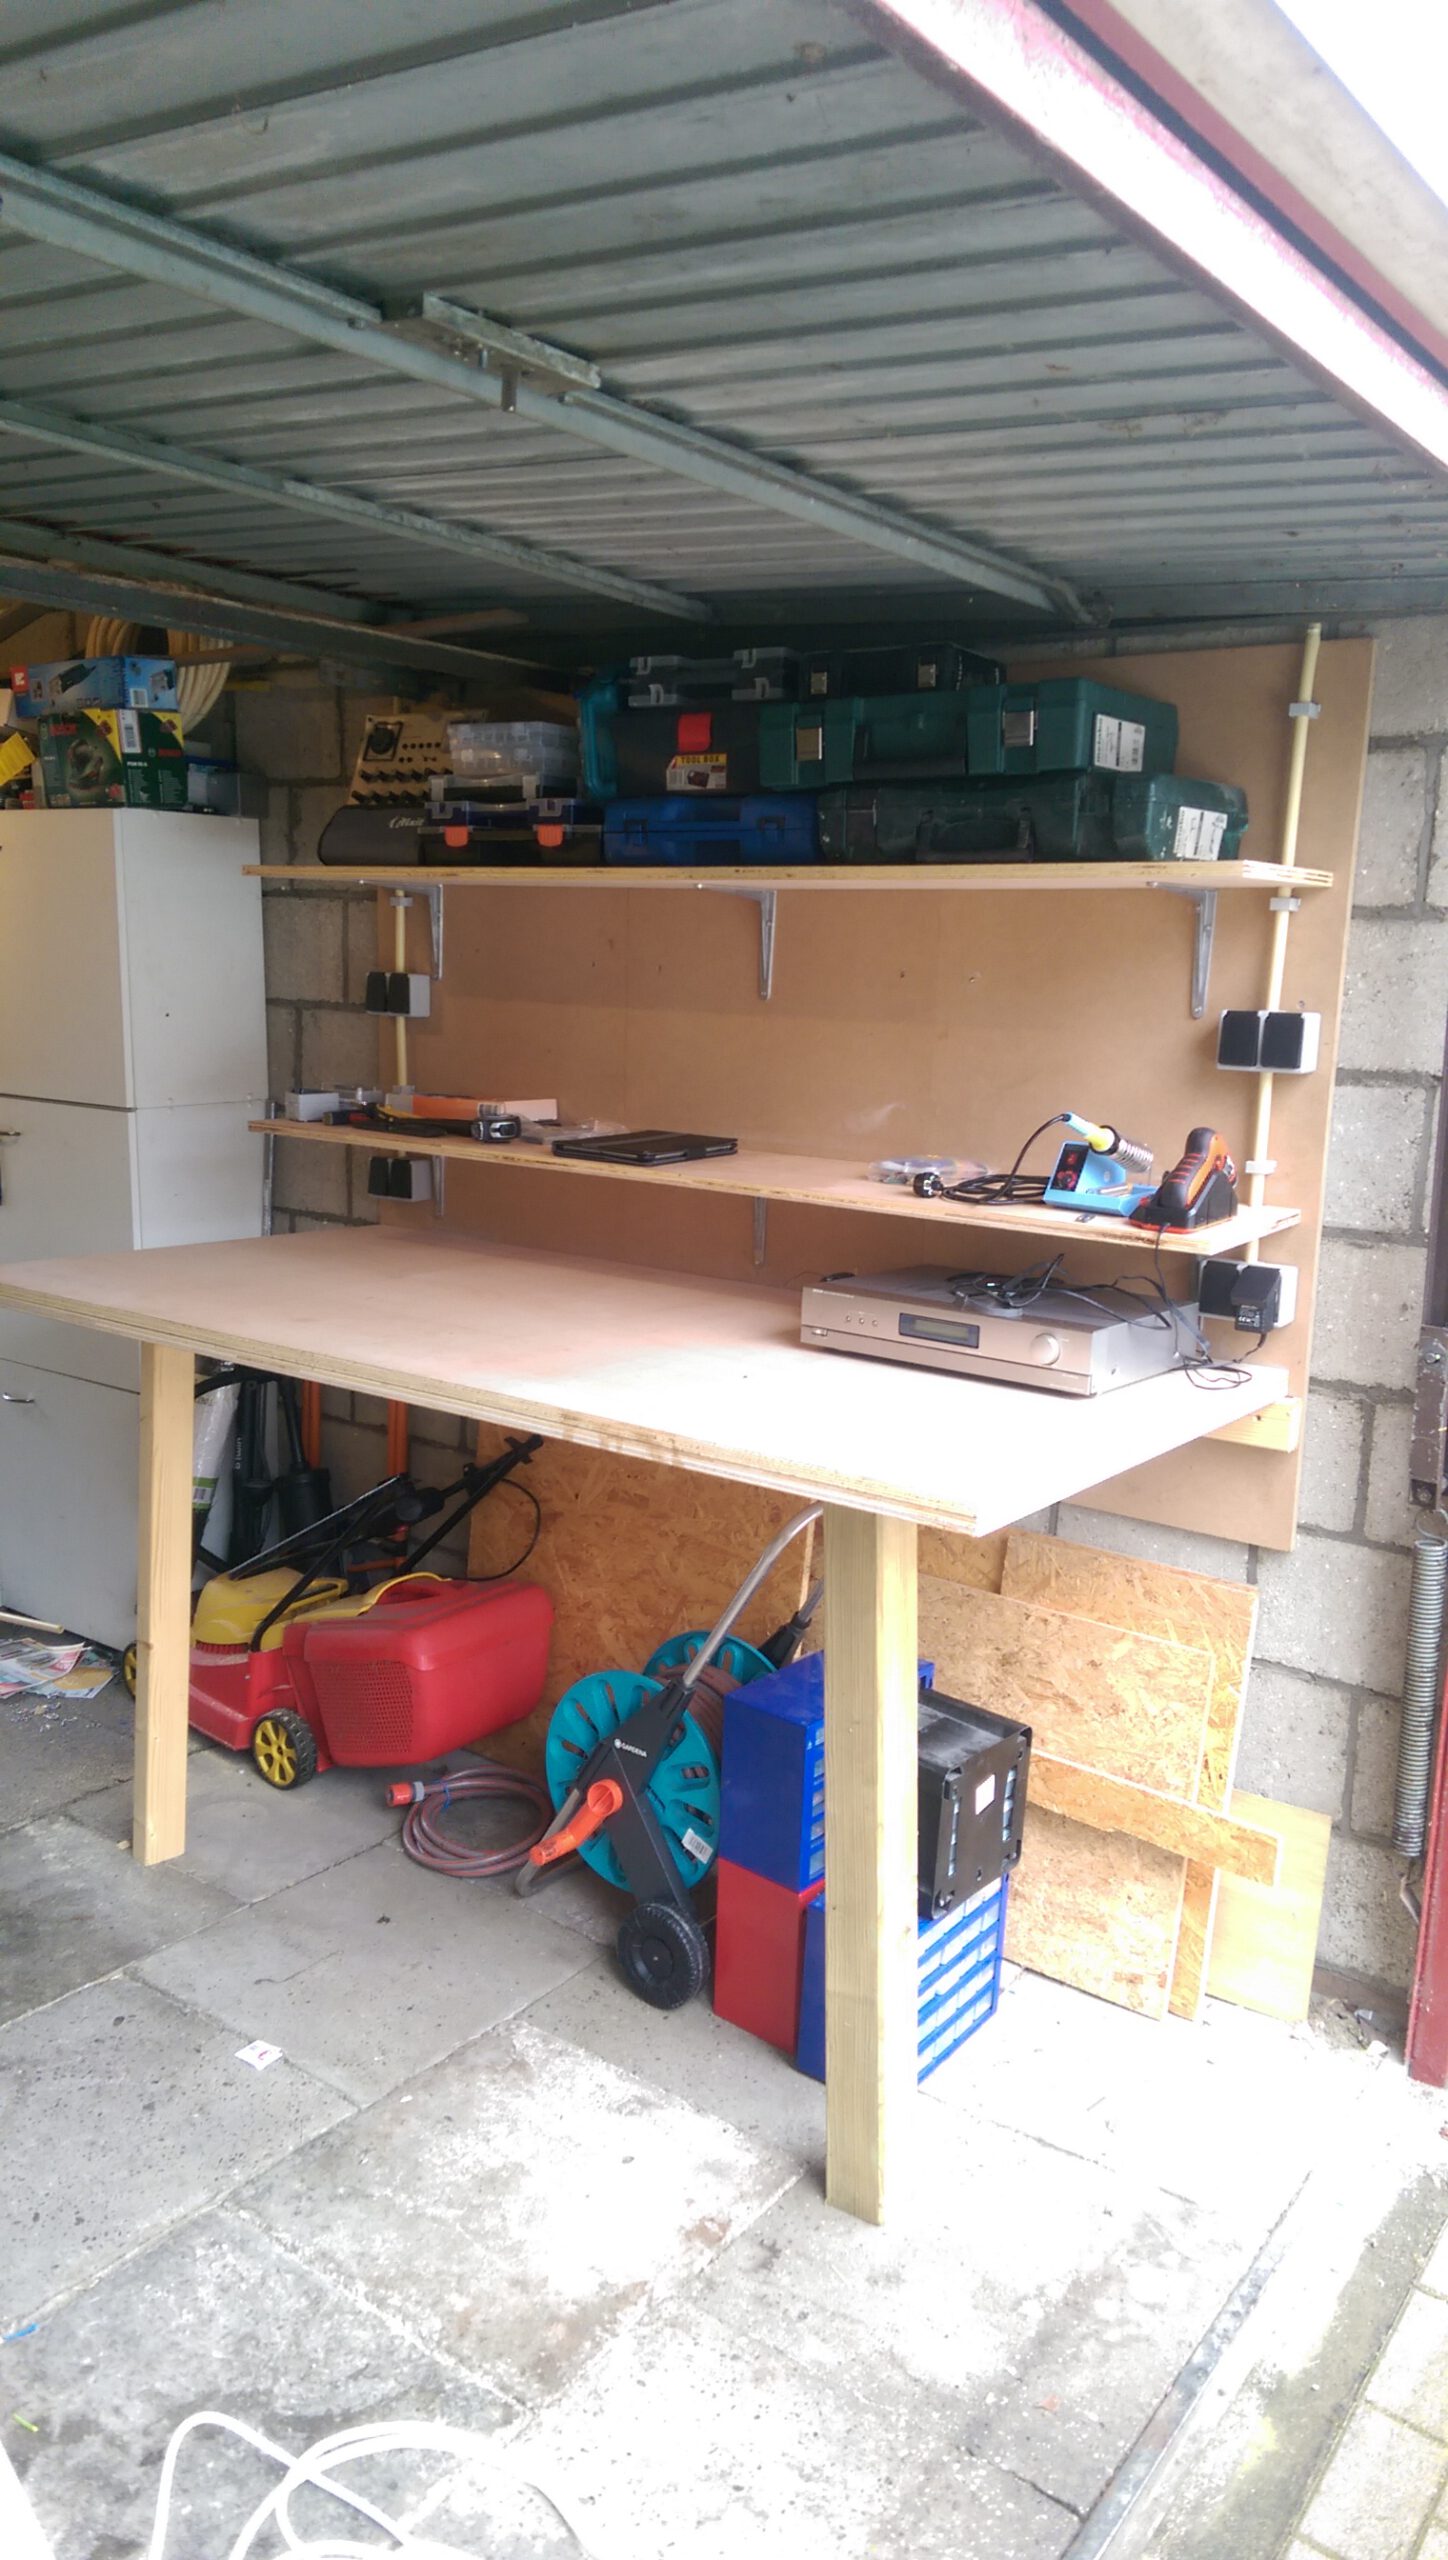
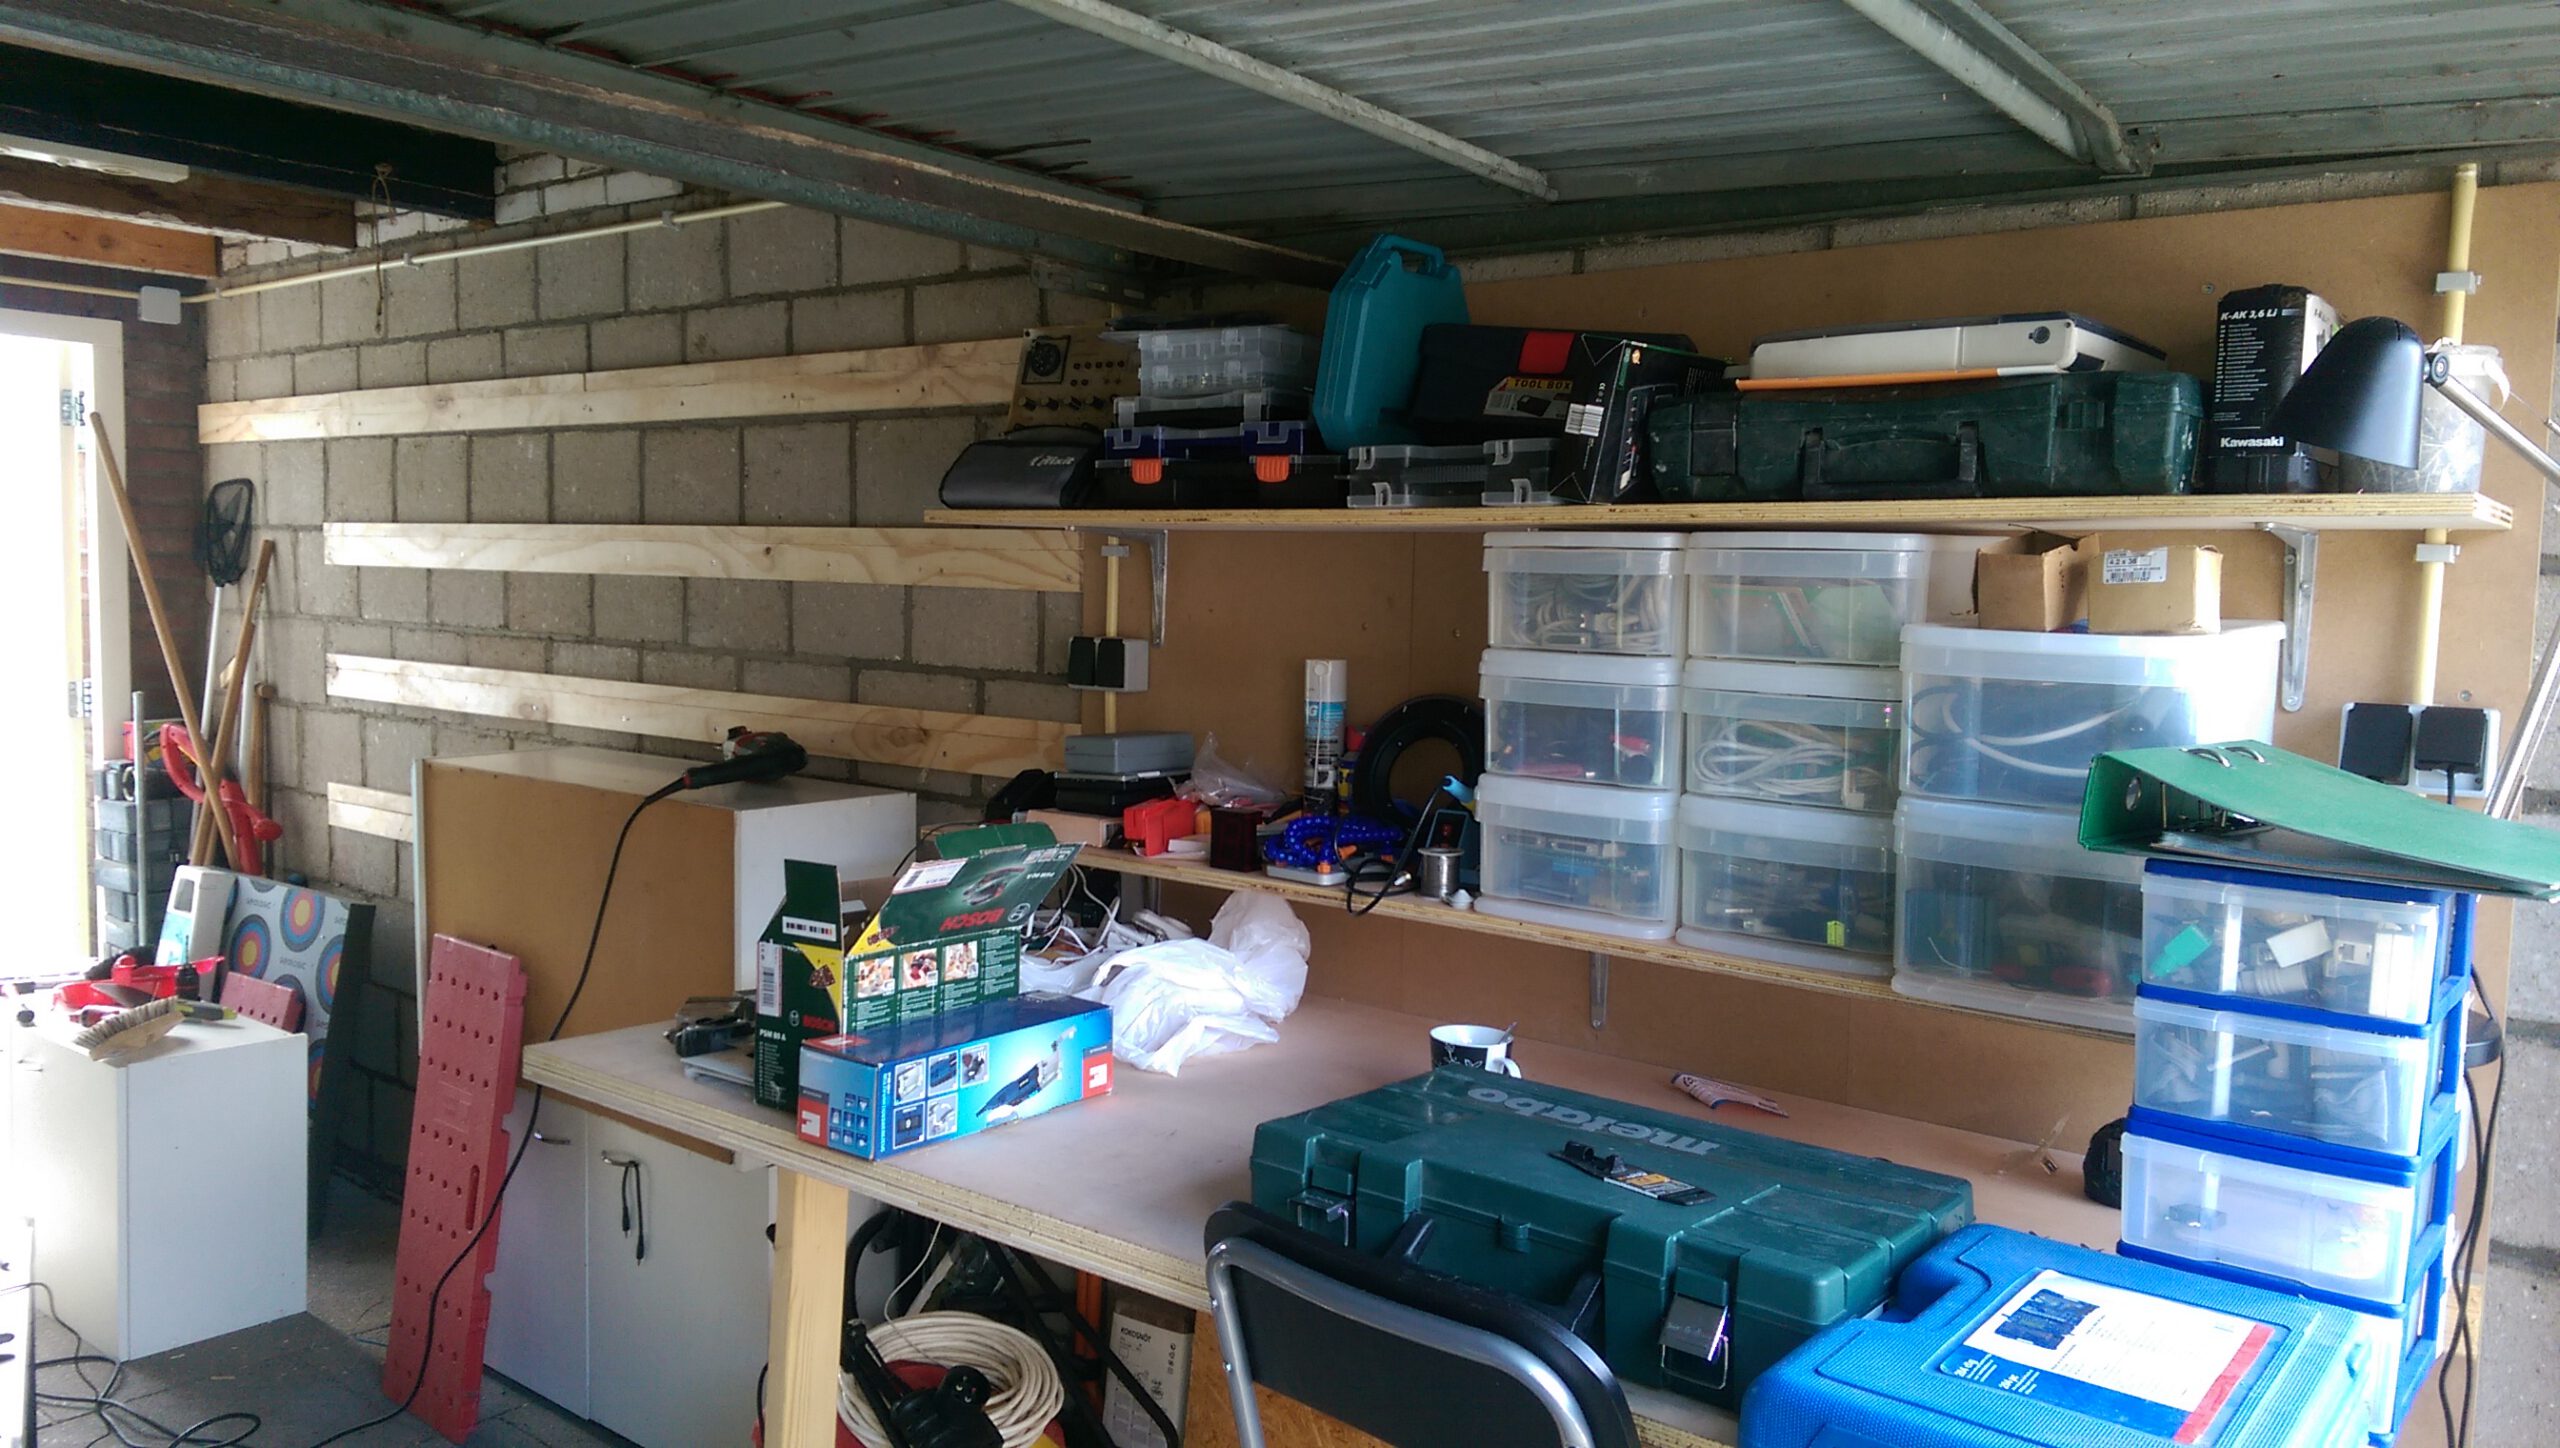
I was glad I could put stuff like the lawn mower and ladder under the cabinets now. This made for a great improvement concerning space usage. And it also looks good ^^
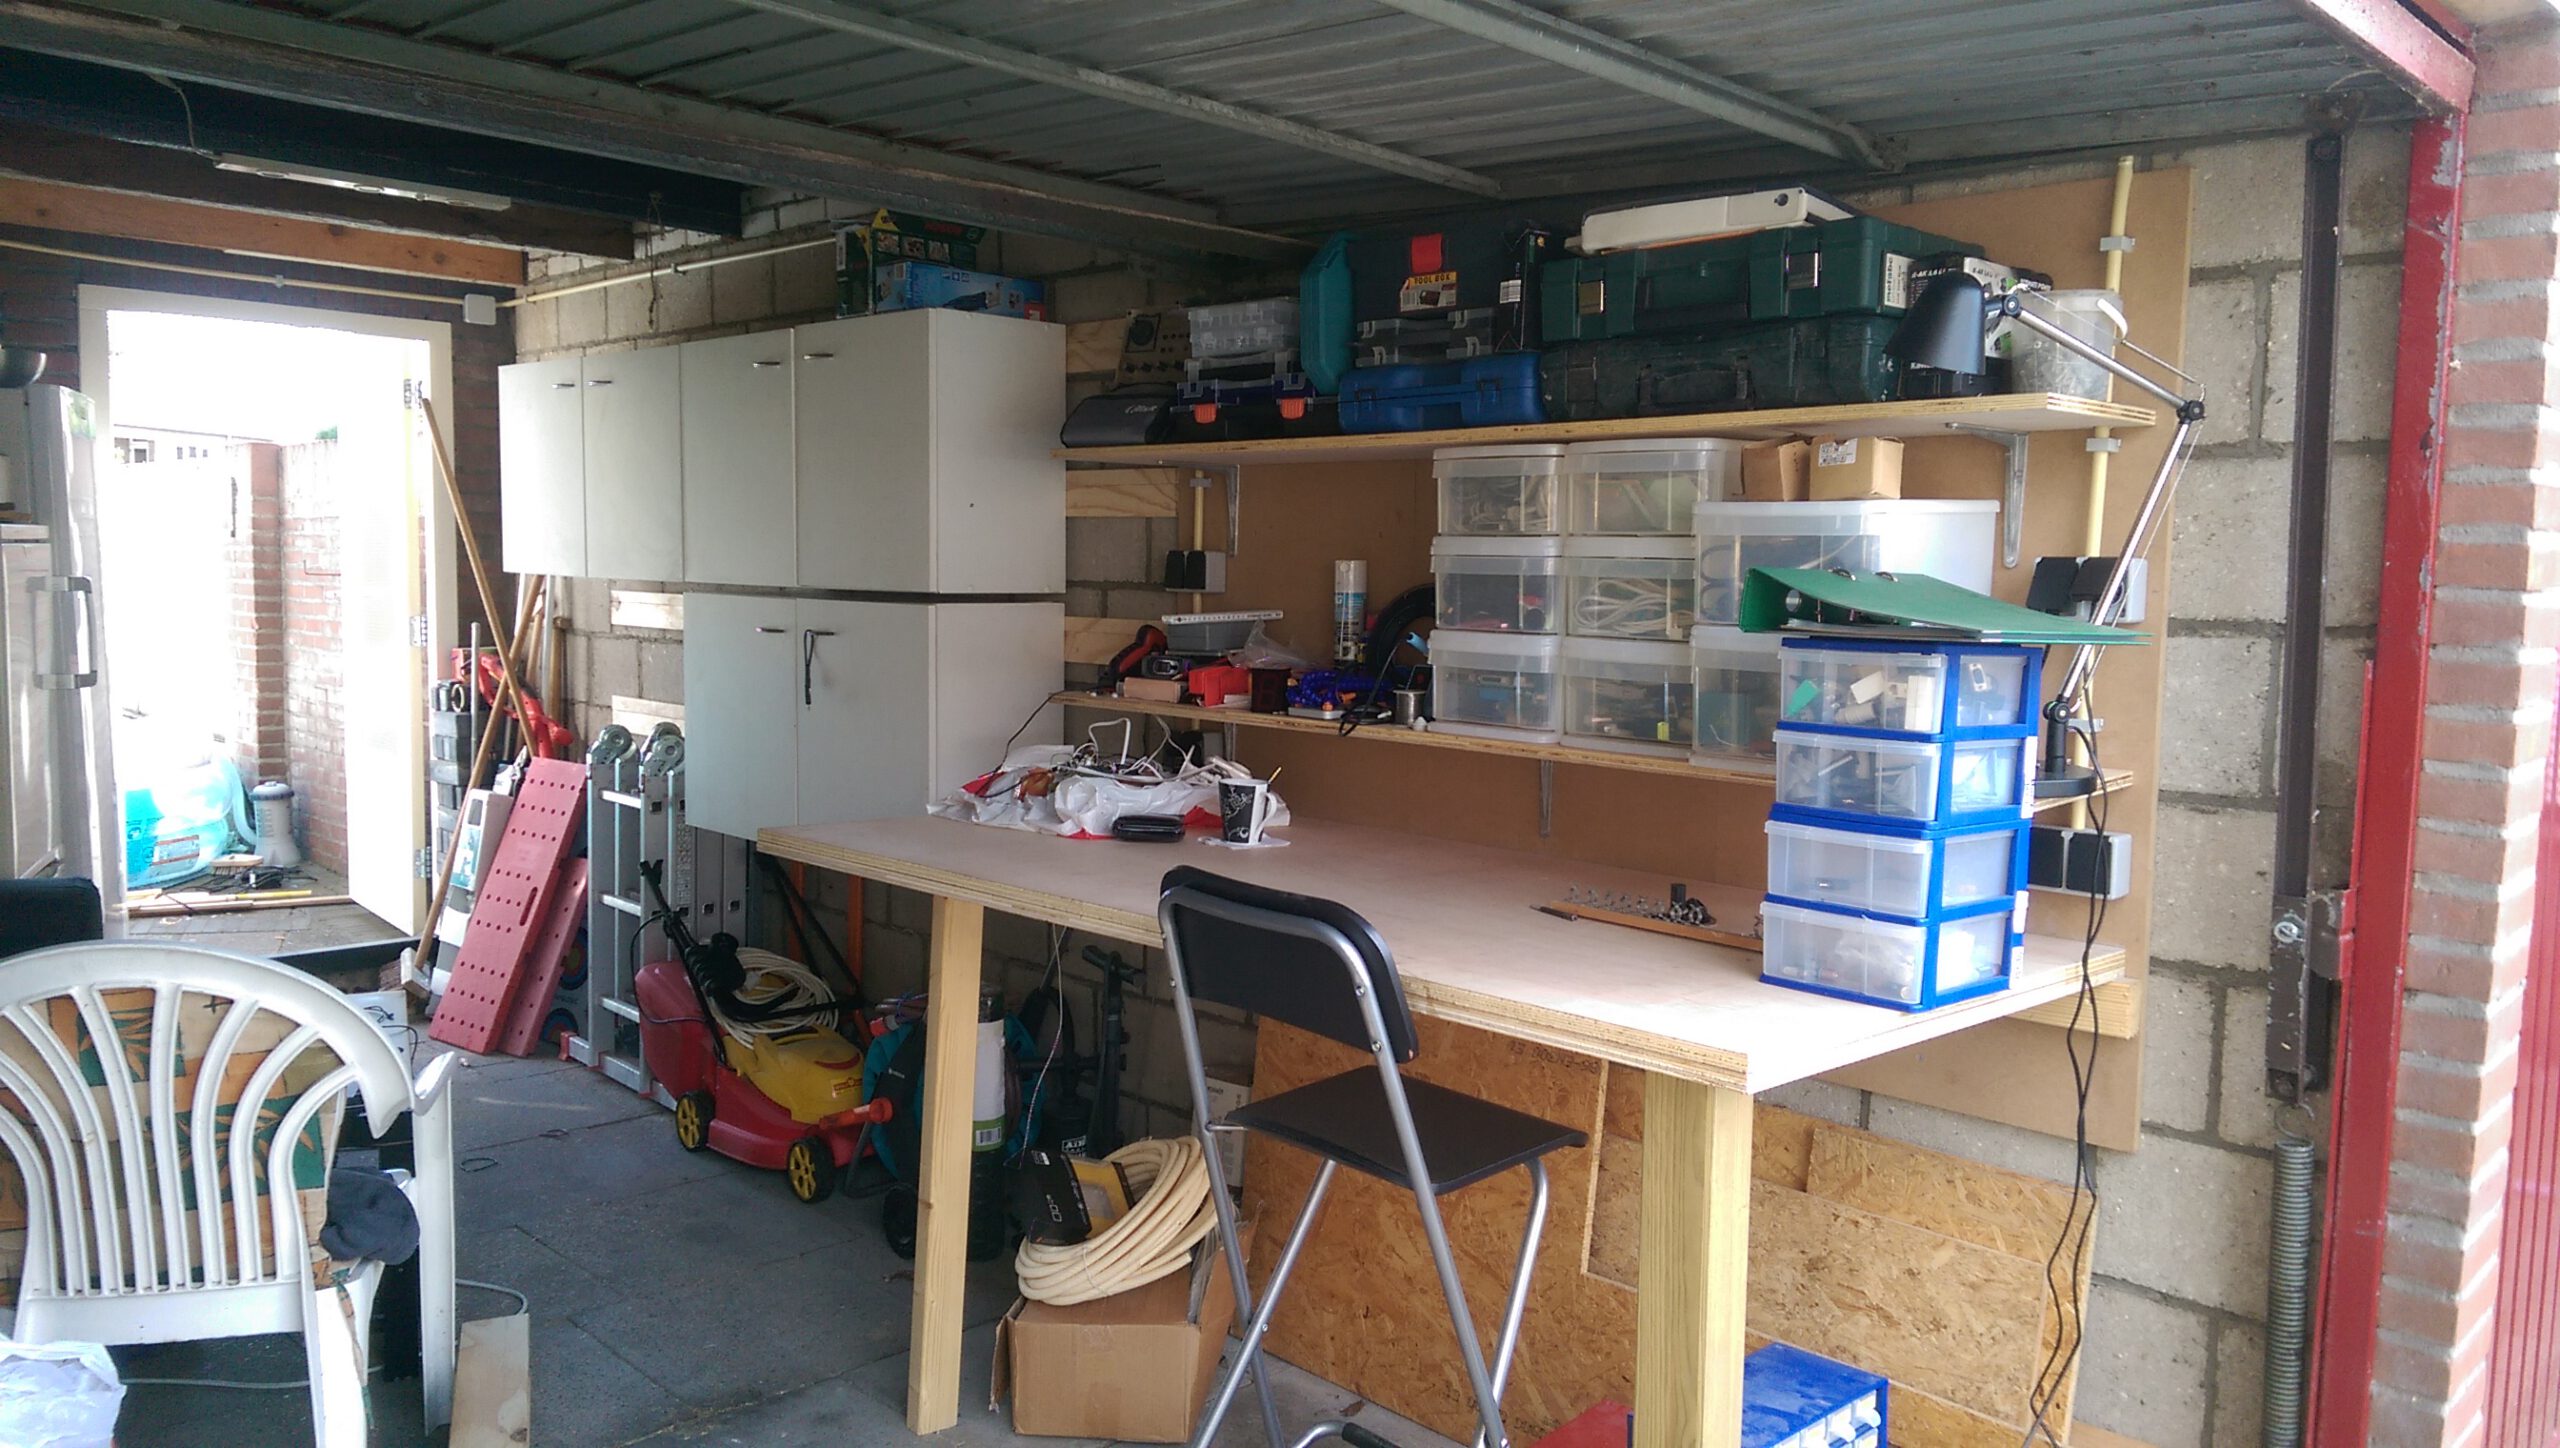
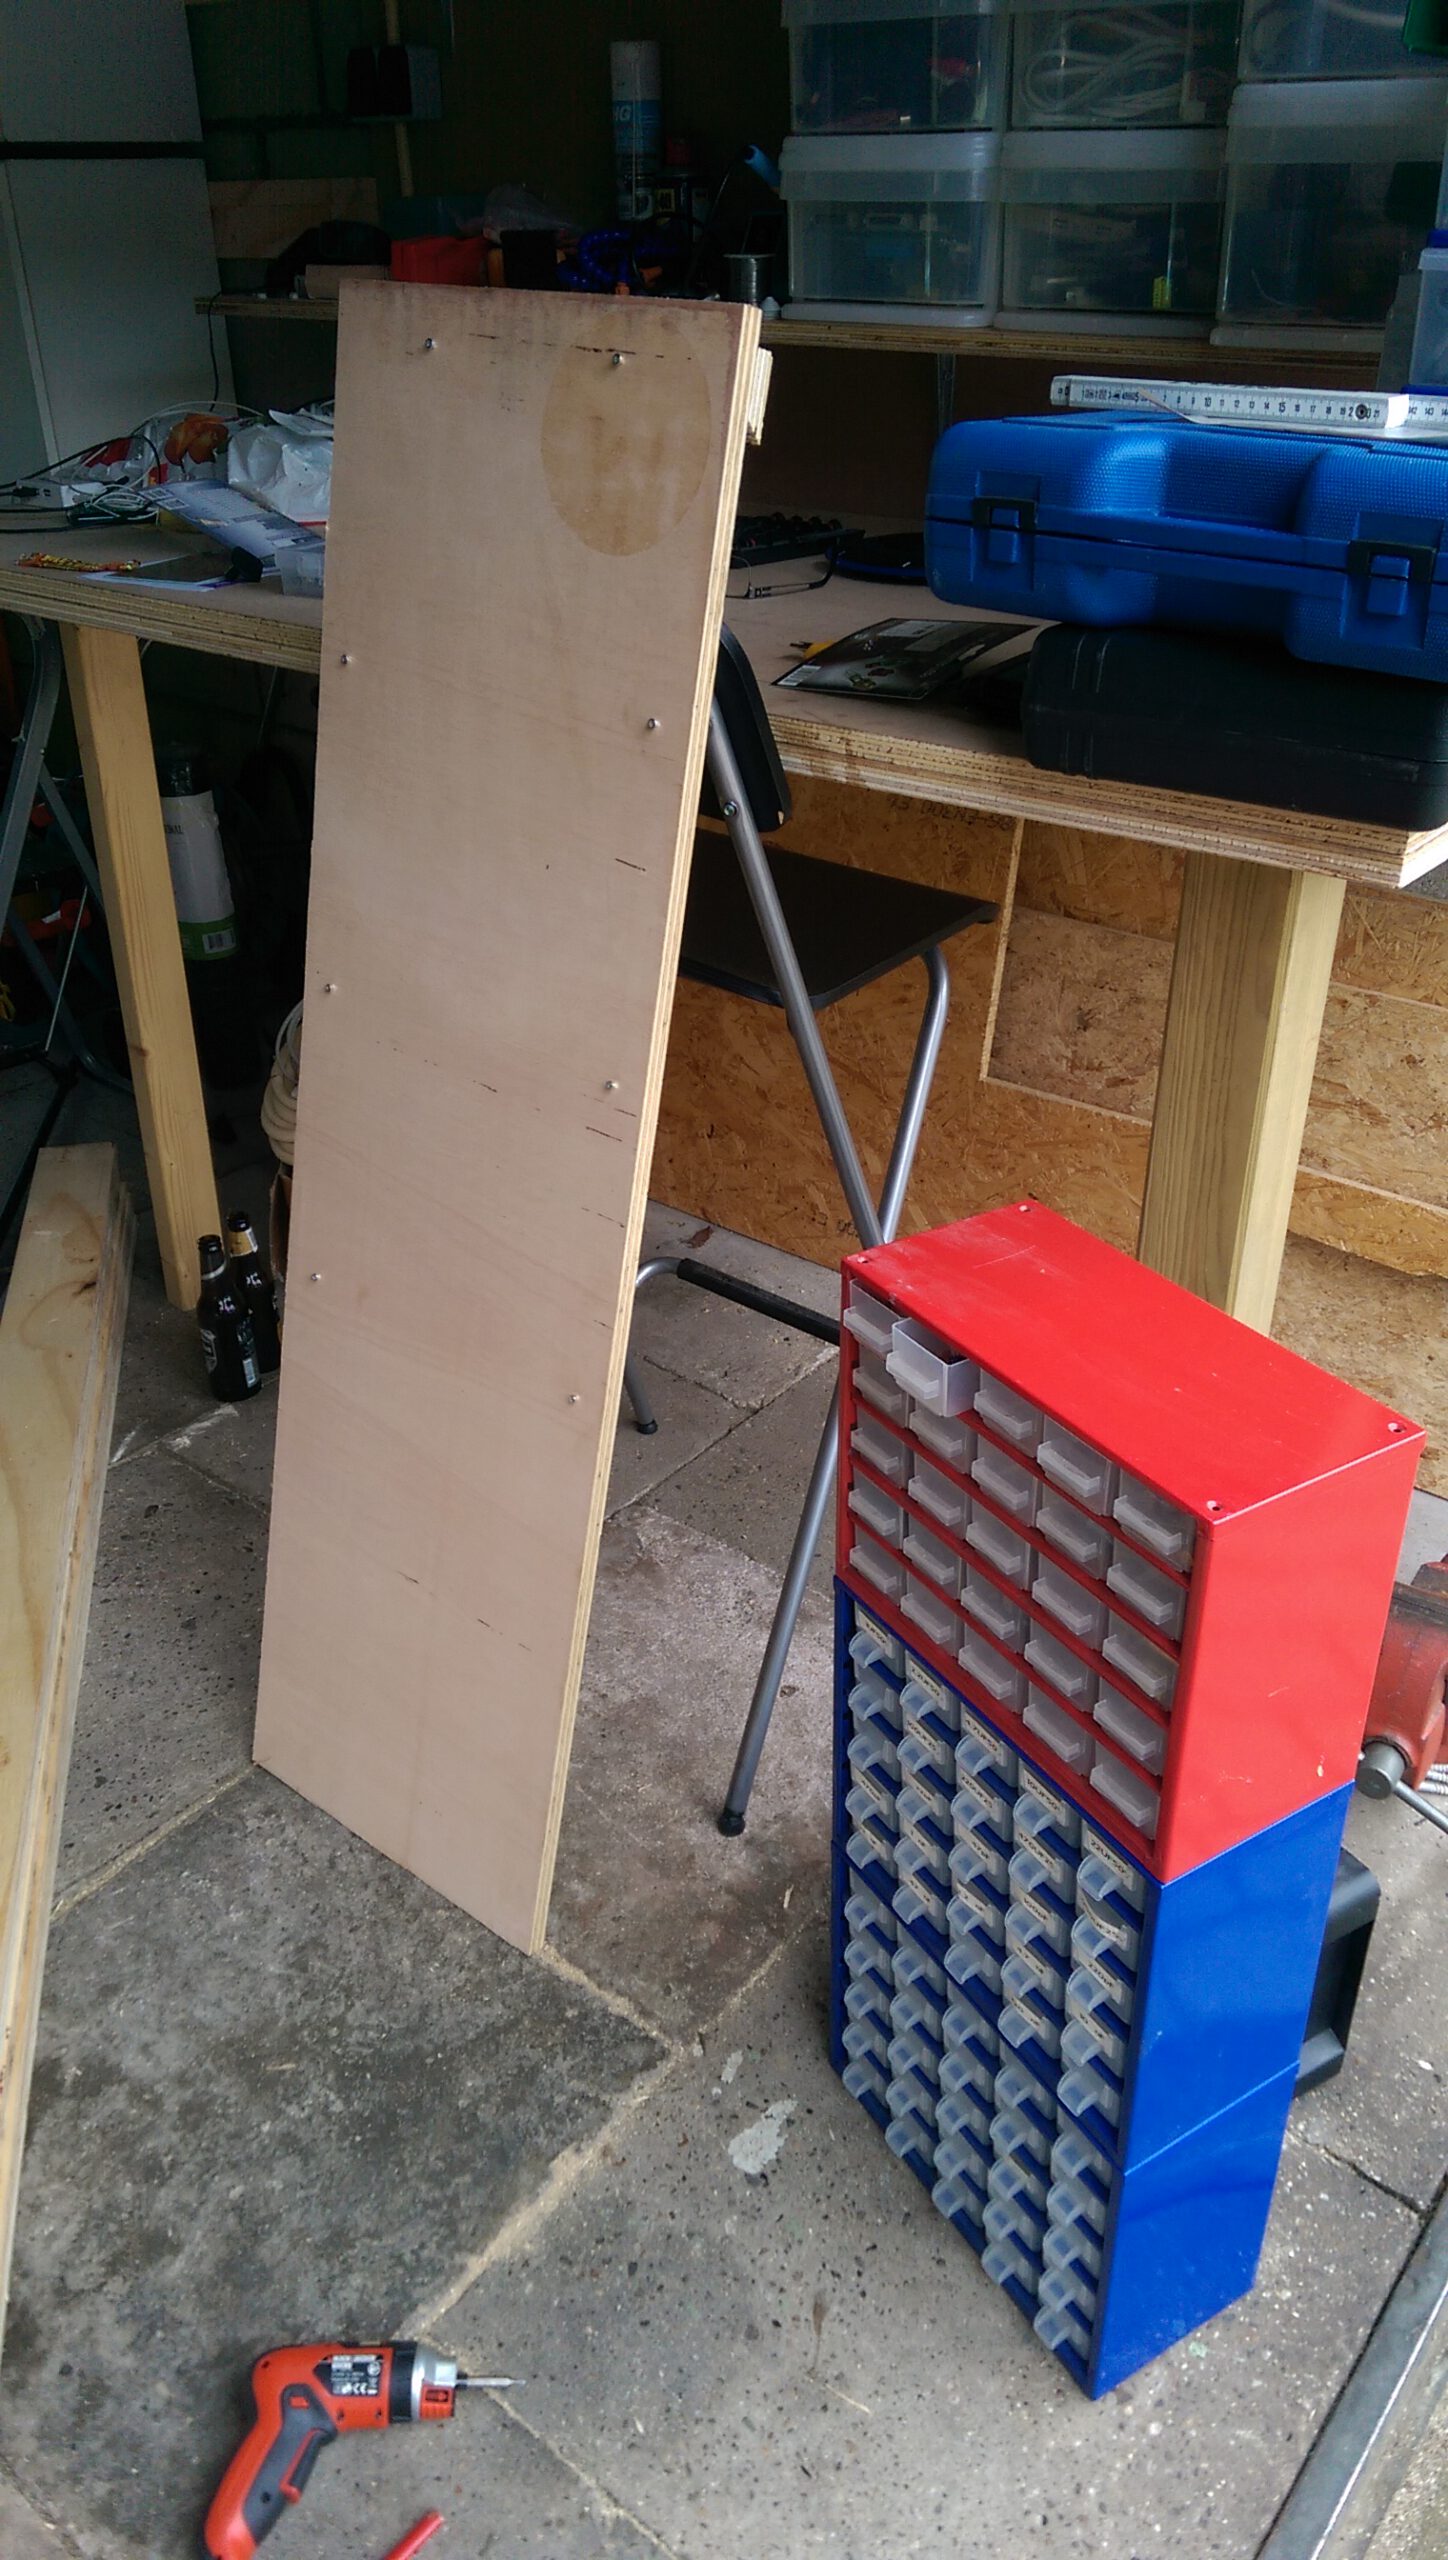
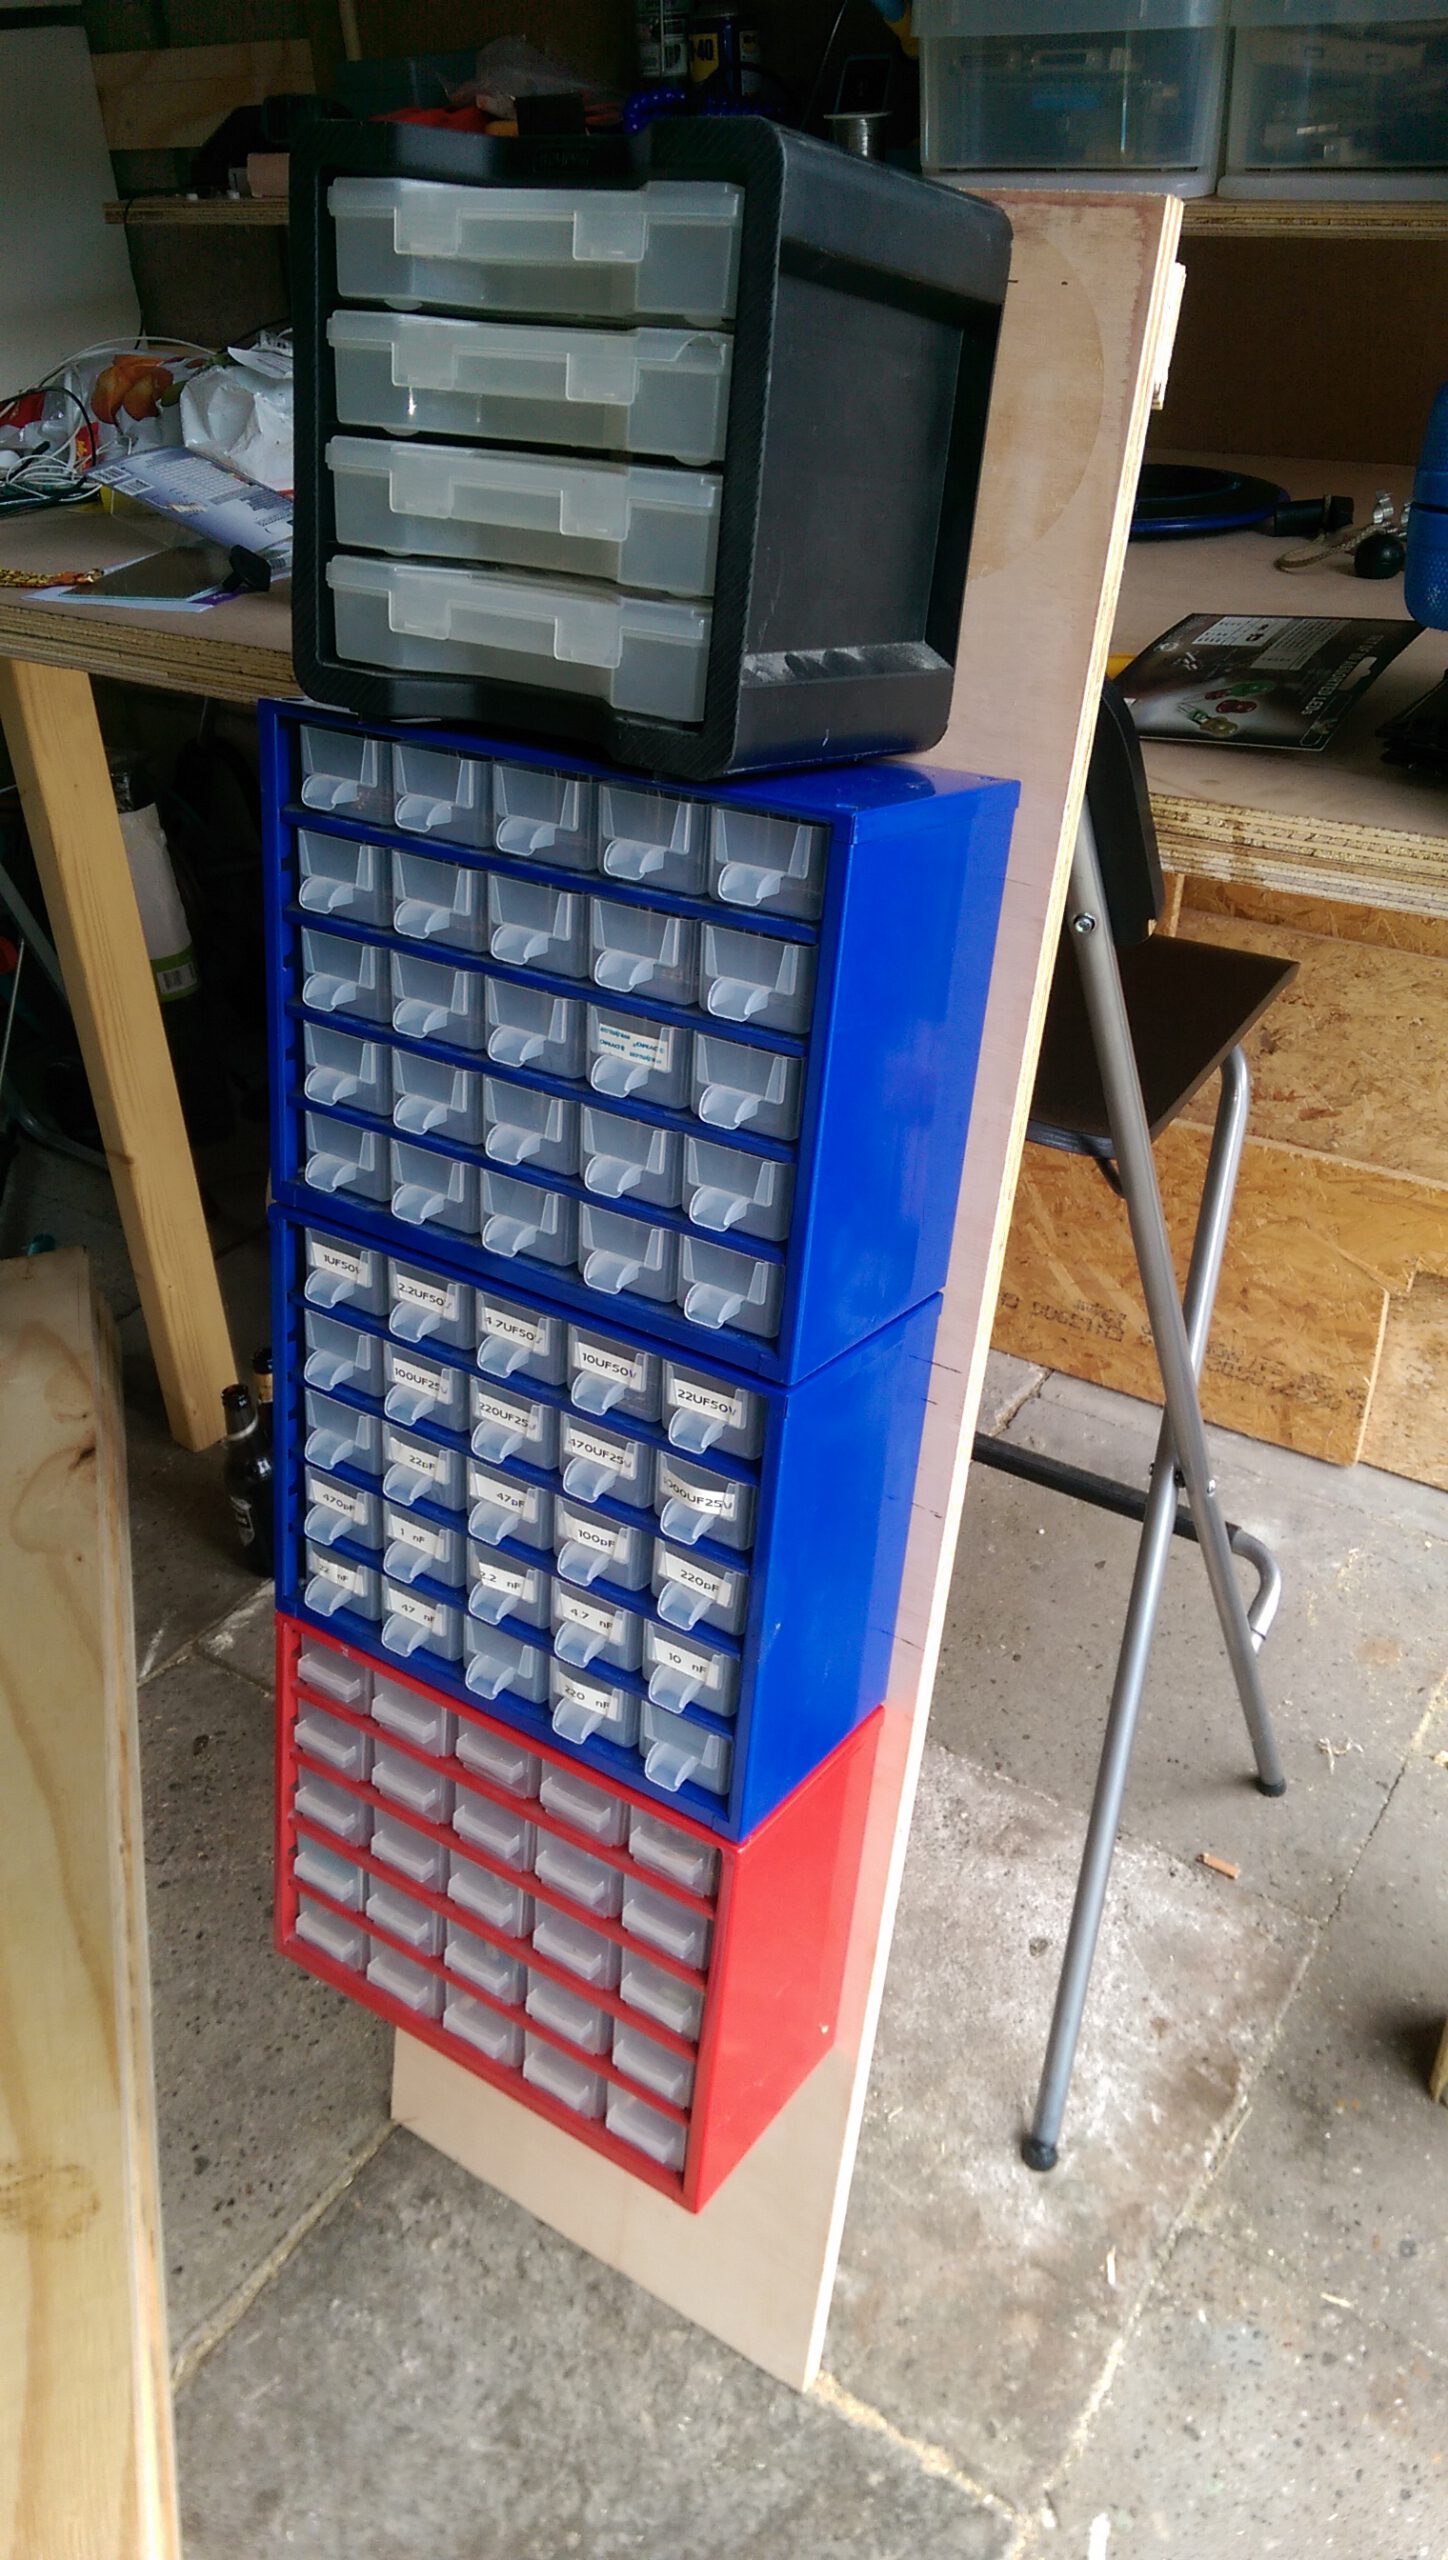
I left some space between the cabinets and the bench so I would have a nice place for my assortment cabinets with different parts I collected in the past.
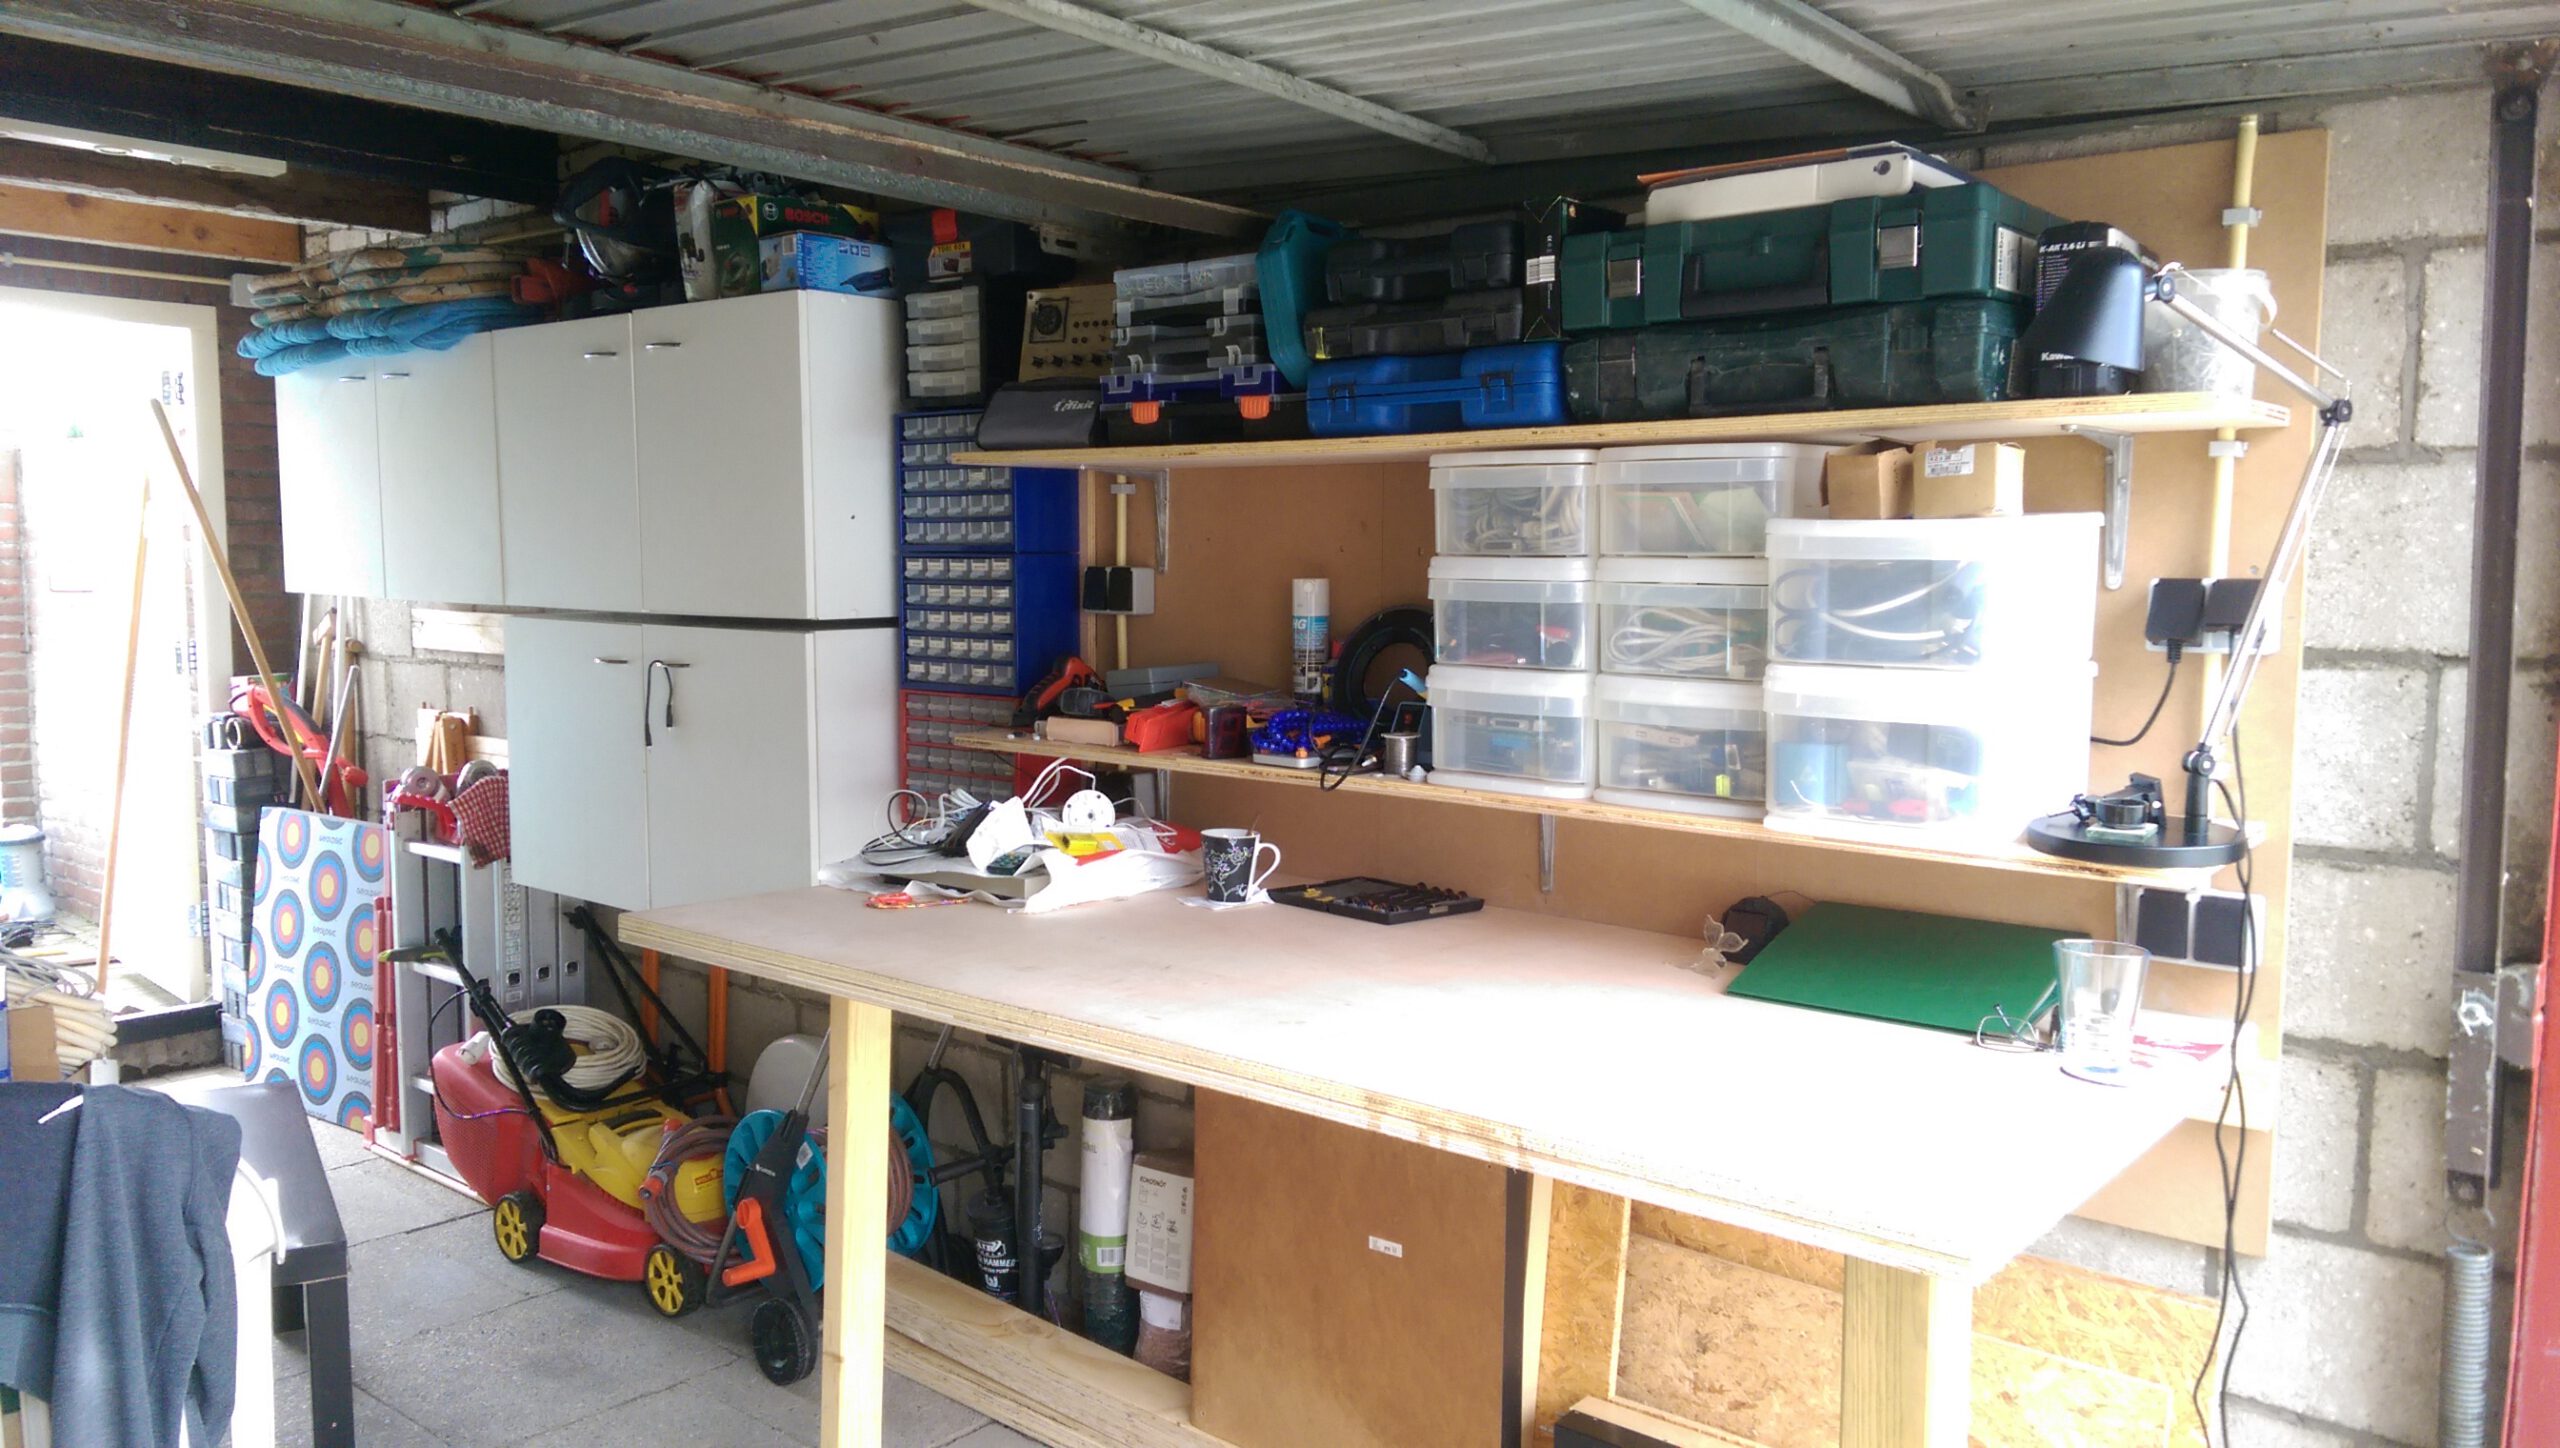
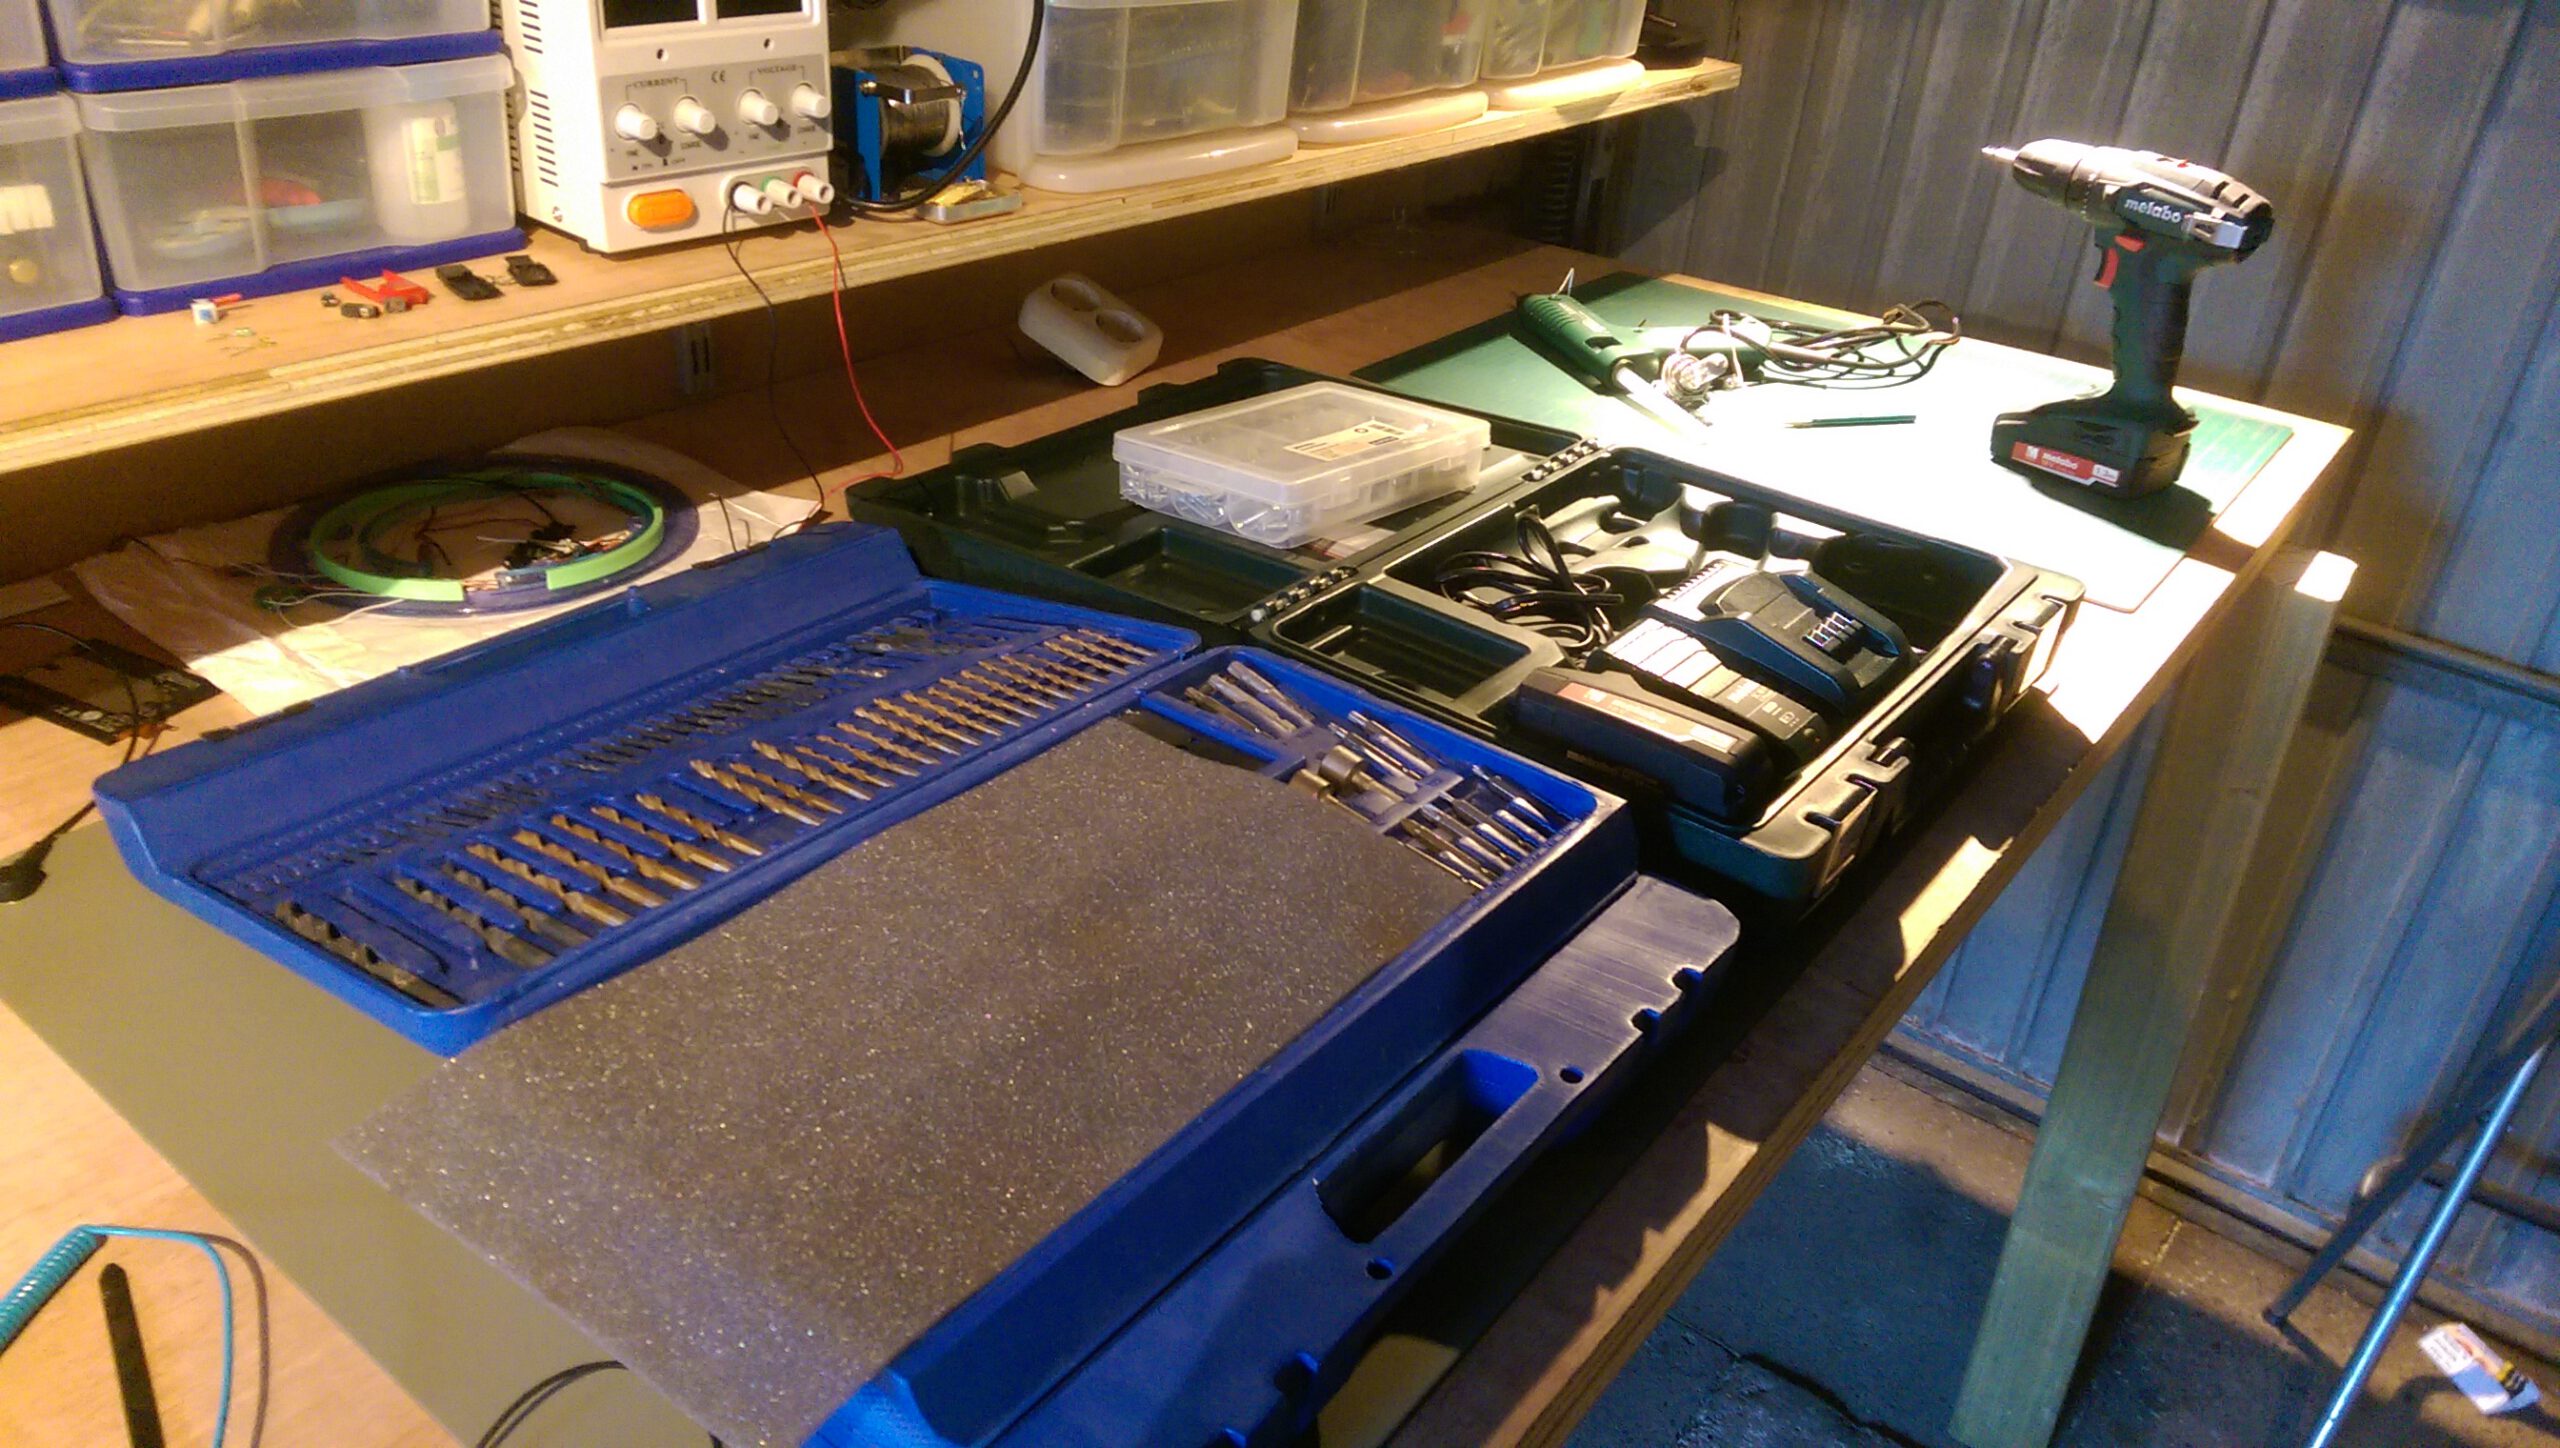
The I finally got to the end of the project at the time. That was a really great feeling. I also included a recent picture of how it looks when I start working on multiple things at once (Identiy Disc project and installing a power socket in the garden). But the great thing is that it cleans up really quick because everything has it’s (easily accessible) place 🙂

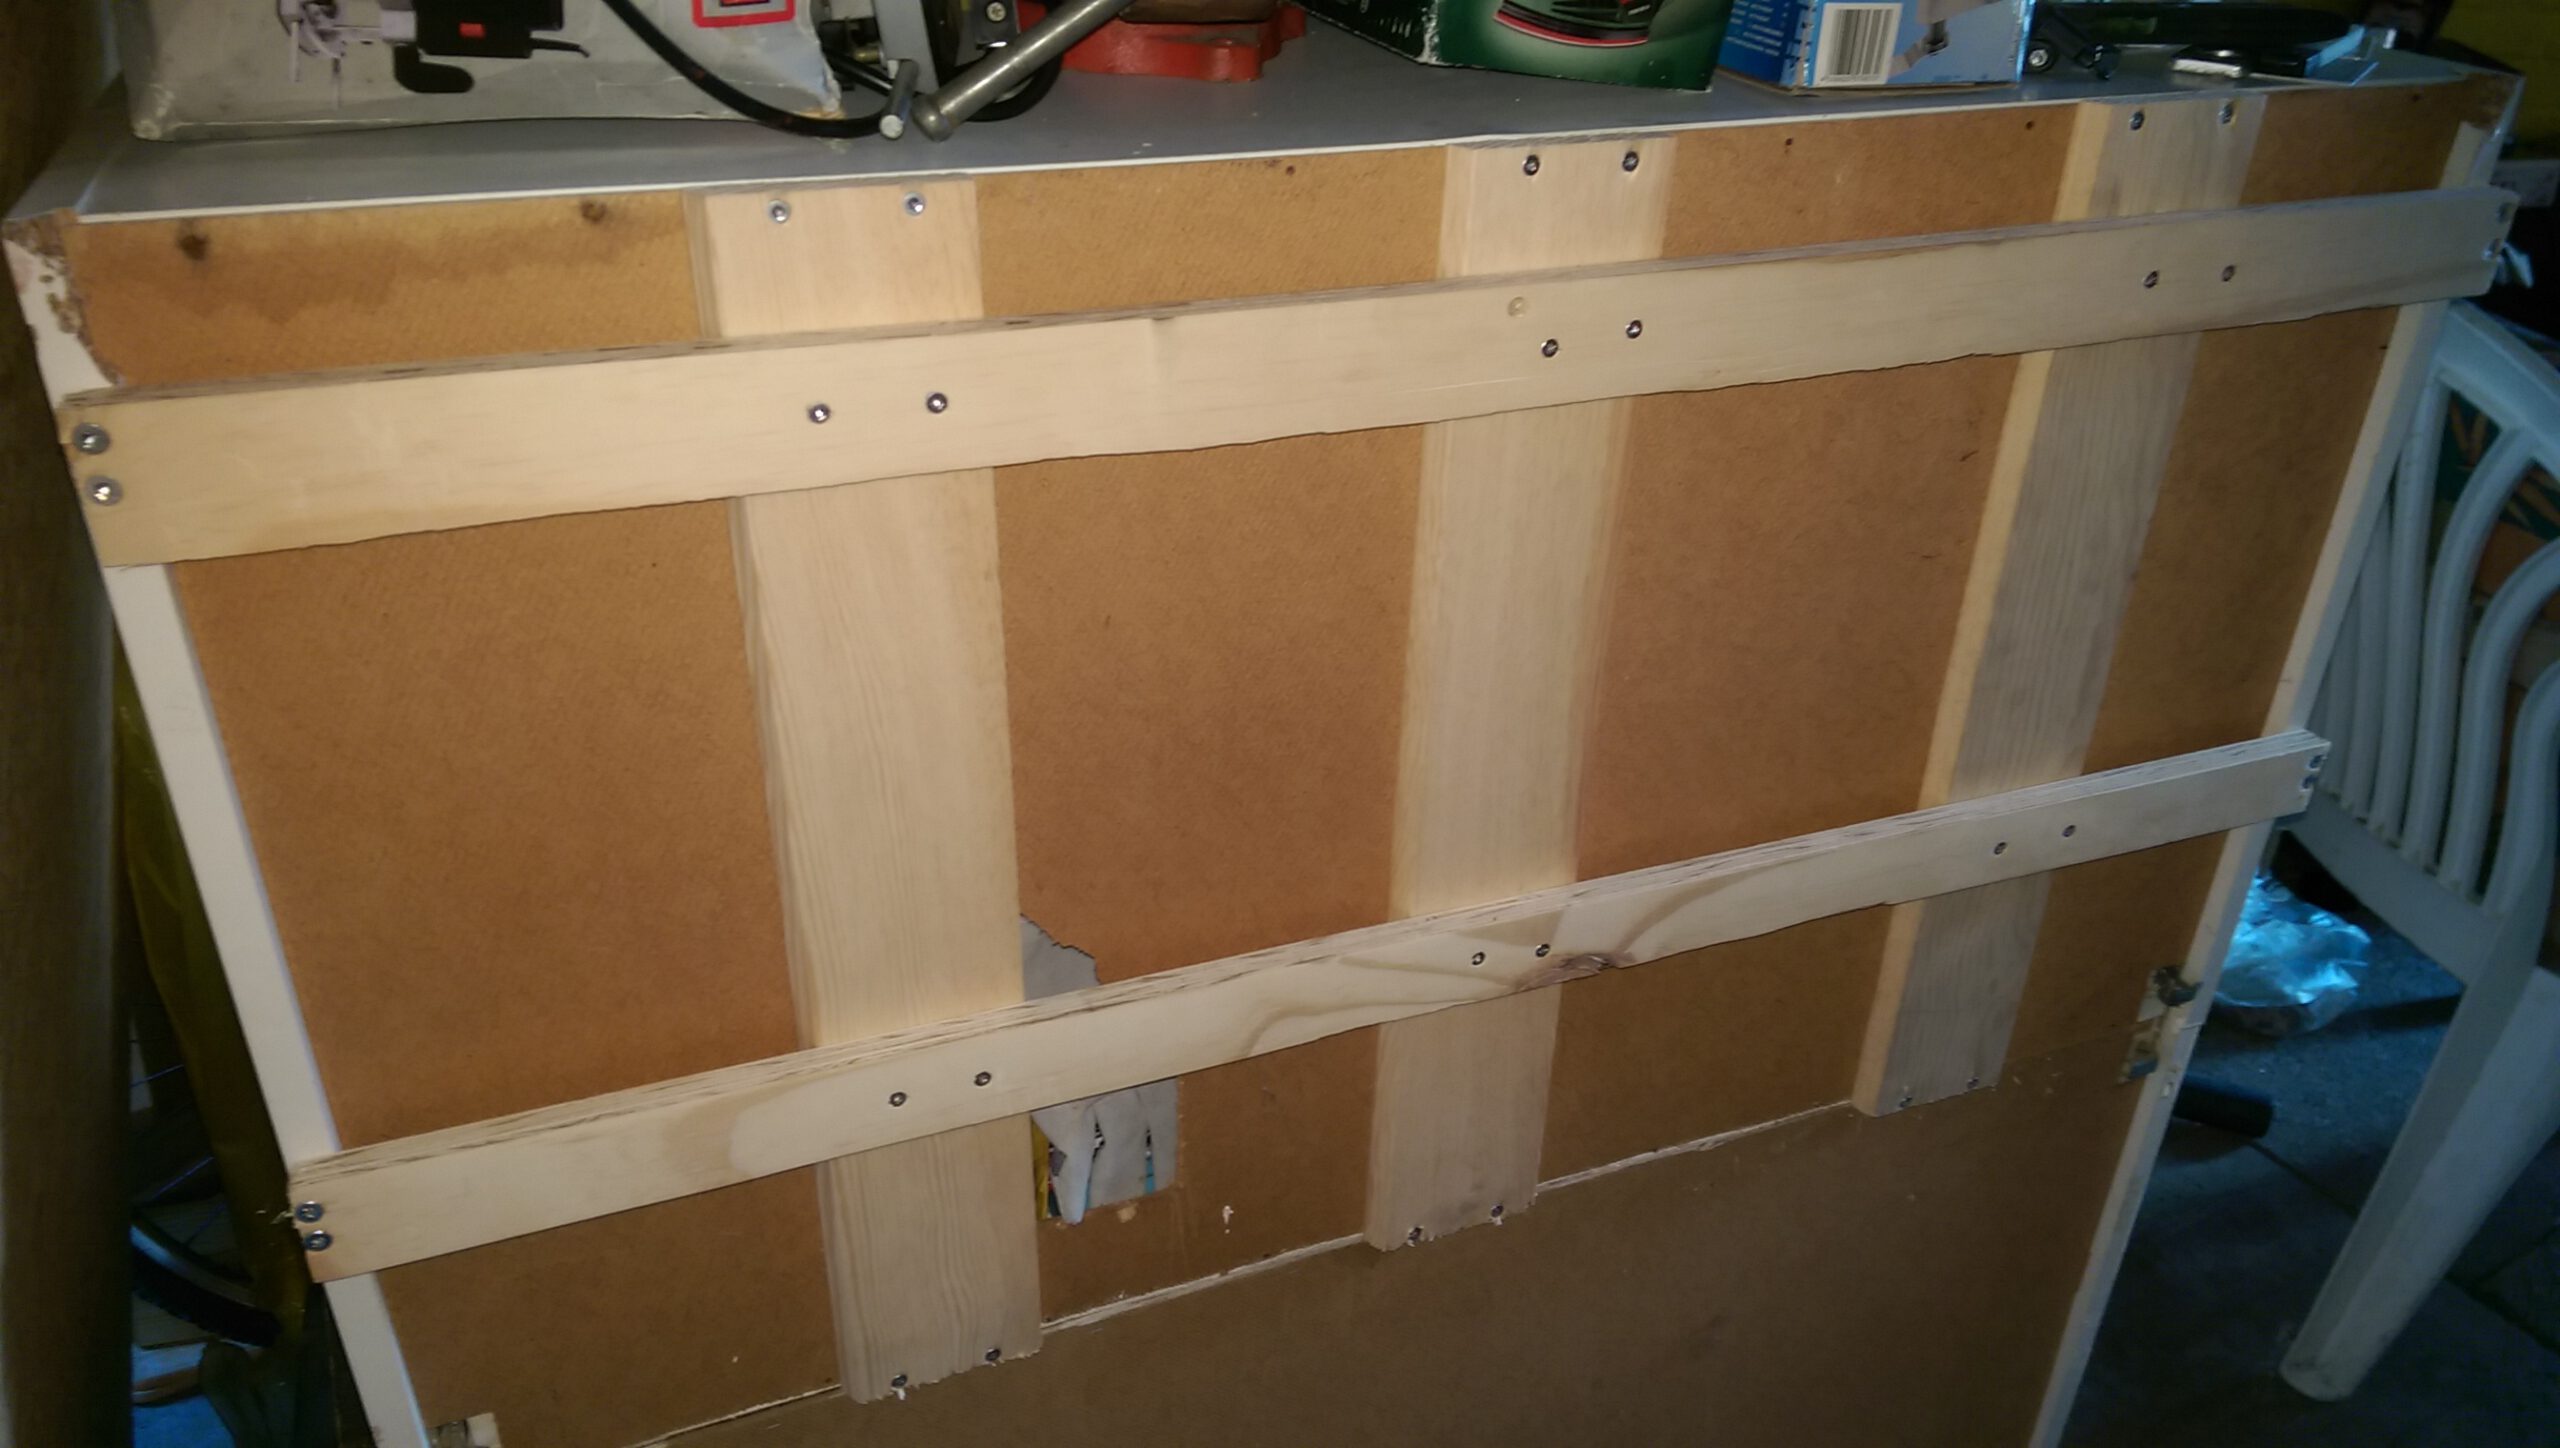
My bench was not done yet though. As I indicated before I wanted to be able to fold it down. This was possible but I would have to remove the legs to do so.
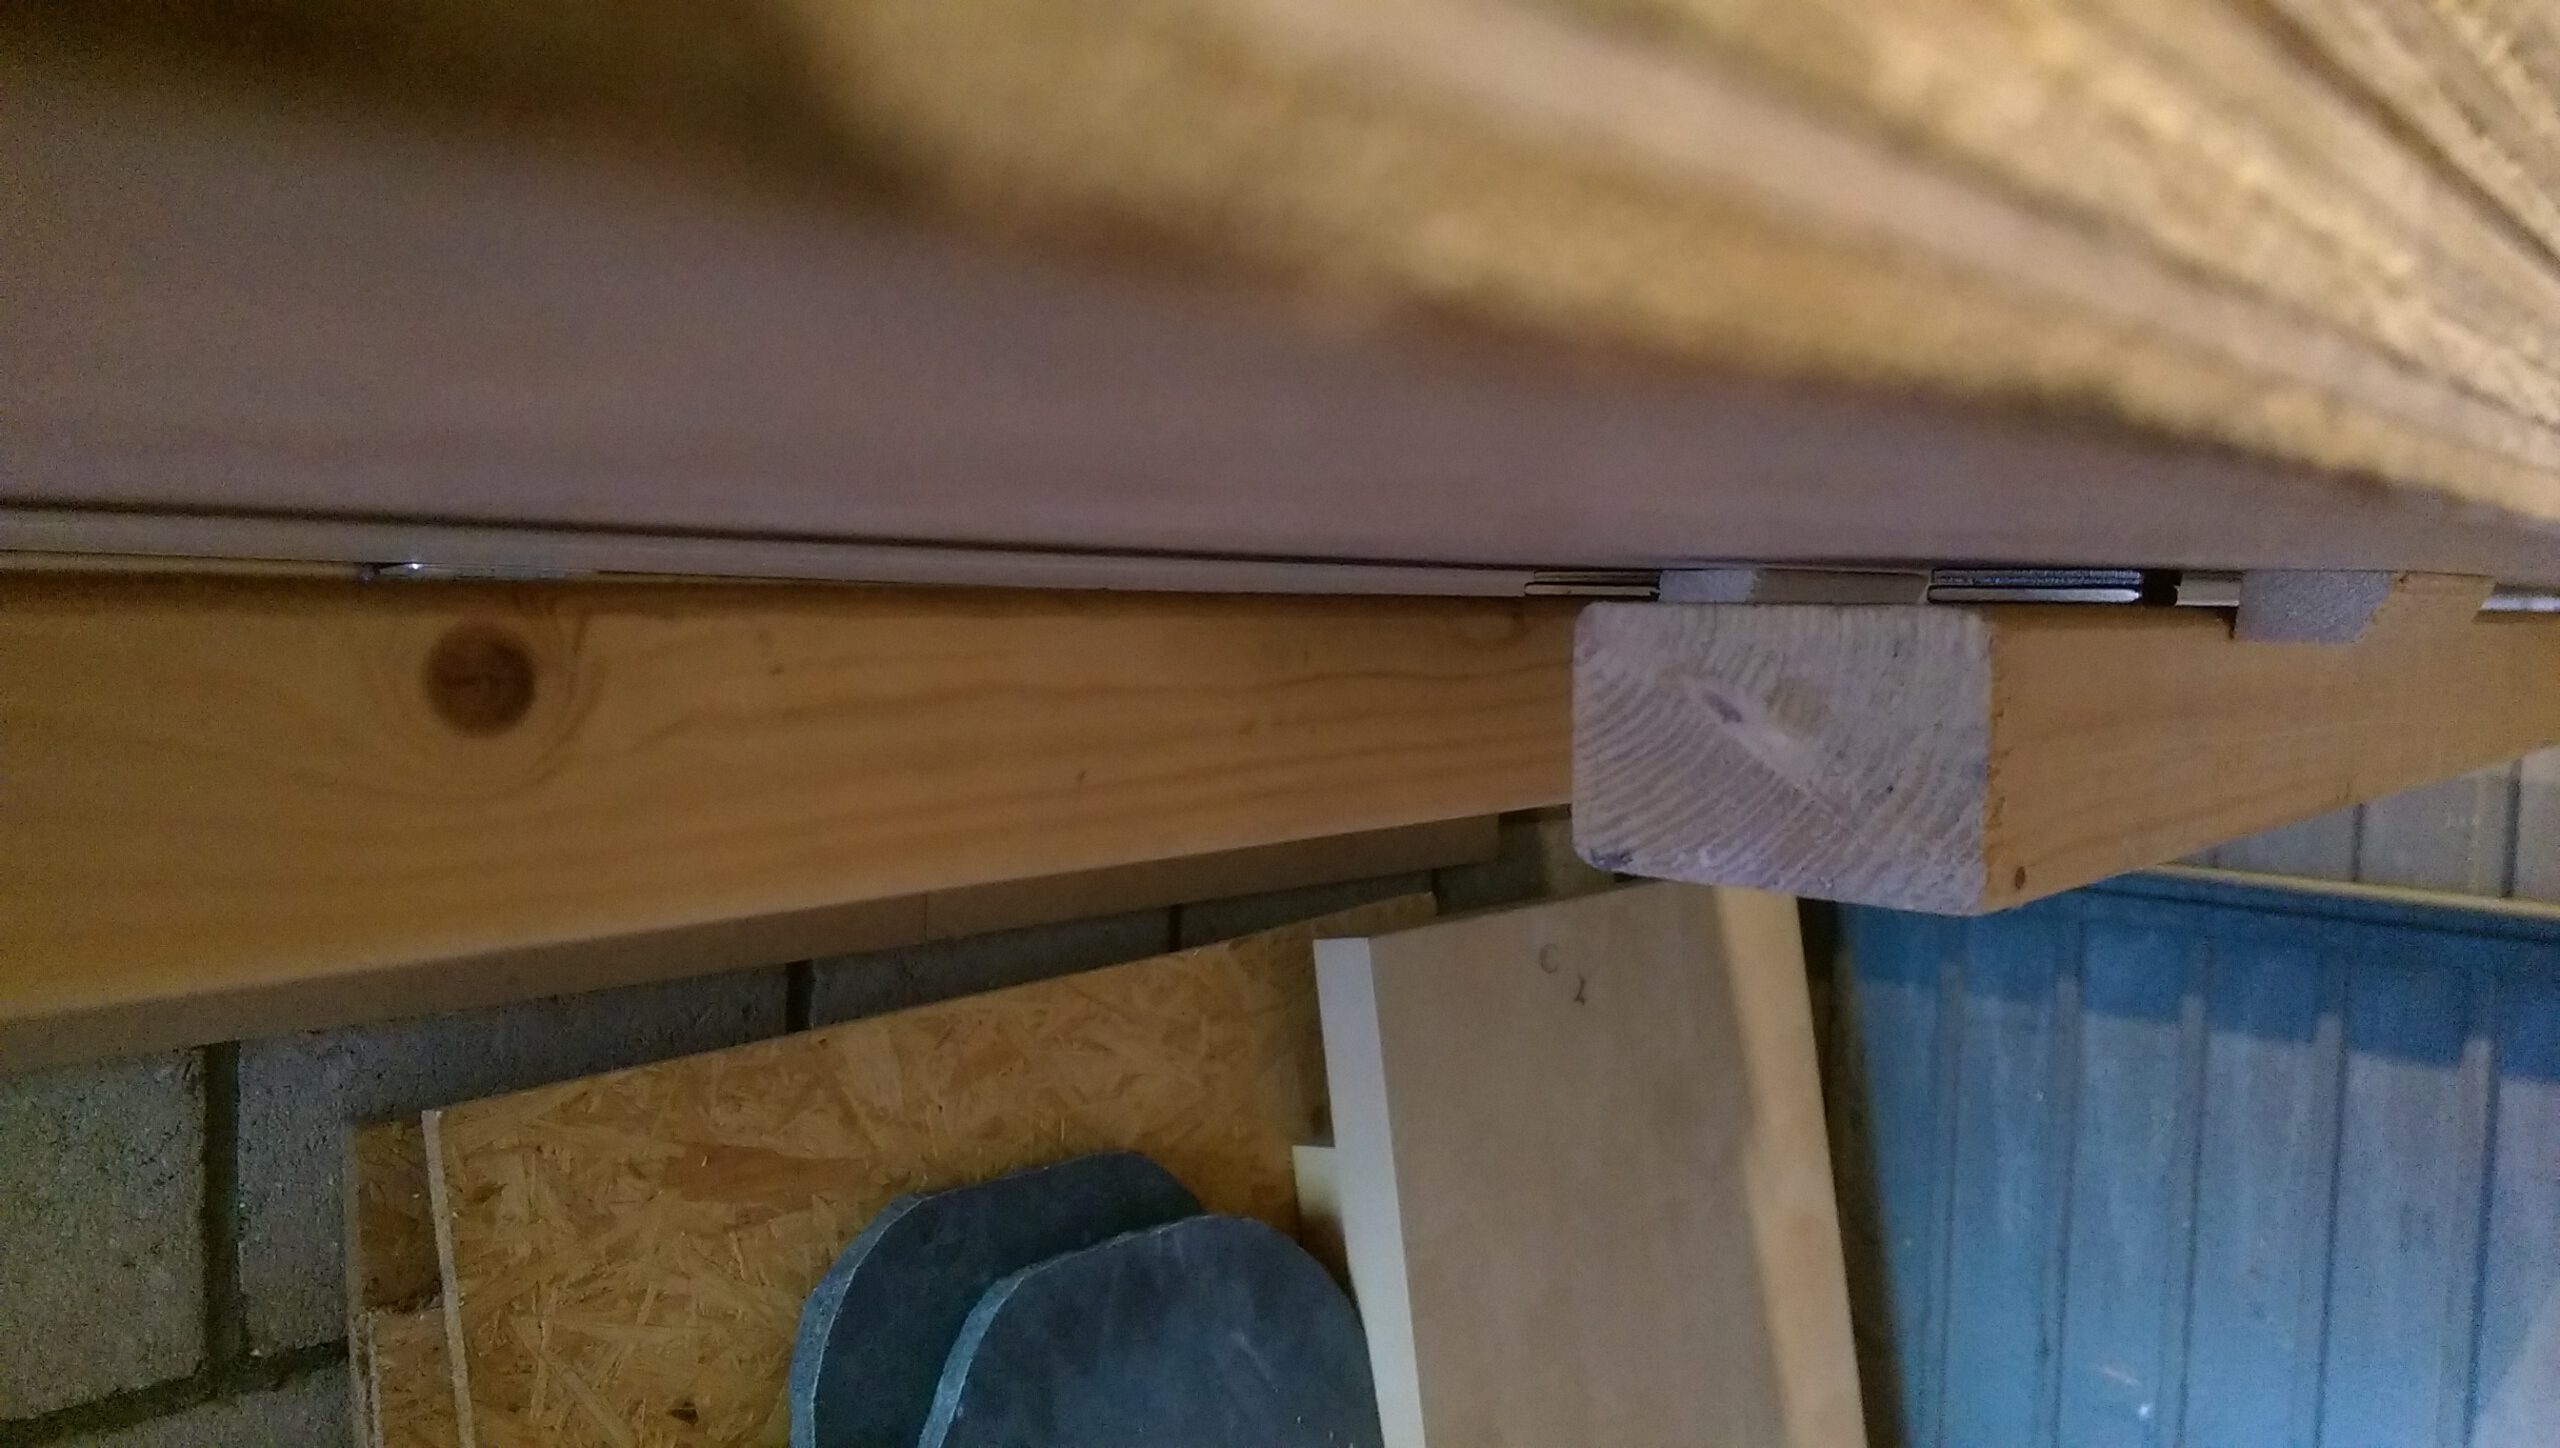
First of I changed the setup of the bench. I didn’t like the fixed mounts so I bought rails at the hardware store, cut them to size, spray-painted the ends to prevent corrosion and then mounted everything again. This still kept the look I wanted but gave me more flexibility.

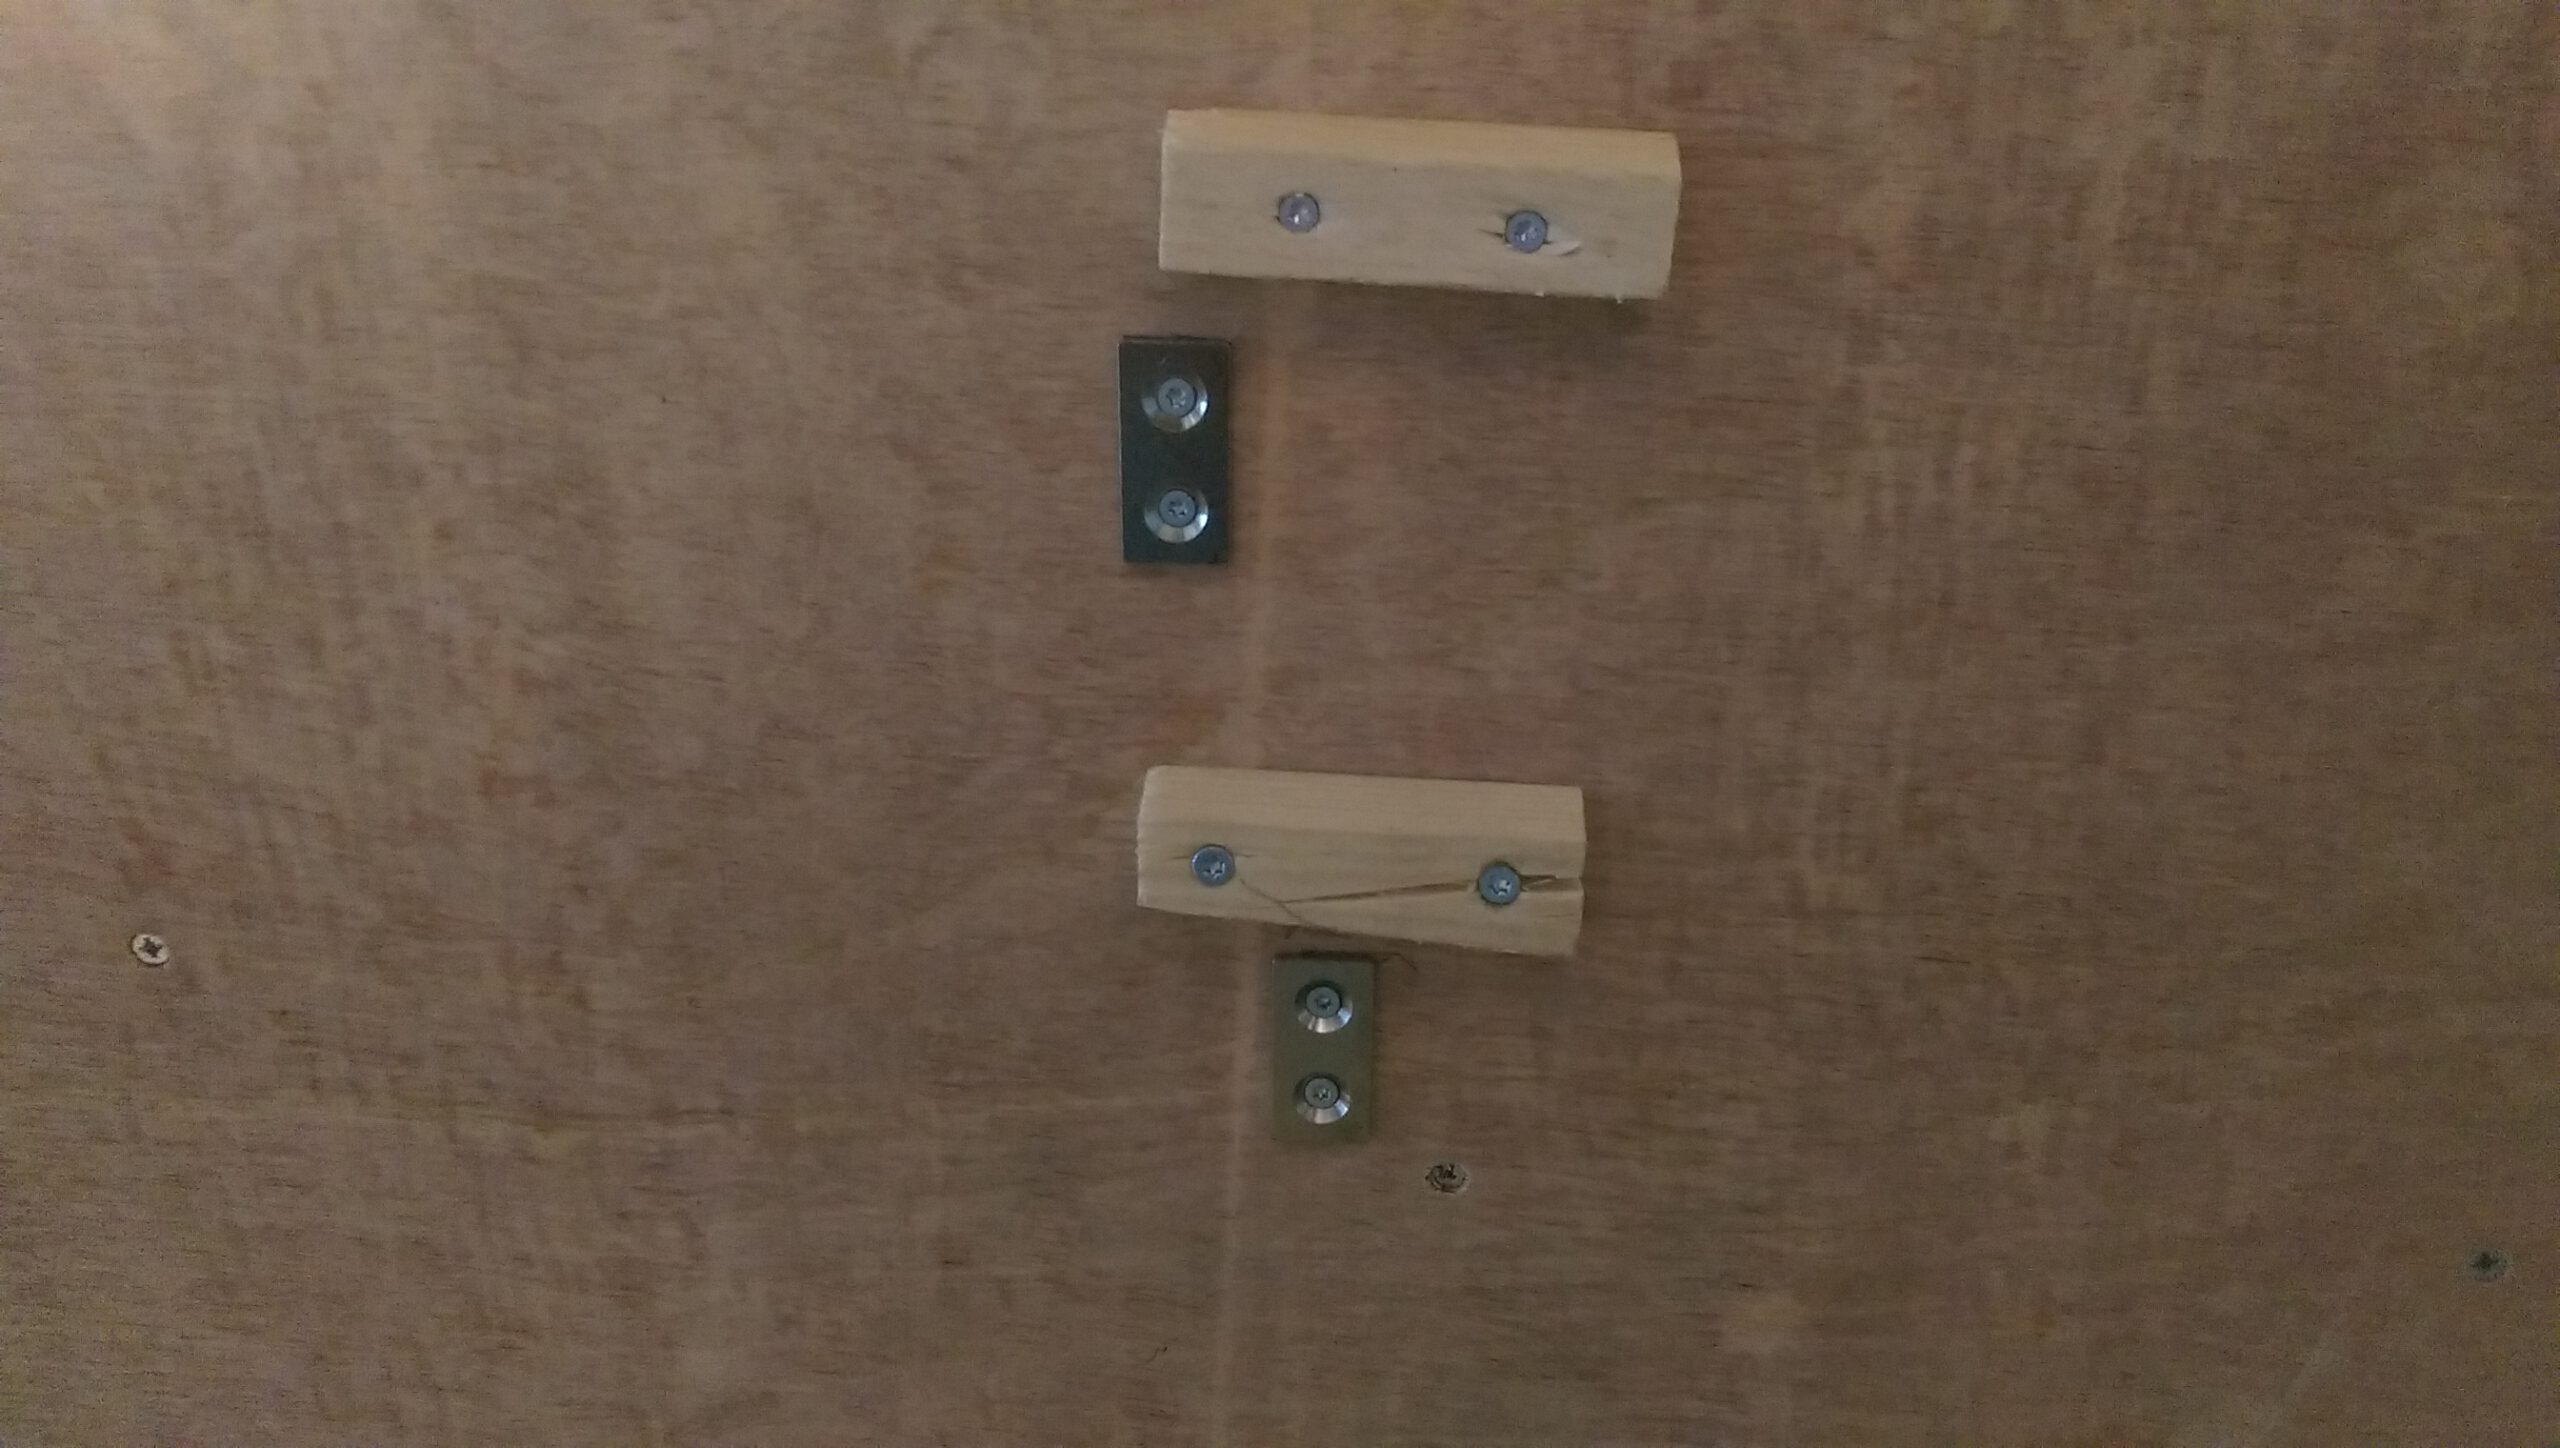
Last week (28th of June 2017) I finally started work on finishing the legs. I wanted something nice so I mounted hinges on the legs and magnets to the end of the legs so I could fold them inwards and lock them in place.
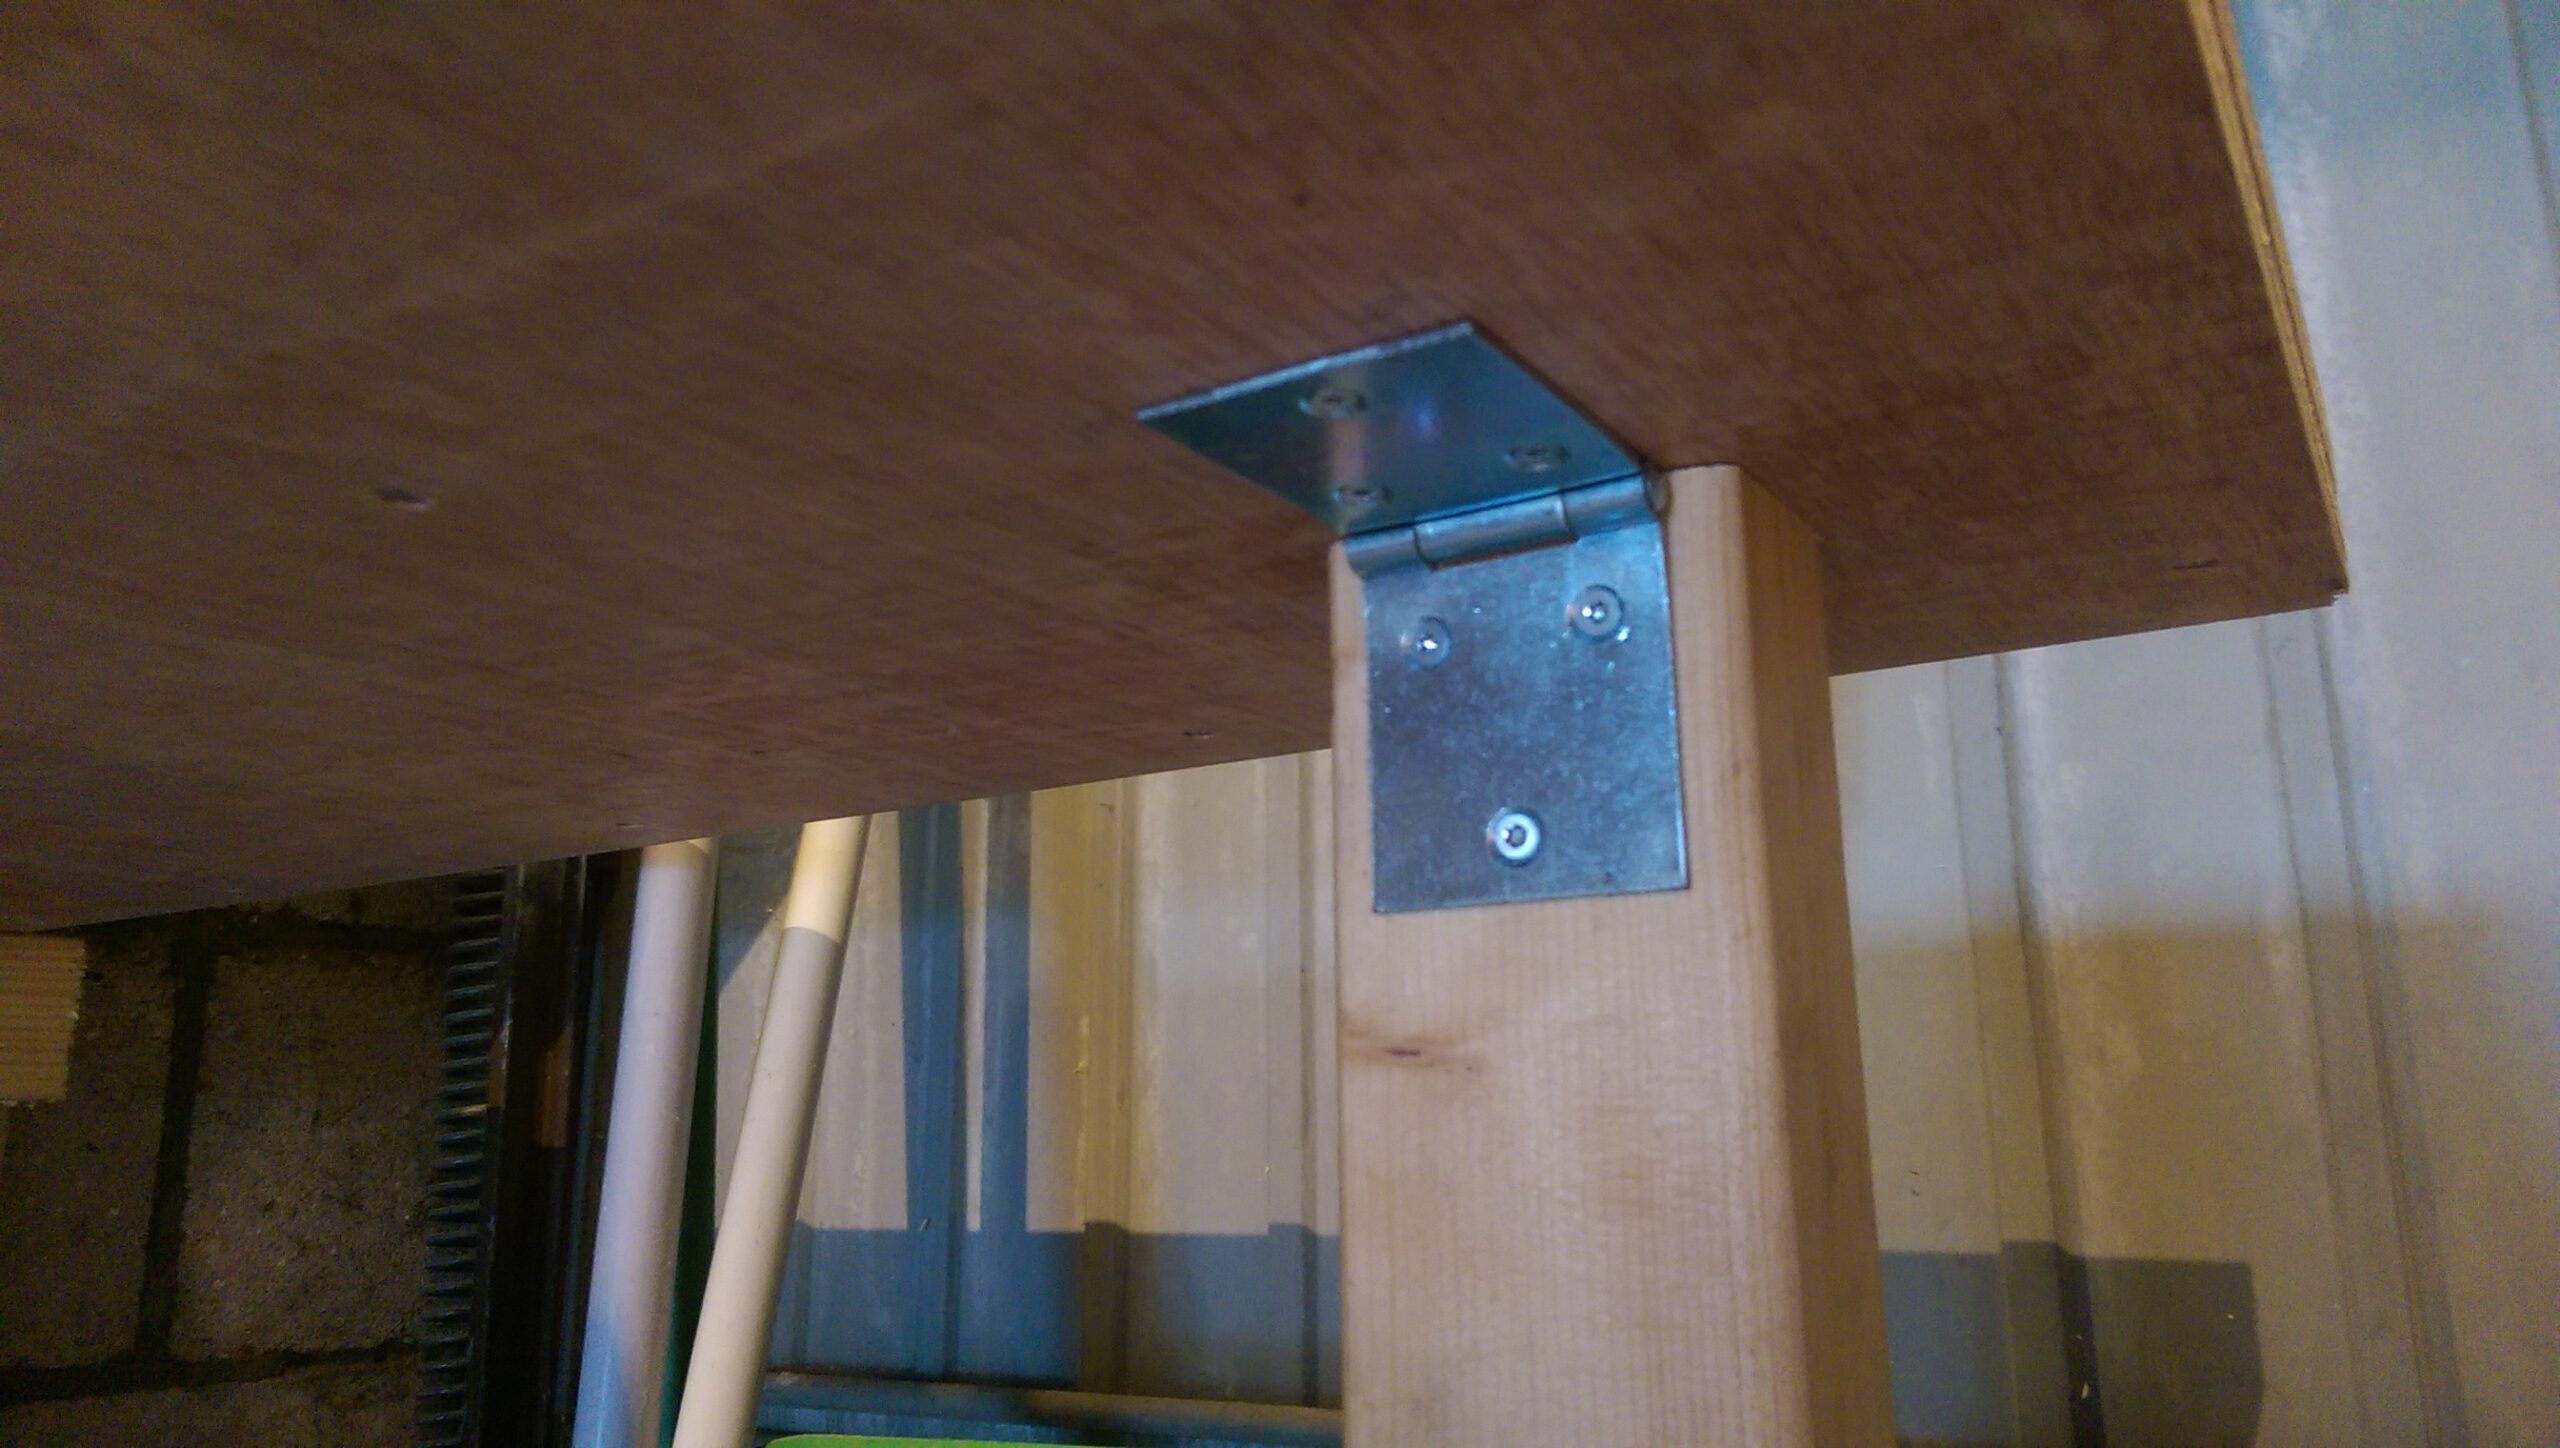
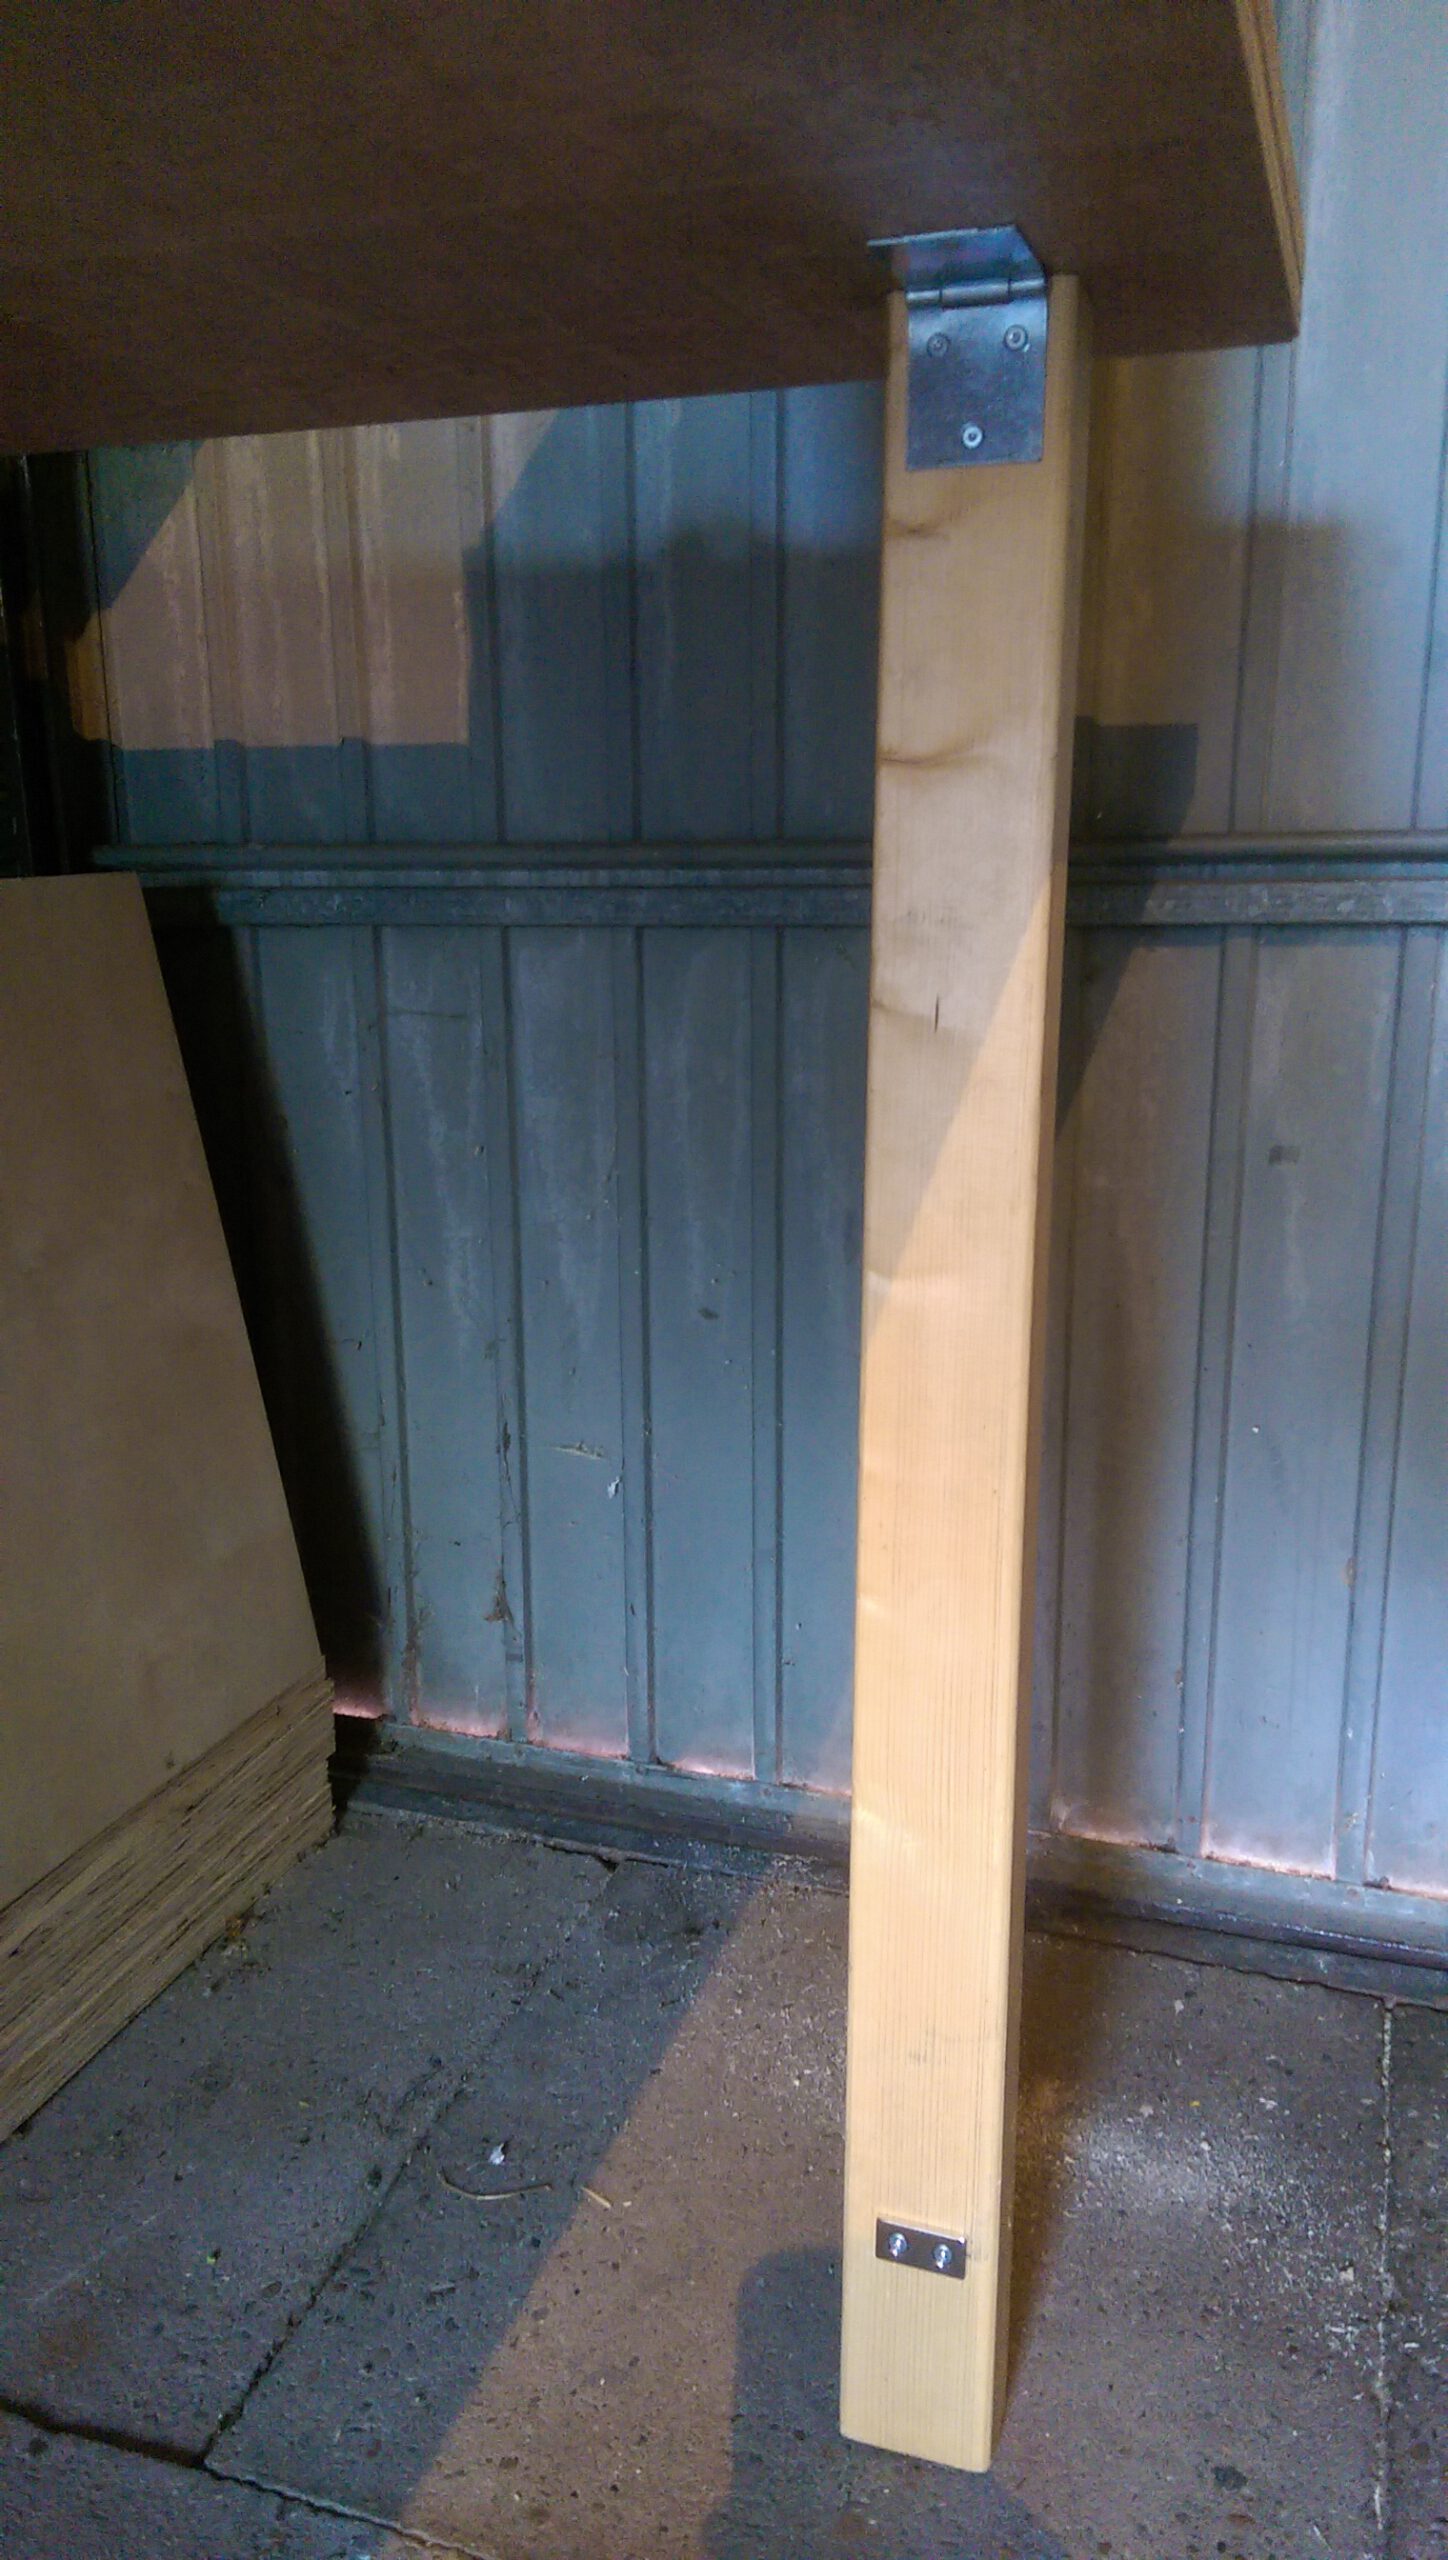
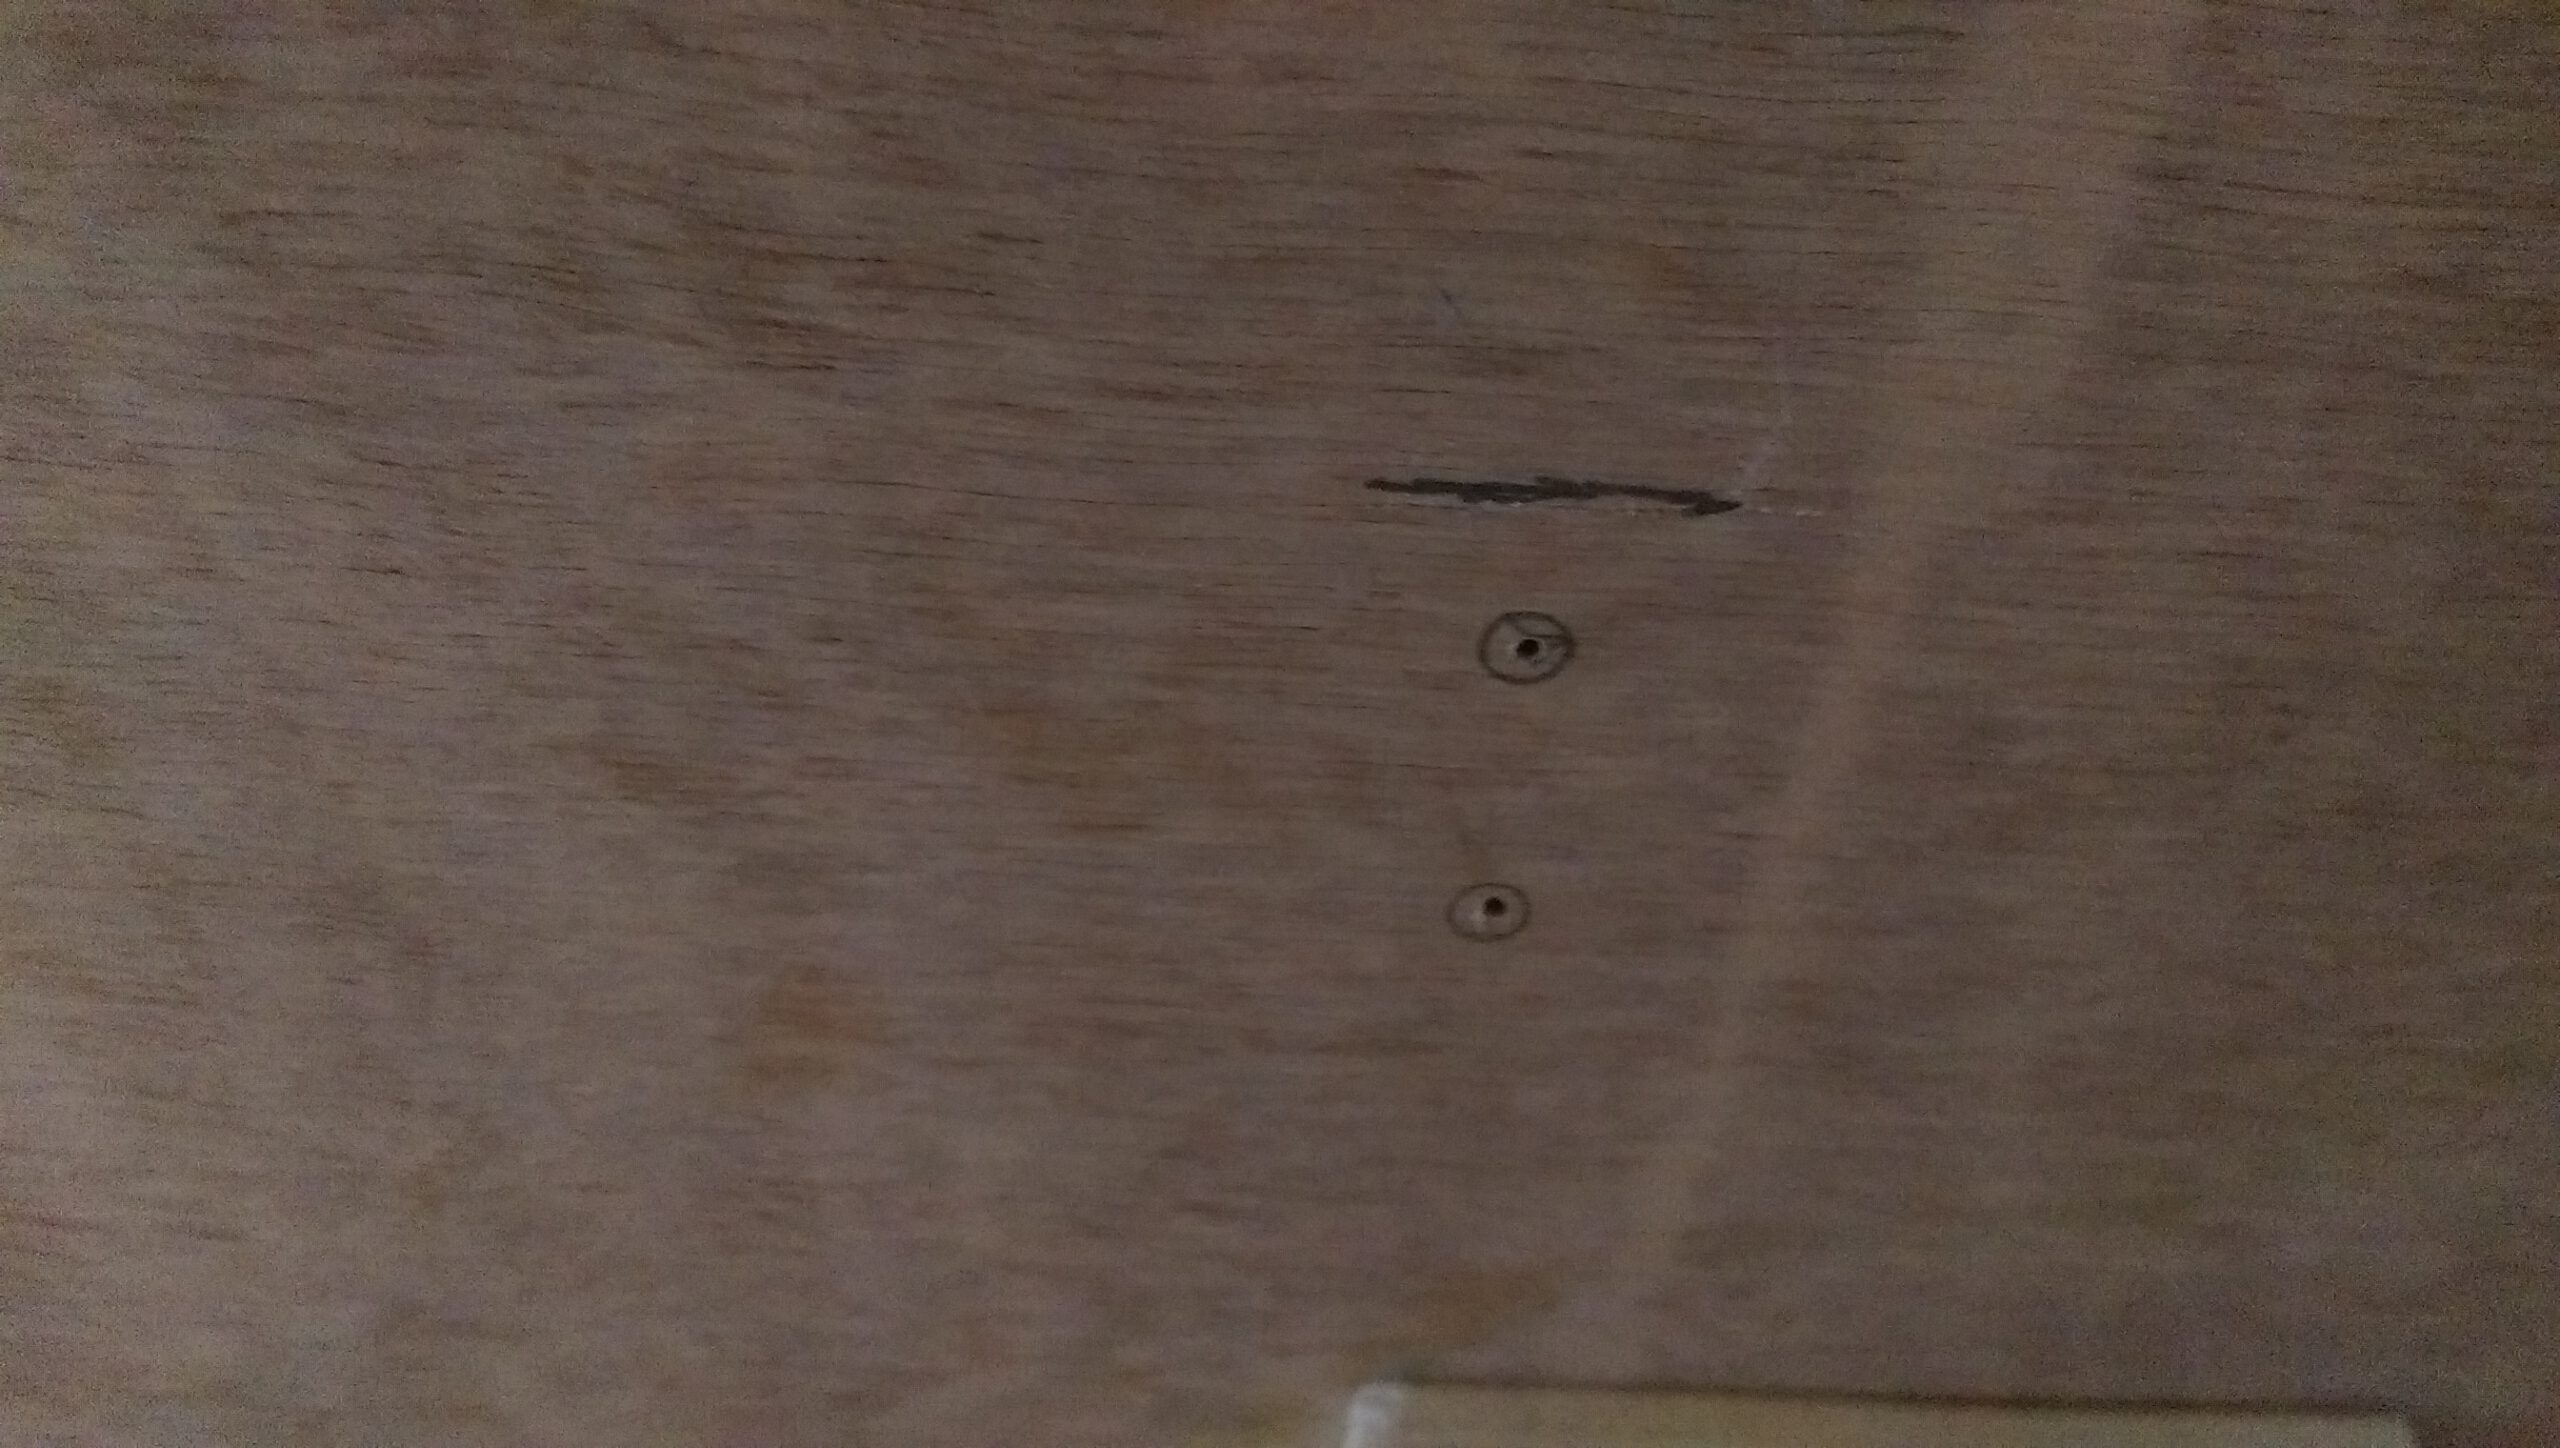
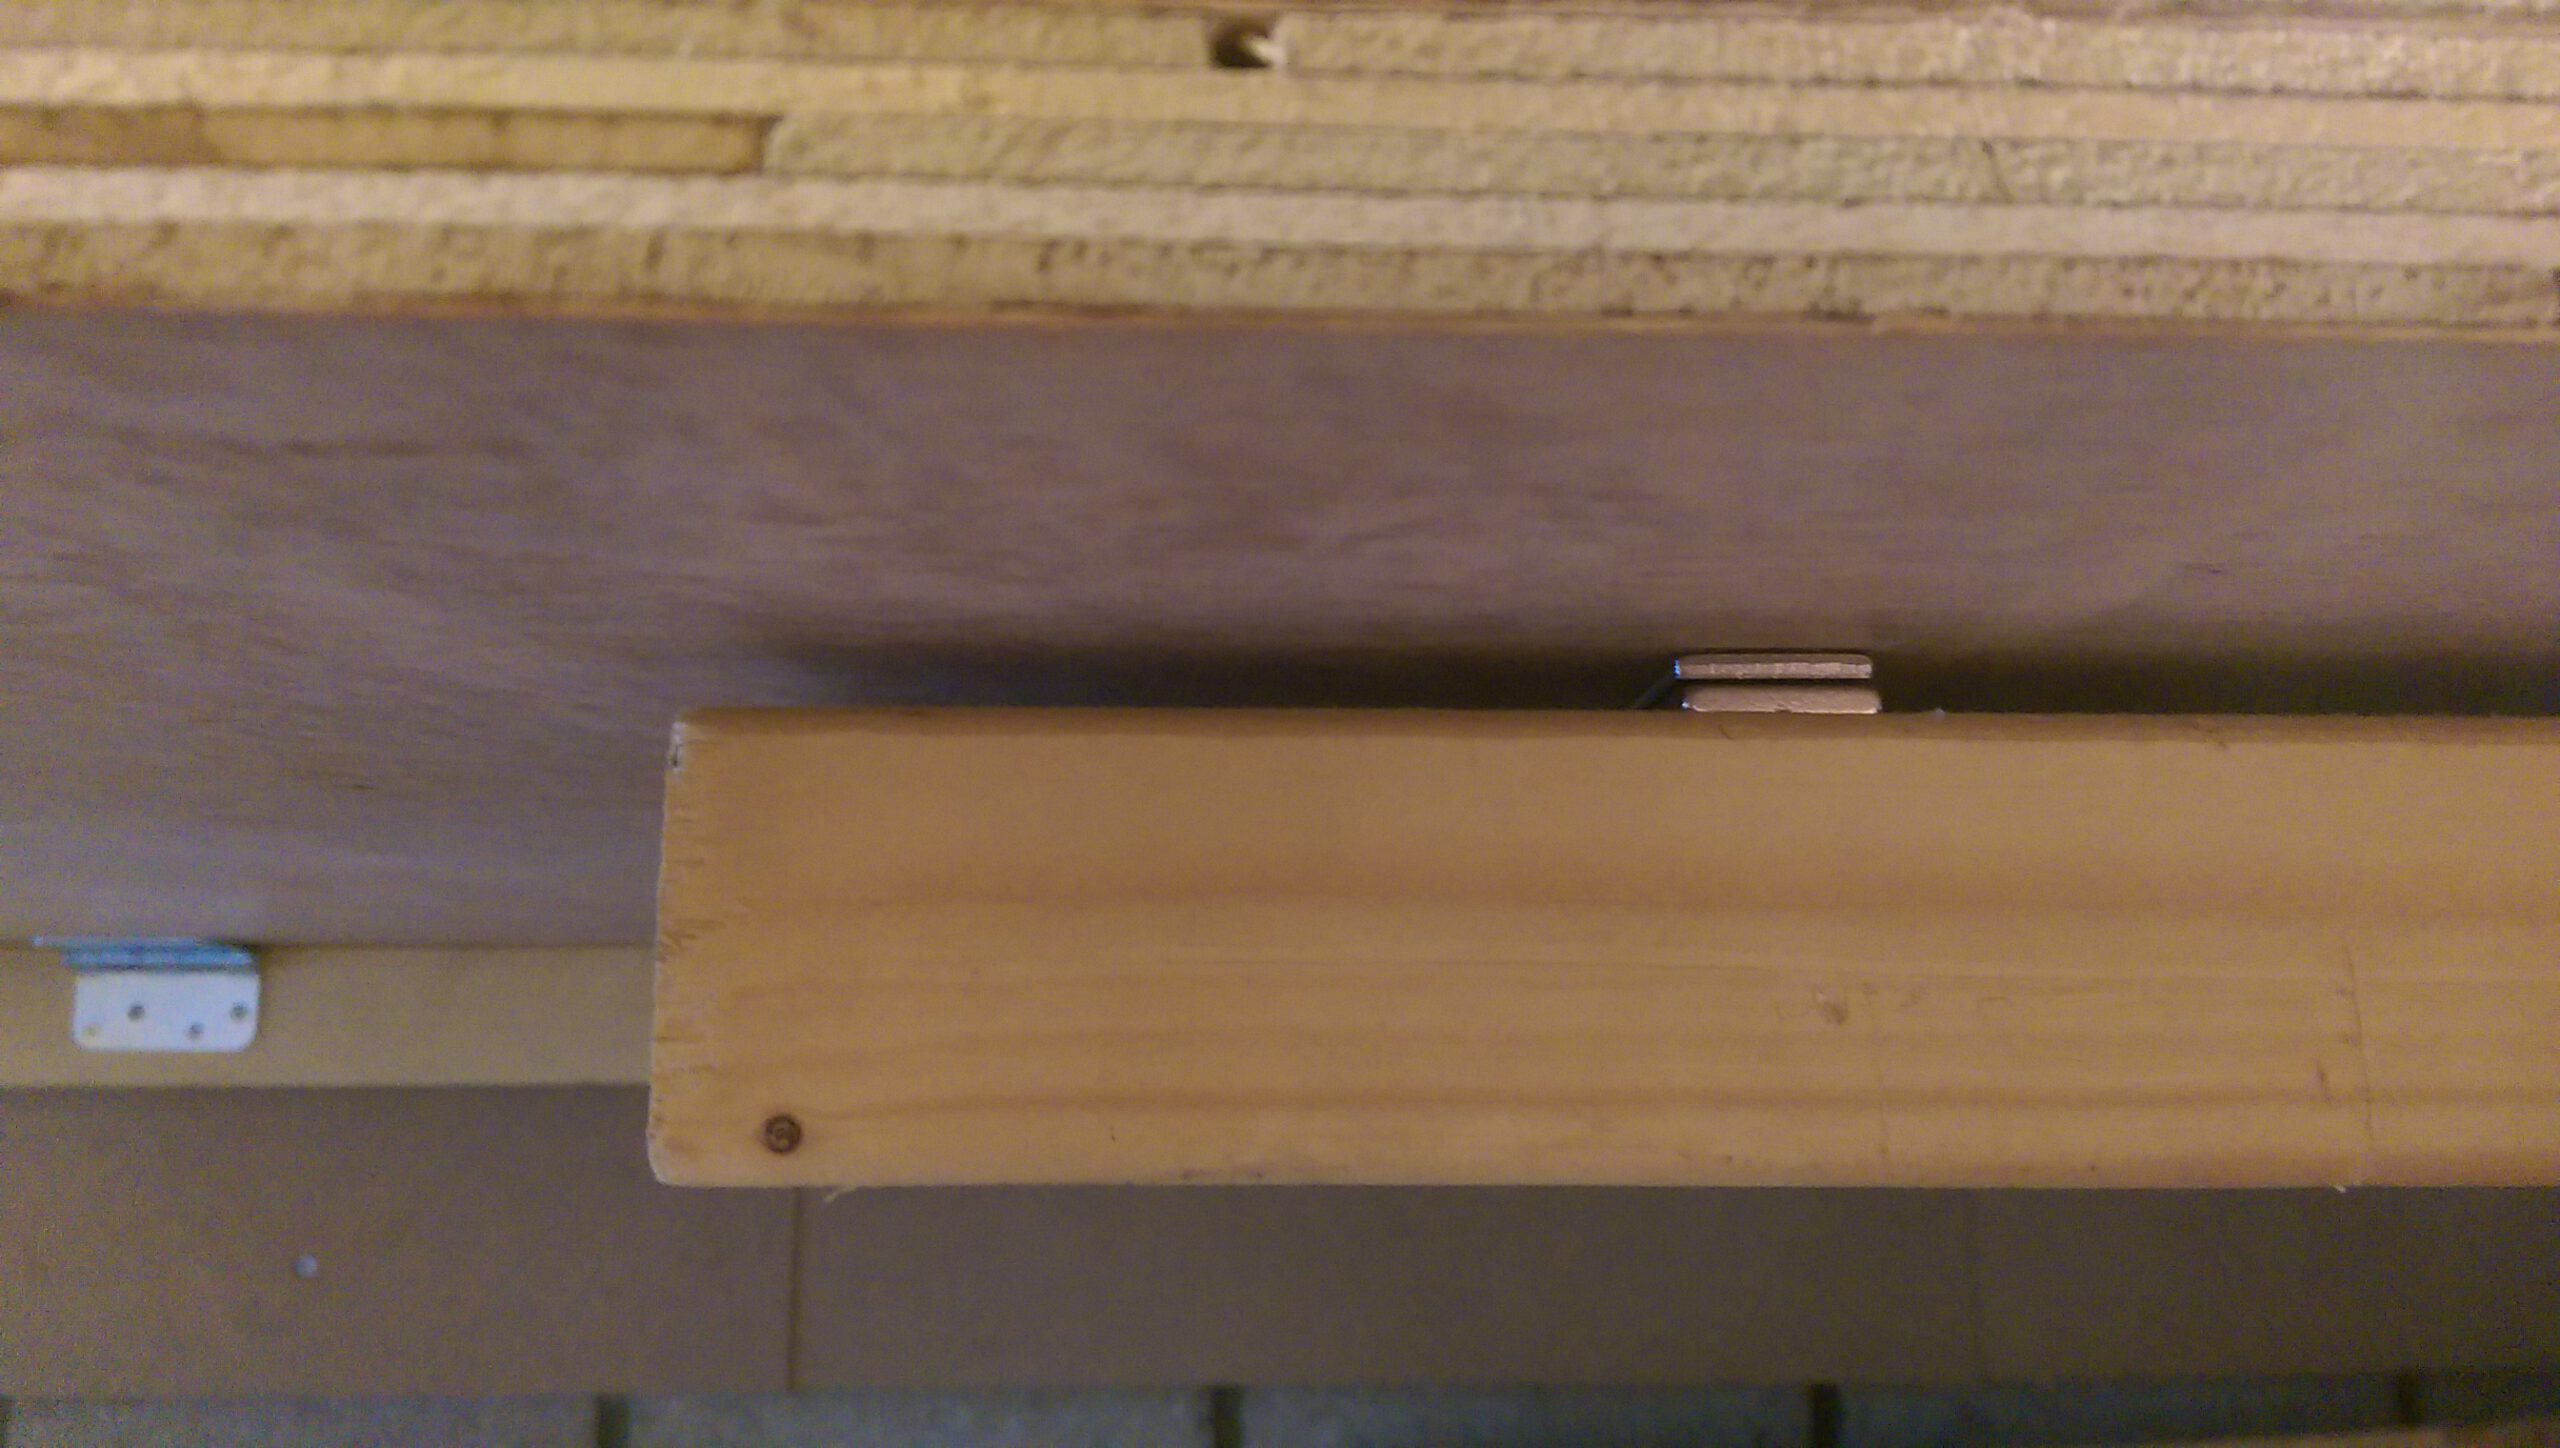
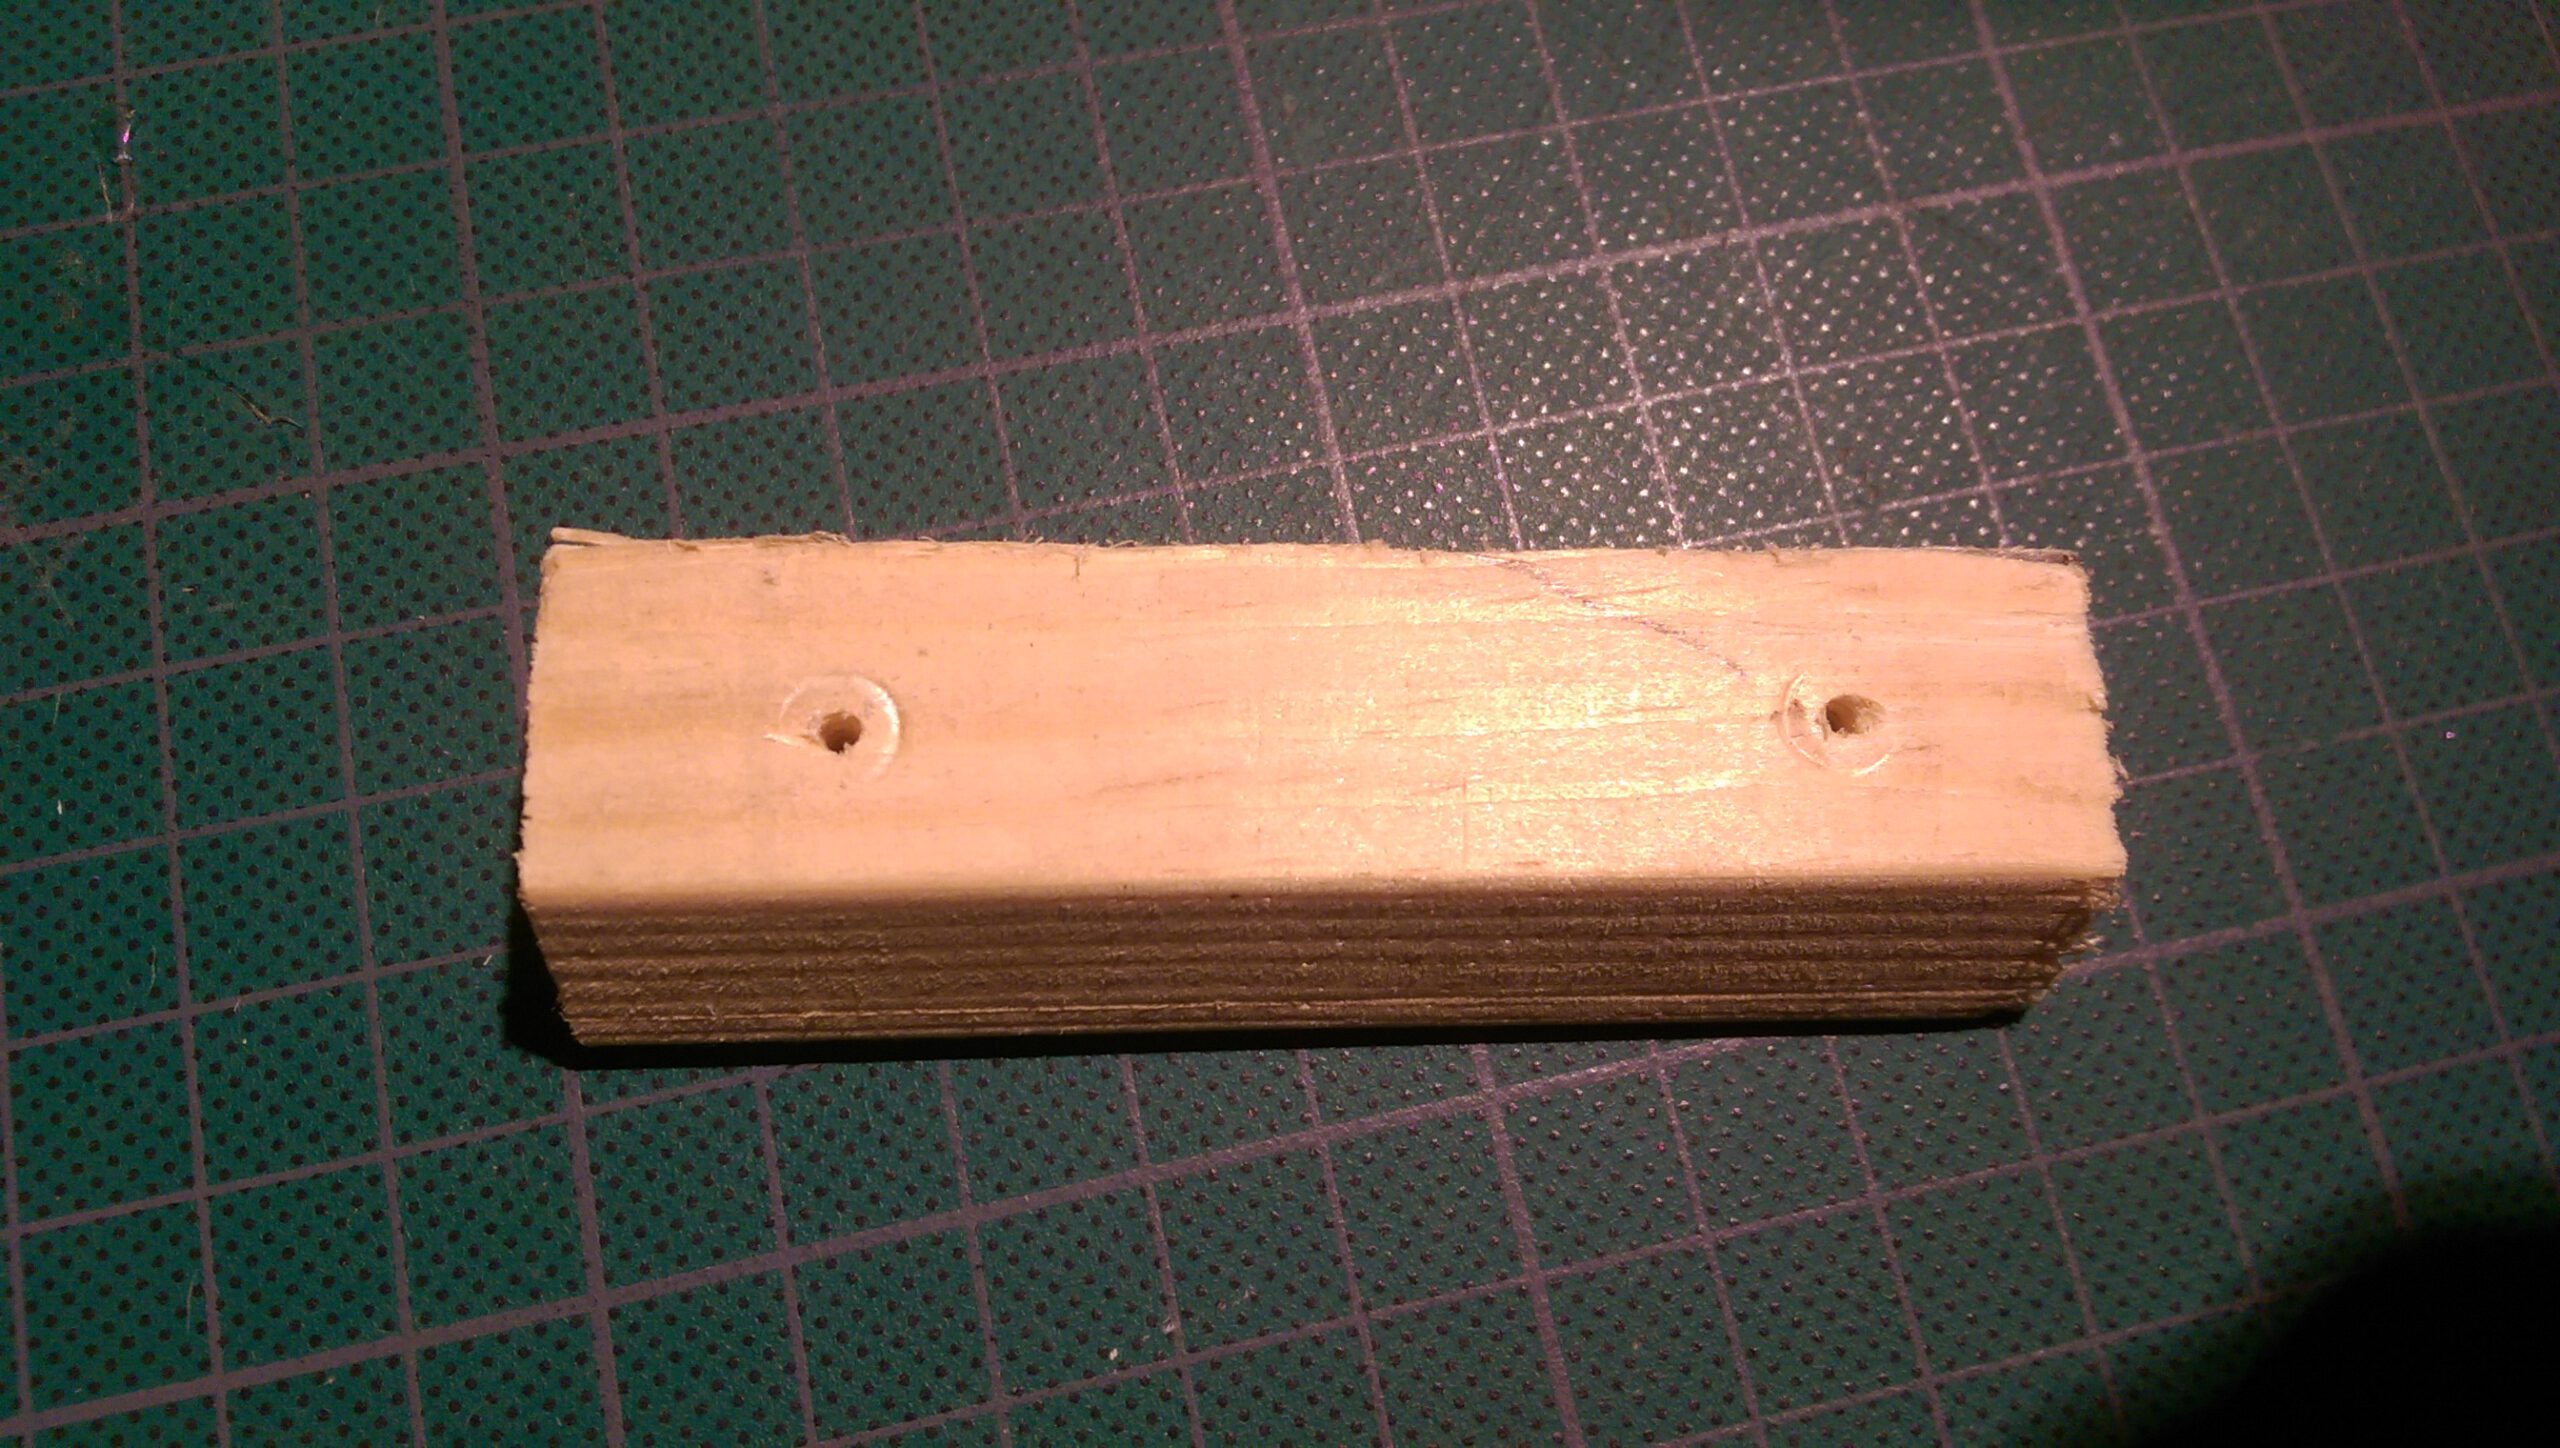
To keep the legs from sagging when the worksurface is folded down I added wood stoppers cut to ~2cm (measured after the tapered section). First one cracked but it still works, I’ll replace that one later.

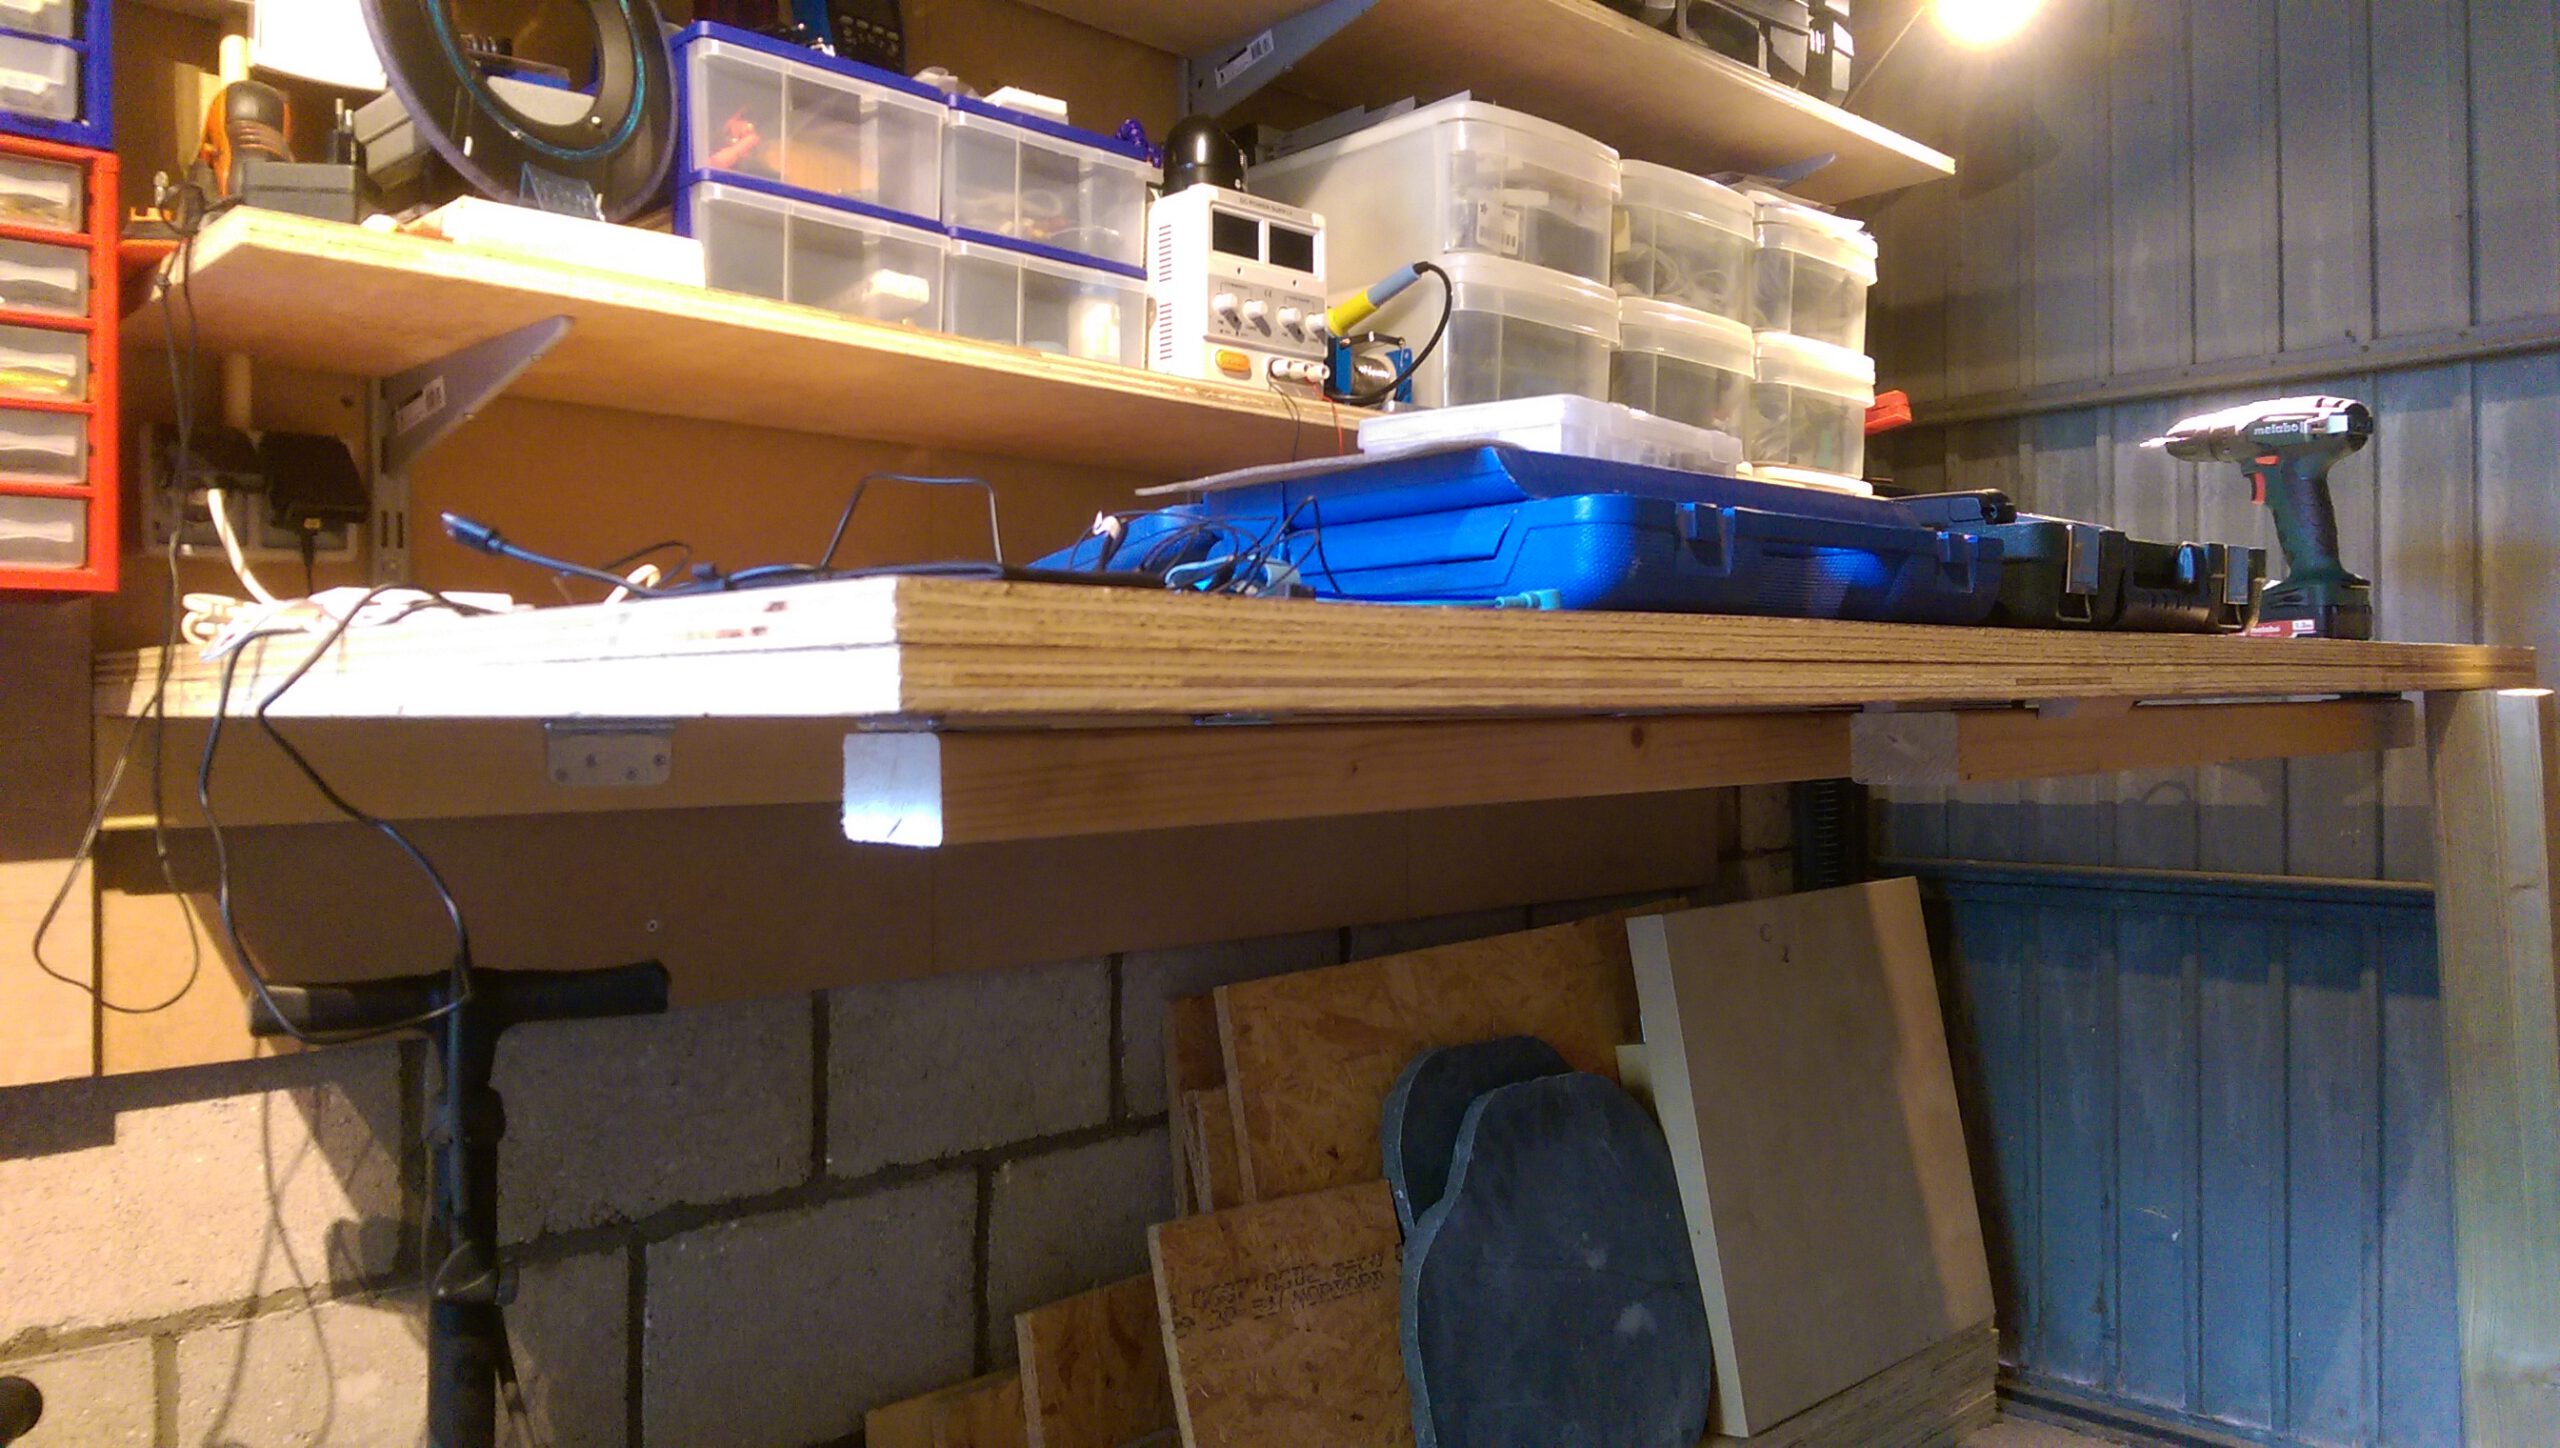
The whole thing is so sterdy it doesn’t sag much even whilst on 1 temporary support with stuff on top of it ^^
Don’t want to push it of course but still great.
Now the whole thing really is finally done like I envisioned almost 2 years ago. I’ll probably find improvements later on but for now I’m happy! 🙂